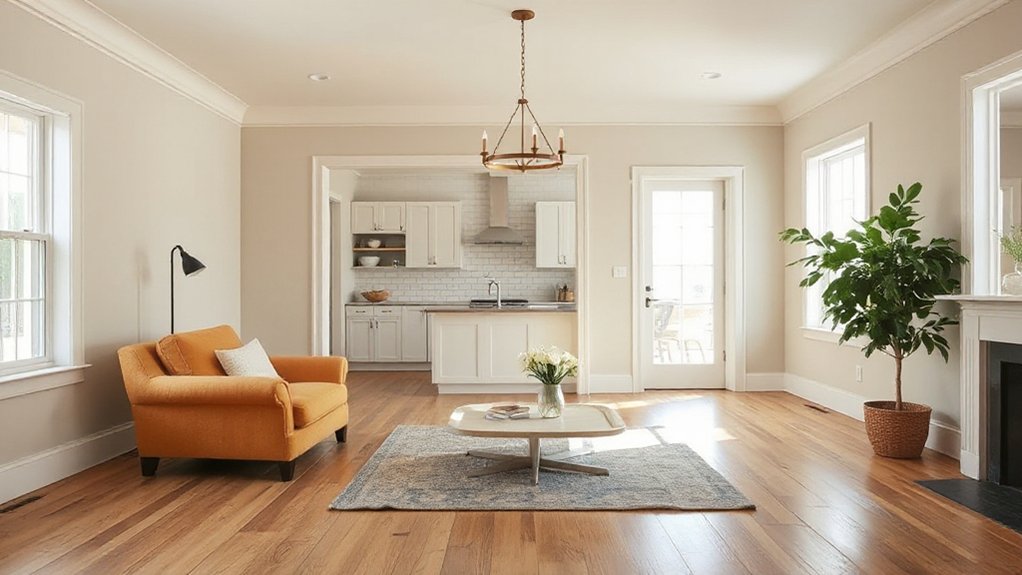

This will transform your dated spaces overnight—well, almost. You’ll start by testing a restrained palette, smart lighting, and period-appropriate hardware, then layer in simple upgrades that don’t demand a full reno. Think refinished cabinets, fresh neutrals, and subtle moldings that whisper rather than shout. You’ll tackle moisture control and targeted accents to prevent future flare-ups, all while keeping costs sensible. Curious how small tweaks can yield big, durable impact?
Key Takeaways
- Update the foundation and moisture controls to stabilize older homes and improve long-term durability.
- Choose a cohesive neutral base with 2–3 era-appropriate accent colors for instant refreshed appeal.
- Add period-appropriate hardware, moldings, and vintage fixtures to authentically update spaces.
- Enhance lighting with layered ambient, task, and accent options to transform mood and perceived space.
- Focus on small, high-impact upgrades (cabinet refinishing, polished mirrors, trim) for a premium look on a budget.
Assess Your Home’s Structure: Timeless Fixes With Modern Impact
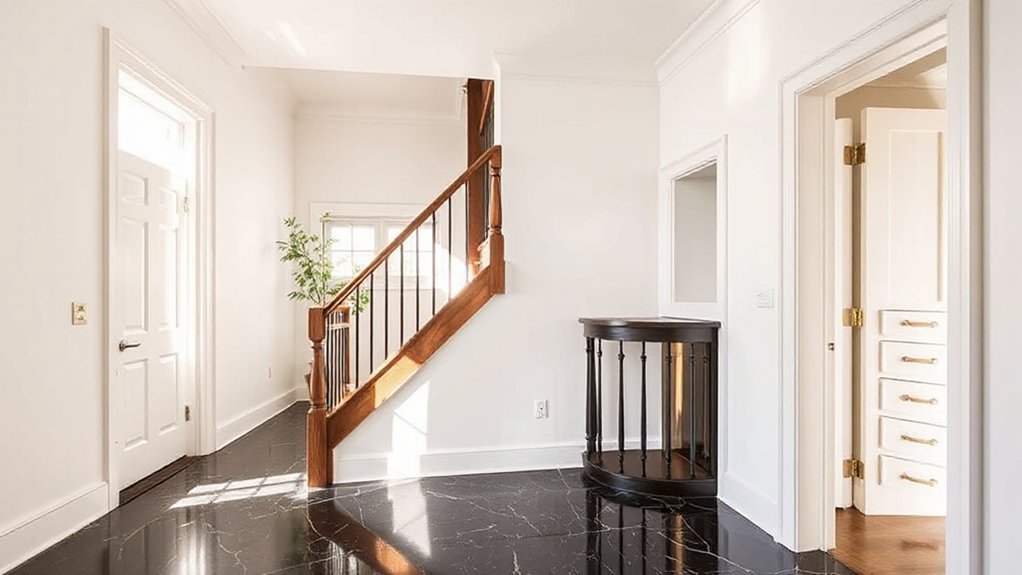
Your home’s structure is the backbone of any renovation, so start by identifying weaknesses that limit space and performance. You’ll assess load paths, framing integrity, and attic or crawlspace conditions with a practical eye.
Begin with a foundation inspection to catch cracks, settlement, or moisture that threaten stability, then map how those issues ripple through walls, floors, and doors. Your goal is to minimize disruption while maximizing rigidity and longevity.
Consider strategic reinforcements that don’t overwhelm aesthetics, such as adjustable column supports or concrete underpinning where needed.
Plan for future-proofing by detailing moisture control, ventilation, and thermal bridging. Include roof reinforcement early if framing shows sag or shifting, ensuring long-term performance and safer, sounder living spaces.
Choose an Update Palette and Lighting Plan
Choosing an Update Palette and Lighting Plan builds on solid structure by translating that stability into atmosphere and practicality. You’ll align color harmony with how light travels, creating cohesion without glare or coldness.
Start with a neutral base, then accent with two to three purposeful hues that echo architectural cues. Plan lighting layers that sculpt depth: ambient general light, task focus for work zones, and accent glow to highlight features. This trio keeps spaces versatile and inviting while preserving tone.
- Define base neutrals that read warm or cool consistently
- Select 2–3 accent colors tied to architectural elements
- Map lighting layers by function and mood across rooms
Era-Appropriate Details to Upgrade (No Renovation Required)
If you’re aiming for a fresh look without a full renovation, focus on era-appropriate details that you can add or swap in quickly. You’ll elevate your space by swapping in vintage fixtures that pull the room toward its original era without structural work.
Pair these with classic moldings to frame doors, windows, and passages, delivering instant architectural credibility. Choose finishes and hardware in era-accurate tones—brushed nickel for mid-century, matte black for industrial, or brass for traditional spaces.
Keep lines simple and proportional to the era’s scale, avoiding trendy extremes. Replace mismatched outlets and switch plates to cohesive hardware sets for a unified feel.
Use smart lighting that mimics period glow, and add a discreet, period-appropriate mirror or art frame to finish the look.
Budget-Smart Upgrades That Feel Like a Premium Finish
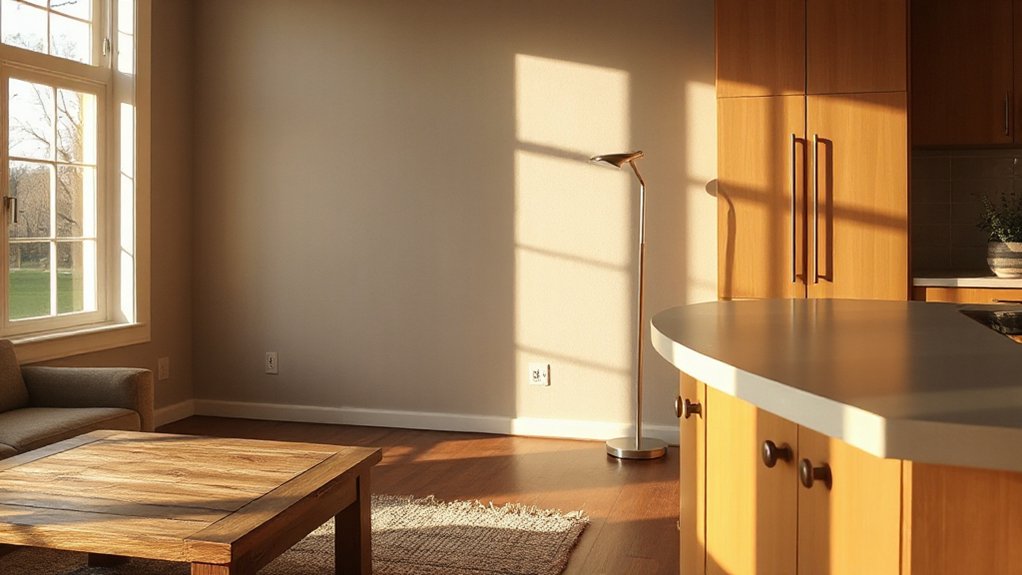
Even on a tight budget, you can achieve a premium finish by prioritizing perceived quality over price, focusing on details that read as deliberate and cohesive. You harness value by smart materials, cohesive hardware, and precise installation, delivering a high-end feel without oversized costs. Practical, design-forward steps cut wasted effort and maximize impact.
- Choose timeless, budget-friendly surfaces and pair them with uniform hardware to create a cohesive, premium look.
- Elevate spaces with controlled lighting, polished mirrors, and strategically placed trim to suggest higher craftsmanship.
- Tackle DIY projects that showcase vintage charm, like refinished cabinetry or re-stained wood, ensuring a professional-grade outcome.
Focus on finish quality, not price tag, and celebrate small, deliberate upgrades that read as built-in.
Create Your Simple, Sustainable Renovation Roadmap
To get results fast, map a simple, sustainable renovation plan that fits your budget and lifestyle. You’ll outline core goals, constraints, and nonnegotiables—then translate them into a phased roadmap.
Begin with historic preservation priorities, identifying which features add character and value while tolerating necessary updates. Next, select eco-friendly materials that align with durability, accessibility, and indoor air quality.
Allocate a tight budget to high-impact areas: structural checks, insulation, and moisture control, then schedule cosmetic upgrades to leverage faster wins.
Build decision criteria: energy savings, maintenance costs, and reusability. Create a timeline with milestones, owners, and risk buffers.
Document measurements, warranties, and supplier sources. Revisit quarterly, adjusting scope as realities shift while preserving design-forward, problem-solving momentum.
Frequently Asked Questions
How Do I Prioritize Projects for Maximum Impact With Minimal Cost?
To maximize impact with minimal cost, start with a clear budget plan and list your top three priorities.
Do quick ROI checks on each task, then sequence projects by impact-per-dollar and disruption.
Prioritize updating lighting, paint, and pacing; these often cost little but feel transformative.
Use budget planning to set caps and track slips.
For execution, tighten contractor selection: ask for references, compare bids, and confirm timelines.
Balance affordability with quality for lasting results.
Which Small Updates Can Improve Energy Efficiency in Older Homes?
A tight envelope is a shield; seal it first. You should tackle insulation upgrades and window sealing to cut drafts and stabilize temps.
Prioritize attic and basement insulation, then upgrade doors or add weather stripping around windows.
Use easier-to-install, high-R materials where possible, and seal with caulk before adding storm windows.
You’ll notice lower energy bills, fewer cold spots, and a more comfortable home, with minimal disruption and clear, design-forward results.
Can I Update Without Compromising Historical Authenticity?
Yes—you can update without compromising historical authenticity. Start with Historical preservation in mind, choosing Authentic updates that honor your home’s character.
You’ll minimize risk by using period-appropriate finishes, discreet modern insulation, and reversible alterations.
Prioritize noninvasive changes, like smart lighting and efficient windows that match original profiles.
Document every step, consult preservation guidelines, and test materials.
This practical, design-forward approach solves comfort and efficiency while keeping the essence of your home intact.
What Are Quick Wins That Don’T Require Permits or Major Disruption?
You don’t need a permit for quick wins that barely disrupts life. Focus on garden landscaping for curb appeal and a paint refresh to refresh interior vibes, fast.
You’ll tackle high-contrast accents, swap lighting, upgrade hardware, and seal thresholds to cut drafts.
Keep measures precise: plan, execute, and review. You’ll solve problems with minimal downtime, maximizing impact.
Quick wins: detailed prep, note-worthy finishes, and smart, durable materials that age gracefully with your home.
How Long Should a Small Renovation Project Realistically Take?
You can expect a small renovation to take a few days to a couple of weeks, depending on scope and drying times. Plan for disruption, and build in realistic buffers.
Budget tips: set a precise cap and track every line item.
Contractor tips: confirm milestones, permits (if needed), and communication cadence upfront. Keep decisions rapid, and document changes.
With clear targets, you’ll finish faster and stay on track for quality results.
Conclusion
You’ve got a clear path: smart, affordable tweaks that honor charm while feeling brand-new. Prioritize timeless fixes, a cohesive palette, and lighting that layers warmth with function. Upgrade details in step with era, not hype, and keep a tight budget with practical swaps—refinished cabinetry, matching hardware, and subtle moldings. Map your plan, execute with precision, and stay flexible. Remember: small changes compound, like a well-placed stroke of paint. A stitch in time saves nine.