


If you’re choosing underfloor heating for tiled floors, you’ll want to weigh electric mats for quick, even warmth in smaller or high-traffic rooms against hydronic systems for steady, long-term heat in larger spaces. Think about install ease, zoning, insulation, and budget to decide which path fits your project. The right choice ties directly to how you’ll use the space and how much you’re willing to invest upfront. There’s more to reflect on as you plan.
Which Tile Floor Heating Is Best for Your Room?
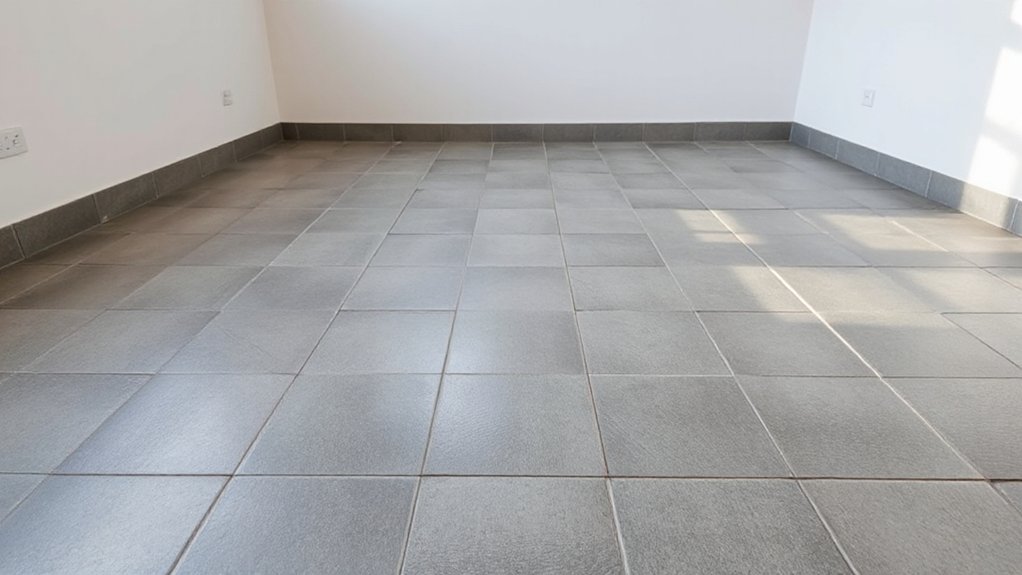
Choosing the right tile floor heating system starts with your room’s use, size, and substrate. You’ll evaluate tube-in-screed systems, electric mats, and loose cables by heat output, response time, and installation complexity.
For frequent, long-duration use, electric mats provide quick warmth with straightforward zoning. If you have a concrete slab, consider encapsulated tubes or electric cables embedded in a thin screed for uniform temperature.
Your floor insulation matters: better insulation raises efficiency and reduces heat loss, allowing smaller outputs and lower operating costs.
Aesthetic considerations matter too: choose flat, low-profile mats or discrete tubing routes to preserve tile patterns and edge transitions.
For bathrooms or kitchens, guarantee moisture protection and rapid warm-up.
Select a system that matches substrate, load, and maintenance preferences.
Electric Mats vs. Cables: Pros, Cons, and Costs
Electric mats heat quickly and install directly under tiles, while loose cables offer flexibility for irregular layouts or retrofit projects. Each has distinct pros and cons and cost profiles you’ll weigh against your room, substrate, and insulation.
Mats deliver uniform heat with minimal tuning, but require precise spacing and full-substrate embedding, which can limit retrofit options.
Cables excel in irregular rooms or partial renovations and can target specific zones, yet installation time and layout planning are more intensive.
Costs vary by mat wattage, controller features, and labor.
Thermal insulation affects overall efficiency for both, so guarantee adequate floor insulation to prevent heat loss downward.
Safety considerations include moisture compatibility, thermostat compatibility, and proper protection of cables or mats to avoid damage or hot spots.
Hydronic Heating for Tile Floors: When It Makes Sense
Hydronic radiant heating can be a strong fit for tile floors when you’re aiming for steady, long-range warmth and lower running costs in larger or frequently used spaces. You’ll benefit from a loop-based system that distributes warm water through tubing embedded in a concrete or subfloor layer, delivering even temperatures under ceramic or porcelain tiles.
Because tiles conduct heat well, you’ll see quick response times when the system starts, but longer warm-up in very cold rooms if the slab is thick. For thermal comfort, control strategies matter: setpoint, outdoor reset, and zoning affect perceived warmth.
Energy efficiency hinges on tight insulation, properly sized manifolds, and efficient pumps. Hydronic setups excel with consistent heat, reduced maintenance, and predictable operating costs over time.
Tile Types and Layouts That Maximize Heat

For maximizing heat output under tile, select tile types and layouts that optimize thermal transfer and minimize heat loss. You’ll want materials with high thermal conductivity and stable performance under radiant heat, while preserving Tile durability and aesthetic appeal.
Choose thin porcelain or certain ceramic options sized to suit the mat layout, avoiding overly thick backs or dense granite that hinder transfer. Layouts should promote even heat spread, with consistent grout lines and minimal dead zones. Consider edge isolation to prevent heat sink effects and align tile seams with heating elements.
Prioritize grout choices that resist cracking and allow moisture tolerance.
1) Match tile thickness to the heating system’s heat output and cycle range.
2) Use uniform, straight layouts to reduce hot spots.
3) Optimize edge finishes for durability and appearance.
Install, Troubleshoot, and Compare Long-Term Costs
Installing radiant undertile heating involves careful setup, troubleshooting, and long-term cost comparison to guarantee reliability and efficiency. You’ll start with precise layout and compatible components, verifying radiator compatibility if your system uses a boiler for supplemental heat.
Run a heat-loss calculation to size the mat or cable, then install with proper spacing and protective screed. Inspect insulation requirements to minimize heat loss into spaces above and below the floor; good insulation boosts performance and lowers running costs.
Test for continuity, insulation resistance, and thermostat communication before tiling. During operation, monitor temperature evenly to avoid hot spots.
When evaluating long-term costs, compare upfront installation, maintenance needs, and energy consumption across scenarios. Document replacements and service intervals to simplify future budgeting.
Frequently Asked Questions
How Long Does Tile Floor Heating Take to Heat Up?
Tile floor heating usually heats up in 15–30 minutes, depending on room size, insulation, and boiler output. You’ll notice thermal efficiency improves as it reaches target temperature, boosting energy savings and maintaining consistent comfort.
Can Underfloor Heat Damage Natural Stone Tiles?
Underfloor heat can cause heat damage if misused, especially with natural stone. Guarantee correct thermostat settings, gradual warm-ups, and compatible flooring. Use insulation, keep temperatures moderate, and monitor for cracks or discoloration to protect natural stone.
Is Radiant Floor Heating Suitable for Bathrooms With Tiles?
Radiant floor heating is suitable for bathrooms with tiles, you just guarantee proper installation. It boosts radiant efficiency and maintains tile compatibility, delivering even warmth without hotspots while protecting grout and minimizing moisture concerns.
What Maintenance Do Tile Heating Systems Require?
Just like tuning a piano, you maintain tile heating with regular thermostat calibration and ensuring system insulation stays intact. You’ll check sensors, replace failing components, and schedule annual inspections to prevent inefficiency and prolong lifespan.
Do Warranties Cover Tile Floor Heating Installations?
Warranty coverage varies by installer and manufacturer, but you generally receive limited protection for the system and labor. Installation considerations include substrate prep, proper mat placement, and step-down controls to guarantee reliable performance and compliant coverage.
Conclusion
If you’re weighing tile underfloor heat, you’ll notice the clues line up with your habits, not just specs. Electric mats heat fast in small, used rooms; hydronic systems save in big, steady-training homes. Coincidences matter: a chilly bathroom becomes warm the moment you flip a switch, while a well-insulated attic keeps the rest from cooling the floor. Choose the setup that mirrors your routine, insulation, and budget—then install cleanly and reap consistent warmth.


