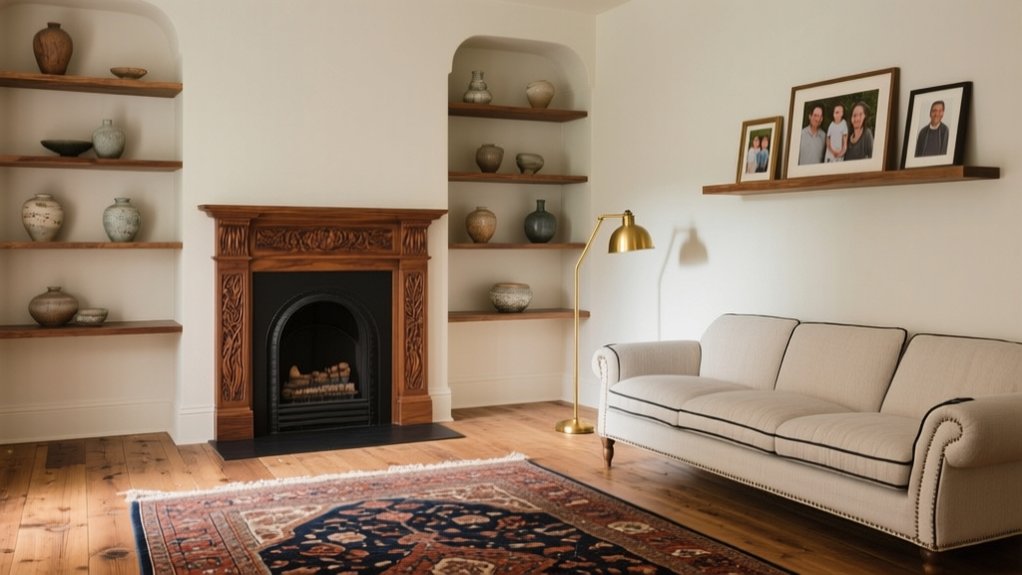

You introduce bespoke elements by translating your routines into precise, repeatable choices—clearances, shelf heights, lighting scenes, and touchpoints that fit your hand. Start with the easiest upgrades: unify metals, swap builder-grade hardware for brass or leather, add dimmers with warm high-CRI LEDs, and refine trim reveals for cleaner shadow lines. Then target high-impact built-ins—entry, pantry, media—measured to your rituals, with honest materials that patina. Next, you’ll see how to apply this to kitchens and baths.
What Does “Bespoke” Mean for You?
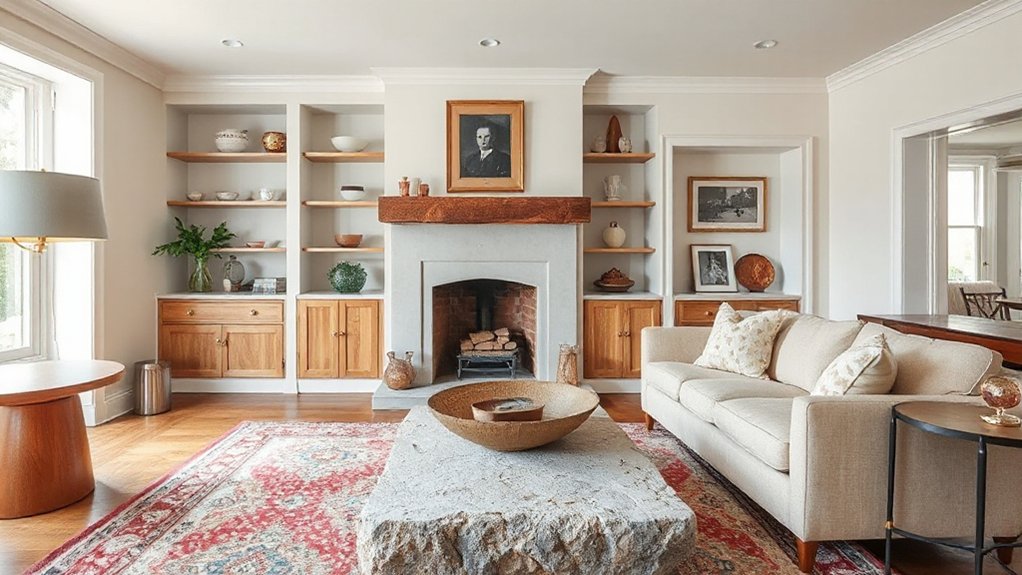
Before you choose custom cabinetry or commission a one-off fixture, define what “bespoke” actually means in your home: is it a perfect fit to awkward dimensions, a material palette no showroom carries, or a craft detail that signals your taste without announcing itself?
Start by auditing friction points: doors that swing wrong, storage that wastes corners, lighting that flattens texture. Then decide where uniqueness matters most—daily rituals, sightlines, or acoustics—so every custom decision earns its cost.
In Interior design terms, bespoke isn’t “expensive”; it’s intentional specificity.
For Home personalization, translate your habits into measurable criteria: clearances, heights, hand feel, sheen, patina tolerance, and maintenance reality.
Finally, set a reference vocabulary—profiles, joinery, edge details, and finishes—so makers execute consistently.
Find the Easiest Bespoke Upgrades First
If you want bespoke impact without a full renovation, start with upgrades that piggyback on existing dimensions and trades: hardware, lighting, and built-in “skins” that swap out in a day. Replace builder knobs with solid brass or leather-wrapped pulls, then unify finishes across doors, plumbing trim, and switch plates for instant coherence.
Upgrade lighting with sculptural pendants, dimmers, and warm LEDs to control glare and color temperature. Add custom millwork panels to existing cabinetry, or a fireplace surround overlay, to change proportions without moving walls.
Layer luxury amenities through small-spec swaps: a filtered boiling-water tap, towel warmer, or integrated outlet drawers. Finish with personalized art sized to your sightlines, framed to match your metals, and lit with picture lights.
Match Bespoke Features to Daily Routines
You’ll get the most value from bespoke design when it follows how you actually move—so map your daily paths from entry to kitchen to bedroom and mark every pinch point.
Then customize task-specific zones with the right clearances, lighting, and power exactly where you work, prep, charge, and drop essentials.
Finally, tailor storage to your habits—drawer inserts for your real tools, concealed bins where clutter happens, and hanging, shelf, and cubby heights set to what you reach for every day.
Map Daily Movement Paths
While your home may look cohesive on paper, it only feels bespoke when its features align with how you actually move through it each day. Track your morning-to-night routes for a week: entry to drop zone, kitchen to coffee, bedroom to bath, sofa to terrace. Note pinch points, sightlines, and where you pause.
Then anchor bespoke decisions to those paths. Place Personalized artwork where you naturally stop—at the turn of a hall or the landing—so it reads as intentional, not decorative. Specify Custom window treatments based on approach angles: glare control on the path to breakfast, privacy where you cross lit windows at dusk. Adjust door swings, thresholds, and runner widths to support smooth cadence and quieter footfall, without rerouting your routine.
Customize Task-Specific Zones
Because a home earns its bespoke feel through use, carve out task-specific zones and tailor each one to the routines that happen there—coffee prep, homework, mail sorting, packing, winding down.
Start by defining the “must-do” actions and the surfaces, power, lighting, and seating each requires. Give your coffee zone a dedicated outlet, under-cabinet task light, and a durable splash-friendly finish; you’ll move faster and clean up easier.
For homework, position a desk near daylight, add glare-controlled lighting, and specify an ergonomic chair that fits your posture.
Build a mail zone with a clear landing surface and a pin-up rail so decisions happen immediately.
Keep Design consistency with repeated metals, edge profiles, and paint sheen.
Choose Personalization options that reflect your timing, not trends.
Tailor Storage To Habits
Once you’ve defined each task zone, make storage follow the exact motions that happen there so the space stays calm under real daily use. Map your sequence: enter, drop, prep, clean, reset.
Then place pull-outs, dividers, and hooks at the hand’s natural reach, not where cabinetry “usually” puts them.
Use Custom storage to remove friction: a charging drawer beside the entry bench, a tray slot where mail lands, a knife and board garage at your primary prep run, and a concealed bin directly under the wipe-down surface.
Specify depths to match what you own, and label by function, not category. Habit based organization works when every item has a single, obvious home and returns without thought, even when you’re tired or rushed.
Set a Realistic Budget for Bespoke Work
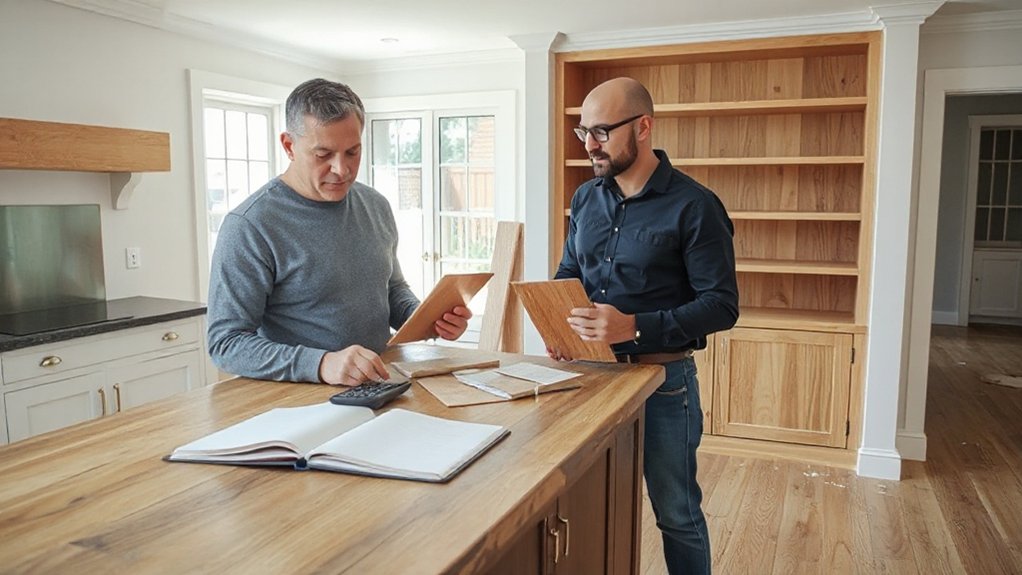
Start by defining the scope of your bespoke work and ranking priorities so the budget follows the design intent, not the other way around.
Then research true cost ranges—materials, maker’s labor, finishes, installation, and site conditions—so you’re pricing the whole detail, not just the headline piece.
Build in a clear contingency and a timeline allowance, because custom fabrication, approvals, and lead times will shape what you can commit to and when.
Define Scope And Priorities
Before you commission anything custom, define the scope and priorities so your budget supports the elements that will actually shape how your home looks and lives.
Start by listing the bespoke moments that change daily experience: a built-in banquette, a tailored media wall, or a storage wall that fixes clutter permanently. Tie each item to function, then rank it by impact and visibility.
Confirm dimensions early with accurate room measurements and furniture placement, so you don’t pay for millwork that blocks circulation or fights door swings.
Lock your palette and Color coordination up front, including adjacent finishes, hardware, and lighting temperature, to prevent expensive rework later.
Finally, set clear deliverables—drawings, samples, and installation boundaries—so every custom decision stays on brief.
Research True Cost Ranges
While bespoke work can make a room feel effortlessly resolved, the numbers only cooperate when you research real cost ranges early and budget off specifics, not inspiration photos.
Start by breaking each custom element into line items: design fee, shop drawings, fabrication, finish, delivery, and install. Ask for recent, comparable project ranges from your designer, maker, or millworker, then validate them with at least two trade quotes.
Your cost estimation should reflect complexity: curved geometry, integrated lighting, specialty hardware, and site measuring all raise pricing.
Material sourcing also shifts totals; specify species, grade, slab vs veneer, metal thickness, and finish system before you “ballpark.”
Finally, budget for mockups and samples as part of the scope—they’re not optional if you want precision.
Include Contingency And Timelines
Because bespoke pieces depend on shop schedules and site conditions as much as design intent, you need a contingency and a timeline that reflect how custom work actually moves. Build a 10–20% reserve for material price shifts, concealed conditions, and field revisions, and keep it untouchable unless you approve a change.
Map lead times: shop drawings, mockups, fabrication, finishing, shipping, and install, then sequence trades so nothing stacks or stalls. If you’re integrating Home automation, lock rough-in dates early and schedule commissioning after millwork and lighting are final.
Treat landscaping design the same way—seasonal planting windows and hardscape cure times can dictate your move-in. Update the schedule weekly, and issue written decisions fast to protect both budget and craftsmanship.
Decide DIY vs. Pro Bespoke Work
Where should you draw the line between a satisfying DIY upgrade and truly bespoke work that demands a specialist? Start by auditing risk, finish quality, and permanence. If you can reverse it, test it, and correct it without damaging substrates, it’s a smart DIY candidate: paint, hardware swaps, surface refinishing, or applied mouldings.
When you’re altering structure, services, or tolerances—plumbing runs, electrical loads, stone templating, stair geometry—hire a pro and insist on shop drawings and mock-ups.
Let Personalization trends and Cultural influences guide the brief, not your tool list. You can source meaningful motifs, color stories, and materials yourself, then commission fabrication where precision matters.
Protect value: document specs, warranties, and maintenance requirements before you approve fabrication or installation.
Start With High-Impact Bespoke Built-Ins
Once you’ve decided what you can safely handle yourself and what deserves a specialist, put your bespoke budget into built-ins that change how the home works every day. Prioritise the places you touch constantly: an entry drop zone with concealed charging, a kitchen pantry that fits your cookware, or a living-room media wall that hides routers and cables.
Design them around routines and clearances. Set shelf heights to your collections, specify soft-close hardware, and plan task lighting and ventilation where needed. Let Artistic expression show through proportion, colour, or a single standout material, not fussy detail.
Bake in Cultural influence with storage for heirlooms, a tea/coffee station tailored to rituals, or display niches scaled to traditional objects. Measure twice, mock up once, and insist on service access panels.
Add Bespoke Millwork for Instant Architecture
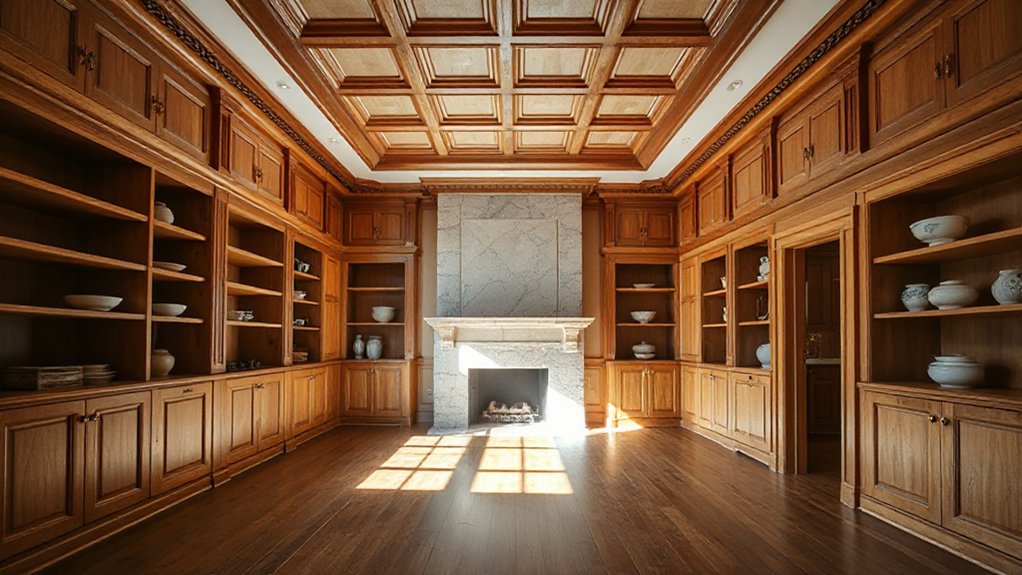
How do you make an ordinary room read as “designed” the moment you walk in? You add bespoke millwork that gives the space bones: tailored wall paneling, disciplined trim reveals, and a confident base-and-crown strategy that frames every surface. Specify consistent profiles and shadow lines, then repeat them across the room so everything feels intentional, not decorated.
Let millwork support custom furniture with integrated plinths, picture ledges, or fluted backs that visually “anchor” pieces. Finish with restrained decorative accents—brass inlay, reeded texture, or a painted lacquer edge—so the craft reads at a glance.
Prioritize proportion, alignment, and material continuity. You’ll feel it immediately: the room stands taller, calmer, and undeniably bespoke.
Upgrade Doors, Arches, and Room Transitions
Start with a statement door—consider oversized proportions, custom panel geometry, and upgraded hardware finishes that set the tone the moment you enter.
Then shape movement with custom arches and widened openings that align sightlines, echo ceiling heights, and sharpen the home’s architectural rhythm.
Finally, lock it all together with seamless flow details—consistent casing profiles, flush thresholds, and intentional floor junctions—so every room change feels designed, not accidental.
Statement Doors With Style
Even if you keep the walls and floors restrained, a statement door instantly resets the tone of a room and signals intentional design. You control the mood with proportion, material, and hardware—then reinforce it with Vintage accents and Eco friendly finishes that feel considered, not trendy.
- Choose a solid-core slab or panel profile so the close sounds confident, not hollow.
- Specify tactile hardware—aged bronze, knurled brass, or a thumb latch—to add intimacy at the touchpoint.
- Use color with restraint: a deep oxblood, inky green, or chalky black creates drama without shouting.
- Upgrade passages with matching casing, tight reveals, and a flush threshold so every entry feels ceremonial.
Done well, your door becomes a daily welcome and a clear boundary between zones.
Custom Arches And Openings
While a great door defines a threshold, a custom arch or tailored opening shapes how you move through the house and how rooms relate at a glance. Start by choosing a profile that suits your architecture: a shallow cove for modern calm, a true radius for softness, or a Tudor point for graphic lift.
Let Historical influences guide proportion—spring line height, reveal depth, and casing thickness should echo your home’s era, not fight it.
Use Cultural symbolism deliberately: a Moorish horseshoe can signal hospitality, while a classical arch can imply order and permanence.
Specify material honestly—plaster for crisp shadows, oak for warmth, stone for gravitas.
Then align sightlines so the opening frames art, light, or landscape. Keep jambs true, corners clean.
Seamless Room Transition Details
A custom opening sets the rhythm; the details at its edges decide whether the rooms read as one composed sequence or a series of interruptions. You control that continuity by upgrading thresholds, aligning trims, and specifying hardware that feels intentional in hand.
Let doors, arches, and passages carry the same design grammar, while still signaling purpose.
- Match casing profiles room-to-room, so your eye glides instead of stops.
- Drop ceilings or raise heads consistently, creating calm proportions and quiet confidence.
- Choose hinges, levers, and strike plates in one finish to support Color coordination.
- Tune flooring transitions—flush reducers, shadow gaps, or inlays—to protect Furnishing balance and deliver a satisfying, seamless step forward.
Use Custom Hardware and Metal Details
Because your hands touch them every day, custom hardware and metal details should feel intentional, not like an afterthought. Start by auditing every touchpoint—door levers, cabinet pulls, appliance handles, plumbing trim, switch plates, and even curtain rods—so nothing defaults to builder grade.
Specify a consistent silhouette and proportion, then vary placement and scale to suit each elevation. Use Hardware accents to signal hierarchy: statement entry set, quieter interior levers, and refined pulls on millwork.
Coordinate Metal finishes across rooms, but don’t match blindly; align undertones and sheen, and repeat them at least three times per space. Commission pieces where it matters most—oversized pulls for heavy drawers, bespoke escutcheons for vintage doors, and custom grilles that align with your joinery.
Choose Bespoke Materials That Patina Beautifully
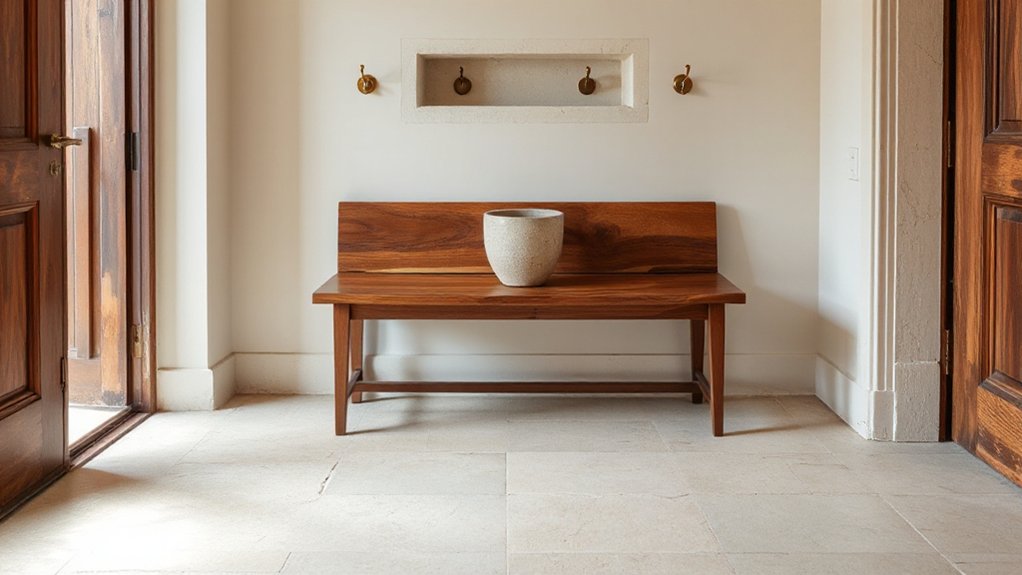
Custom hardware sets the tactile tone, then your material choices carry that intent across every surface you live with. Prioritize honest, repairable materials that record time instead of resisting it.
In your Material selection, ask how each surface will age under hands, heat, light, and cleaning; design for Patina development, not perfection. Specify thickness, edge profiles, and protective treatments so wear reads intentional, not accidental. Choose finishes you can refresh, oils you can reapply, and stones you can hone.
- Solid brass that warms and darkens where you touch it most.
- Vegetable-tanned leather that softens, creases, and tells stories.
- Rift-sawn oak that quiets movement and deepens in tone.
- Honed marble that accepts etching as lived-in character, gracefully.
Keep Colors and Finishes Cohesive Across Rooms
Even if each room has its own function, your palette and finish story should read as one continuous composition. Establish two to three core hues, one light neutral, one mid-tone, and one accent, then repeat them in calibrated doses from entry to bedroom for Color harmony.
Keep undertones aligned: don’t mix cool grays with warm creams unless you deliberately bridge them with a shared material.
Lock in Finish consistency by standardizing key touchpoints: one metal family, one wood tone range, and one paint sheen strategy. Vary texture, not reflectivity—pair honed stone with matte plaster, satin cabinetry, and brushed hardware.
Use connections to reinforce intent: match trim profiles, align grout color, and echo door hardware throughout.
Build a Bespoke Seating Nook or Banquette
You’ll get the most from a bespoke seating nook or banquette when you plan it around real circulation clearances, sightlines, and how you actually use the room.
Specify materials that can take daily wear—properly sealed timber, durable stone or lacquered panels—then pair them with upholstery that balances comfort, cleanability, and a tailored profile.
Build storage into the base with lift-up seats or flush drawers so the piece earns its footprint and keeps the space visually calm.
Space-Smart Nook Planning
Where can you carve out comfort without sacrificing flow? You’ll find it in the in-between zones: a bay window, stair landing, wide hallway, or the dead corner beside the kitchen. Plan the nook like a circulation diagram—keep clear paths, align edges to door swings, and preserve sightlines so the room still breathes.
Borrow cues from garden landscaping: define a “room” with boundaries, then frame a view. Treat it like outdoor furniture planning—tight footprint, generous comfort, and social orientation.
- Trace daily routes, then place the nook outside traffic lines.
- Aim seating toward light or conversation, not corridors.
- Set a slim table zone for coffee, books, or homework.
- Anchor it with proportions that make you exhale on arrival.
Materials, Upholstery, And Storage
Once the nook sits outside the traffic lines and keeps the room’s sightlines open, the next decisions come down to what it’s made of and how it works day to day. Specify Sustainable materials like FSC oak, bamboo ply, or linoleum-faced cabinetry, and ask for moisture-resistant substrates near kitchens.
Demand Artisan craftsmanship in tight miters, bookmatched veneer, and a flush toe-kick that reads built-in, not bulky.
For upholstery, choose high-rub-count performance fabric or top-grain leather, then pair it with a firm, layered foam-and-feather seat for long sits. Keep seams to the edges to avoid wear at pressure points.
Add lift-up bench lids on soft-close hinges, or deep drawers on undermount slides, so blankets, trays, and kids’ gear disappear fast. Include a hidden outlet bay if you’ll work there.
Plan Bespoke Lighting for Mood + Tasks
Even if your rooms have beautiful finishes, bespoke lighting is what sets the tone and makes the space work hour by hour. You’ll get it right when you design layers—ceiling, wall, and portable—then control them with dimmers and discreet scenes.
- Specify warm, high-CRI lamps to protect skin tones and elevate Lighting ambiance after dark.
- Place task lighting exactly where you read, prep, groom, or display art; aim it to cut glare and shadows.
- Use joinery-integrated LEDs, picture lights, and low-level guides so circulation feels calm, not harsh.
- Tune beam angles, color temperature, and switching zones so the room shifts from energetic to intimate in seconds.
Test at night before final sign-off.
Make a Kitchen Feel Bespoke (Not Bigger)
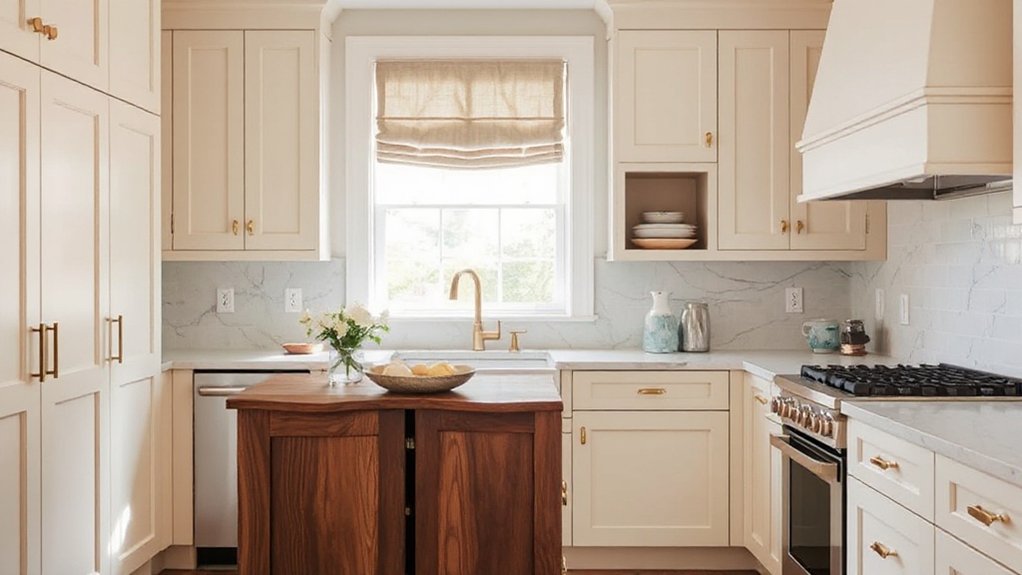
Because most kitchens already chase square footage, you’ll get a more bespoke result by sharpening proportions, detailing, and how the room works at arm’s reach.
Start with alignment: set consistent datum lines for uppers, open shelves, and hood trim so everything reads intentional. Specify a single reveal size, then repeat it on doors, panels, and end gables for quiet precision.
Upgrade touchpoints—solid pulls, a proper latch, and a thicker edge profile on counters—so every grab feels considered.
Add Custom furniture where it counts: a fitted banquette, a freestanding prep table, or a built-in pantry with adjustable interiors.
Finish with Personalized decor that’s functional—arched utensil rails, framed menus, and curated ceramics—kept to one palette.
Add Bespoke Bathroom Details (Tile, Niches, Trim)
If you want a bathroom to feel bespoke, treat tile, niches, and trim as architectural decisions—not decoration. You’re composing a calm, tactile room where every line lands with intention. Choose one hero material, then control the joints, edges, and reveals so the installation reads like millwork, not surface finish. Use Luxury accents sparingly, and let Personal touches show through proportion and placement.
- Align grout lines with vanities and door casings so the room feels quietly “made.”
- Build shower niches to fit your bottles, then frame them with mitered trim for shadow.
- Wrap tile into the window return to create depth and a sense of shelter.
- Cap wainscot edges with stone or metal to catch light and signal permanence.
Avoid Bespoke Details That Look Forced
Bespoke work only reads as “made for you” when it serves the room’s architecture, not when it advertises itself. Start by mapping sightlines, door swings, and natural focal points, then place custom moments where they solve a problem: storage gaps, awkward soffits, radiator recesses, or dead corners. If a feature doesn’t improve proportion, circulation, or function, it’s likely forced decor.
Keep the vocabulary consistent. Repeat one timber species, one metal finish, and one profile so bespoke pieces feel inevitable. Avoid superficial details like random scallops, gratuitous inlays, or “signature” hardware in every room. Scale matters: deepen reveals, align grout joints, and stop trim cleanly into casing.
Finally, edit. One strong custom gesture per zone beats a house full of nervous tweaks.
Frequently Asked Questions
How Do Bespoke Upgrades Affect Resale Value in Different Housing Markets?
Bespoke upgrades can boost resale when you match Luxury amenities to local buyer tastes, but Market variability changes returns. In hot luxury markets, you’ll recoup more; in budget areas, you’ll risk over-improving and discounting.
Do Bespoke Elements Require Special Permits or HOA Approvals?
Yes—bespoke elements can trigger Permitting requirements and HOA approval. If you fear red tape, sketch the concept first; you’ll spot violations early. Check exterior changes, structural work, plumbing/electrical, and visible fixtures.
What Maintenance Schedule Keeps Bespoke Finishes Looking Their Best?
You’ll keep bespoke finishes pristine with weekly Cleaning routines, monthly inspections, and quarterly protective reapplication. You’ll address durability considerations by using pH-neutral products, immediate spill cleanup, annual professional refinishing, and seasonal humidity control to prevent movement.
How Long Do Custom Fabrication and Installation Typically Take?
It can feel like forever, but you’ll typically wait 6–14 weeks: 1–3 for Material selection and drawings, 3–8 for fabrication, 1–3 for installation. Design flexibility and site readiness can stretch timelines fast.
How Can I Verify a Craftsperson’s Quality Before Committing?
Verify quality by reviewing a craftsman reputation: inspect completed projects in person, request shop drawings, material specs, and finish samples. Demand quality assurance—written tolerances, warranties, and a staged mockup—then call past clients about timeline.
Conclusion
Think of your home as a well-cut suit: bespoke isn’t louder, it’s truer. You start with the easy alterations—hardware, millwork, lighting—then tailor details to how you actually live. You set a clear budget, choose DIY where precision allows, and hire pros when tolerances matter. You design lighting for both mood and work, refine kitchens and baths with niches, trim, and tile, and skip flourishes that feel costume-like.