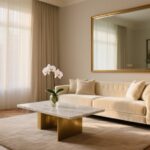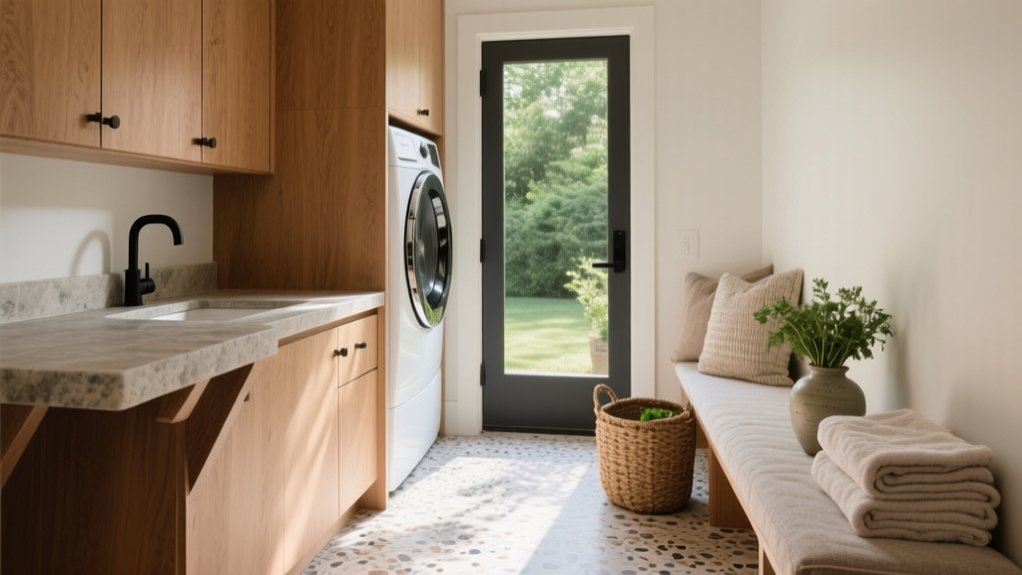

You shift from utility to experience when you design around how you actually move, feel, and function. Start with a 10-minute room lap to spot reach points, pinch zones, harsh sightlines, and micro-annoyances like noisy drawers or unreachable switches. Map your real routines, then set three goals per room: orient, act, reassure. Add layered lighting, calm materials, and vertical, shallow storage that keeps one surface clear. Keep going and you’ll see how small tweaks transform daily ease.
What Is Experience-First Home Design?
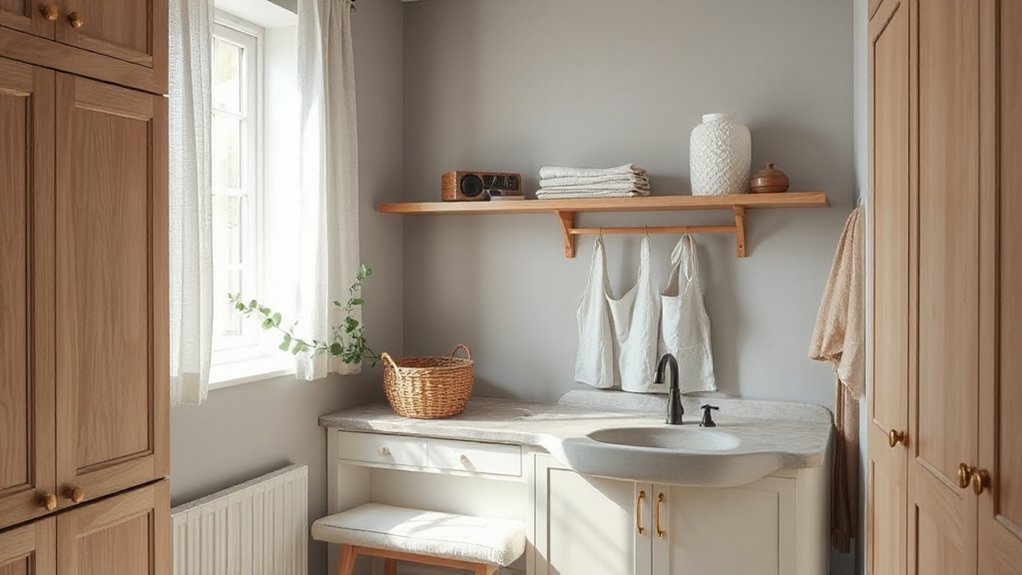
As homeowners shift from optimizing square footage to optimizing daily life, experience-first home design puts how you feel and function in a space ahead of rigid layouts and one-size-fits-all “utility.” It starts with your routines—waking, cooking, working, unwinding—and translates them into intentional choices: sightlines that calm, lighting layers that support circadian rhythm, acoustics that reduce stress, and flexible zones that adapt as your needs change.
You design for Emotional connection by choosing materials, colors, and objects that cue comfort and identity, not just durability. You prioritize sensory engagement: tactile pulls, quiet-close hardware, temperature control, and layered scents and textures.
You map circulation to reduce friction, keep essentials within reach, and create micro-moments of delight that make everyday rooms feel restorative.
Do a 10-Minute Everyday-Room Experience Audit
Before you buy a single new piece, run a fast experience audit on the room you use every day—living room, kitchen, bedroom, or home office—to spot the friction points that quietly drain your time and energy.
Set a 10-minute timer and do one slow lap, like a hospitality pro checking a suite. Note how you enter, where you naturally pause, and what you reach for most.
Then check sightlines and circulation: does the furniture arrangement support smooth movement and conversation, or force detours?
Scan vertical layers—lighting, window treatments, and wall zones—so tasks and downtime feel distinct.
Finally, evaluate your color palette: does it cue calm focus or visual noise?
Capture three quick photos; they’ll reveal mismatches instantly.
Find Daily Friction Points (Quick Checklist)
Start by mapping your morning bottlenecks—track where you pause, backtrack, or wait, from coffee to keys to getting out the door.
Then spot repeated micro-annoyances (the sticky drawer, the missing charger, the light switch that’s never where your hand expects) because these small frictions compound into a daily tax.
Finally, note clutter and detours by tracing your most common paths and flagging anything that forces extra steps, extra reaches, or extra decisions.
Map Morning Bottlenecks
Even if your mornings look “fine” on paper, tiny friction points—waiting on the coffee to brew, hunting for keys, juggling apps for weather and calendar, or negotiating bathroom traffic—quietly compound into stress and lost minutes.
Map your Morning routines like a systems designer: sketch a 30-minute timeline from wake-up to out-the-door, then mark every handoff between rooms, devices, and people. Note where Traffic flow narrows—doorways, sink zones, closets, counter edges—and where two tasks demand the same surface at once.
Time each step for three weekdays, then compare: the slowest segment is your bottleneck, not your “laziness.” Photograph the spaces you touch most (entry, coffee station, vanity) and highlight reach distances, queue points, and backtracking paths. You’ll see where layout beats willpower every time.
Spot Repeated Micro-Annoyances
Once you’ve spotted your morning bottlenecks on a simple timeline, zoom in on the tiny irritations that trigger them—the repeatable micro-annoyances you brush off until they’ve quietly trained your routine to run slower. Treat them like UX bugs: small, frequent, measurable.
Run this quick checklist for three days: Do you hesitate because switches aren’t where your hand expects? Do drawers snag, lids stick, or pumps sputter? Do you lose momentum waiting for water to heat or lights to reach full brightness? Track appliance noise that forces you to raise your voice, pause a call, or rush a task. Notice micro privacy issues: sightlines from hallways, reflective surfaces, or smart speakers that make you self-edit. Log each annoyance with time, trigger, and workaround—you’ll reveal the highest-leverage fixes.
Note Clutter And Detours
Because clutter rarely announces itself, you’ve got to catch it in motion—where it forces detours, extra touches, and “temporary” drop zones that become permanent. Walk your usual routes and note every sidestep: around a chair-back “closet,” past packages by the door, to a drawer that jams. Track touch points too—keys moved twice, mail shifted three times, a bag relocated before you can sit.
Quick checklist: Do you clear a surface before using it? Do you hunt for chargers, scissors, or tape weekly? Do you dodge baskets on the floor? Does a “to-file” pile live longer than a day? Each yes signals Visual clutter and a failing handoff.
Fix by assigning one landing zone per item category and tightening Personal organization with labeled, shallow bins.
Map Your Real Routines Before You Redesign
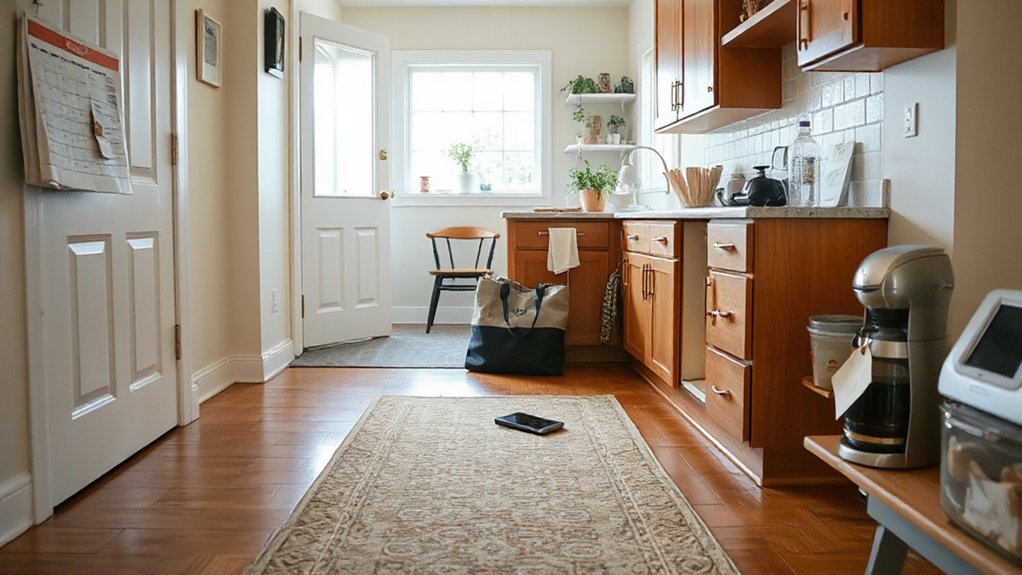
Before you change a screen, a workflow, or an onboarding sequence, map what people actually do—not what your process docs claim they do. Start with Routine reflection: shadow a day, capture timestamps, and note triggers, handoffs, and workarounds.
Then do Habit mapping: chart repeat actions, skipped steps, and “silent” decisions (copy/paste, tab-switching, asking Slack).
Use lightweight instruments—diary studies, session replays, and quick intercepts—to validate patterns across roles. Quantify friction with counts (clicks, context switches, retries) and tie it to moments that matter: first success, error recovery, and completion.
You’ll spot mismatched mental models, hidden dependencies, and unnecessary waits. Only after this map is real should you touch IA, copy, or flow, because otherwise you’ll optimize a fantasy.
Set Three Goals for Each Everyday Room
If you treat every everyday “room” in your product—dashboard, inbox, editor, settings, checkout—as a place people enter with intent, you can stop designing for generic utility and start designing for outcomes.
For each room, set three goals: orient, act, and reassure.
Orient means you surface “where am I, what changed, what matters now” with scannable hierarchy, progressive disclosure, and clear status.
Act means you optimize the primary job-to-be-done: one dominant CTA, tight defaults, and shortcuts that reduce cognitive load.
Reassure means you confirm safety and progress: inline validation, undo, and trustworthy microcopy.
Treat Creative decor like purposeful affordances, not ornament—icons, motion, and empty states that teach.
Use Color palettes to encode priority, state, and confidence consistently across rooms.
Build a Clutter-Free Entryway Landing Zone
When someone opens your product, they need an entryway that clears mental noise fast—so treat the landing zone as a designed threshold, not a dumping ground. Define a “drop” sequence: keys, bag, shoes, mail. Then give each step a dedicated, right-sized home within arm’s reach.
For entryway organization, anchor the zone with a slim console or wall shelf, a tray for pocket items, and a single hook rail sized to your household. Add a lidded catchall for returns-to-owner, and a vertical sorter to stop paper spread.
For clutter management, cap capacity: one shoe mat, one bin per person, and a weekly reset timer. Choose matte, wipeable finishes and closed storage to keep visual calm while staying modern and durable.
Make Hallways Easier to Walk and Use
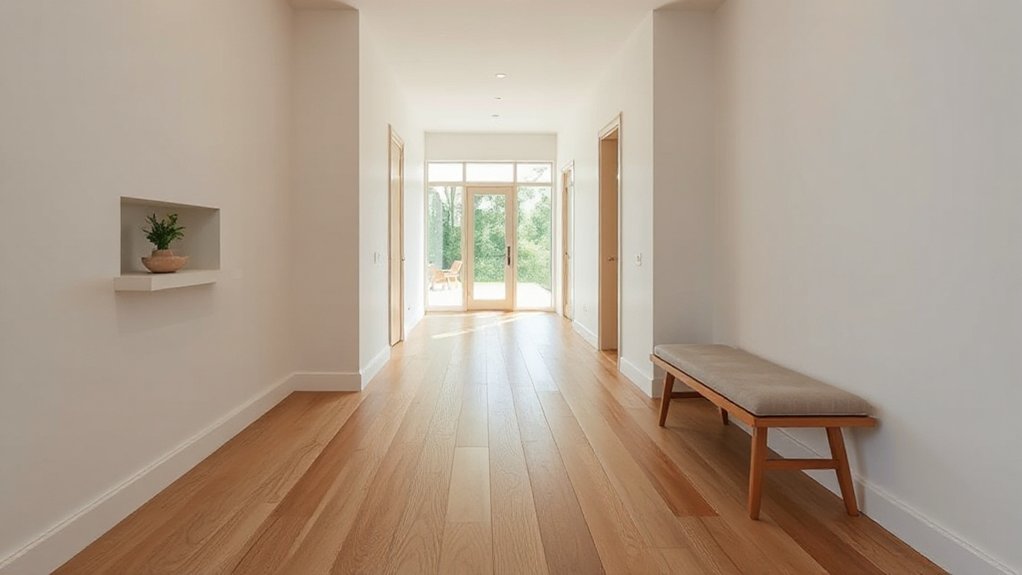
Treat your hallway like a circulation spine: you’ll keep pathways and zones clear by editing protruding furniture and setting a consistent walking width.
You’ll layer lighting—ceiling ambient plus wall washers or low-level guides—so corners read cleanly and nighttime trips feel effortless.
Then you’ll add slim storage and a perch-style seat in key spots, turning a pass-through into a functional, high-use corridor.
Clear Pathways And Zones
Although hallways often get designed as leftover space, you can turn them into high-performing circulation zones by defining clear pathways and purposeful “parking” areas along the edges. Start by choosing a consistent centerline route and protect it: keep the middle visually quiet and physically open so movement feels effortless.
Then zone the perimeter into micro-stations—drop, display, or passage—without encroaching on the walk lane. Use furniture arrangements that read as intentional: align edges, square corners, and keep depths uniform for a tailored look.
Tie the zones together with color palettes that shift subtly from room to room, creating wayfinding without signage. Finish by checking door swings, clearances, and pinch points so every step stays smooth daily.
Lighting, Storage, And Seating
How do you make a hallway feel effortless instead of cramped? Start with layered light: a soft Ambient glow from slim ceiling fixtures or wall washers keeps edges visible, while Task illumination at hooks, mirrors, and the drop zone stops fumbles at night.
Keep storage vertical and shallow—12 inches deep is plenty—so you don’t steal circulation. Use closed fronts or uniform baskets to quiet visual noise, and add a narrow ledge for keys instead of bulky consoles.
For seating, choose a floating bench or a perch-style chair with open legs; it reads lighter and leaves toe space for walking. Finish with one durable runner to guide movement and reduce slip risk too.
Make the Kitchen Flow Better Every Day
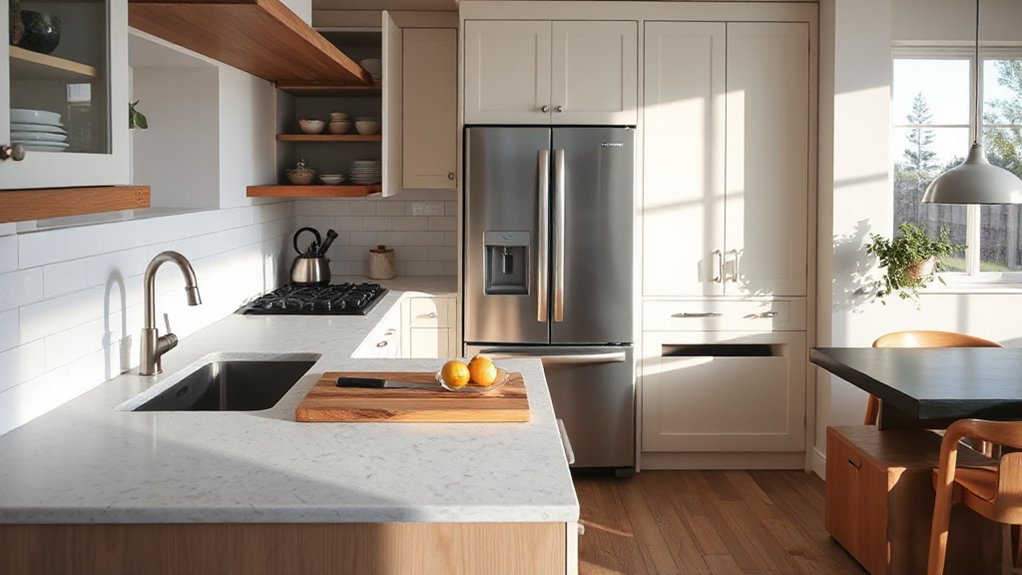
When your kitchen’s layout supports the way you actually cook, everything speeds up—prep stays contained, cleanup feels lighter, and the room reads more like a streamlined workspace than a storage zone.
Map your “triangle” to your habits: fridge to sink to cooktop, with clear landing zones at each point. Keep knives, boards, and bowls within one step of your main prep surface, and store pans near the range.
Use drawer dividers and vertical tray slots to stop pileups. Add a pull-out trash/recycle at prep, and a dedicated coffee or snack station to reduce cross-traffic.
Finish with Personalized decor that’s functional—rail systems, labeled canisters—built from Eco friendly materials like FSC wood, recycled glass, and low-VOC finishes.
Fix Bathroom Lighting Where You Actually Stand
If your bathroom lighting looks fine on paper but fails at the sink, you’re lighting the room, not the mirror zone where you actually stand.
Put vertical fixtures or sconces at face height on both sides of the mirror to cut shadows, then back it up with a softer ambient layer for even fill.
This layered task-and-ambient approach is the current standard for bathrooms that feel polished and perform every day.
Light The Mirror Zone
Right in front of the vanity, most bathrooms fail you—overhead cans cast shadows under your eyes and chin, and a backlit mirror can turn your face into a silhouette.
Treat the mirror zone like a face studio: place vertical fixtures on both sides of the mirror, centered at eye level, so light hits evenly from cheek to jaw.
Aim for 300–500 lux on your face, with high-CRI LEDs (90+), so makeup and skin tones read true.
Keep color temperature around 2700–3000K for flattering mirror illumination.
Choose frosted lenses or diffusers to avoid hotspots and glare on glass, boosting reflection enhancement.
Wire dimming for day-to-night tuning without changing the fixture layout.
Layer Task And Ambient
Although the mirror gets the glory, you actually live in the “stand zone” between vanity, toilet, and shower, so layer task and ambient light to match how you move.
Start with Ambient layering: a dimmable, high-CRI ceiling fixture or slim downlights that wash the floor evenly, not just the counter.
Then add task differentiation where your body blocks light—vanity kick lighting for nighttime navigation, a wet-rated shower downlight aimed forward, and a discreet wall sconce near the toilet for grooming or skincare breaks.
Keep color temperature consistent (2700–3000K) so skin tones don’t shift as you pivot.
Put layers on separate circuits, or use scene controls: “Morning,” “Night,” and “Shower.”
You’ll stop squinting and stop casting shadows.
Calm Your Laundry Routine With Smarter Setup
Where does laundry stress start—before the first load even hits the drum? It usually begins with a cluttered workflow. Set up Smart sorting with labeled, stackable bins for lights, darks, delicates, and “rewear,” positioned between hamper and washer so you don’t reshuffle piles.
Mount a slim folding ledge at standing height and keep a catch tray for lint, loose buttons, and stain pens.
Dial in detergent dynamics by decanting into clear, measured dispensers and pairing them with a quick-reference dose chart for load size, soil level, and water hardness.
Add a pull-out caddy for boosters and color-safe bleach, then store backups up high to cut visual noise.
Finish with hooks for air-dry items and a timer you’ll actually notice.
Make “In-Between” Spaces Feel Intentional
You can’t treat hallways, landings, and laundry-room thresholds as leftover square footage—give each one a clear passage role, like staging baskets, parking cleaning tools, or cueing the next task.
Then layer in sensory design cues that signal “you’re moving,” such as a runner with grip, warmer 2700K lighting, and a subtle scent or soft-close hardware to cut noise.
When you define purpose and tune the senses, these in-between zones stop feeling like gaps and start acting like intentional moments in your routine.
Define Transitional Purpose
How do hallways, landings, and pass-through zones stop feeling like dead space and start earning their square footage? You give them a functional purpose: a clear job that supports daily flow, reduces friction, and signals where you’re headed next. Think of these areas as micro-rooms with defined inputs and outputs, not leftover corridors. This mindset accelerates space evolution, because each threshold adapts as your routines change.
- Create a drop zone: hooks, tray, and charging shelf near entries
- Turn landings into a pause point: small desk, mail sorter, calendar rail
- Use pass-throughs as service lanes: pantry access, bar niche, linen reach
- Add storage that stays flush: shallow cabinets, toe-kick drawers, tall cubbies
Measure clearances, map paths, and design for hands-full moments.
Add Sensory Design Cues
Functional purpose gets the traffic moving; sensory cues make the movement feel designed. In hallways, landings, and pass-throughs, you choreograph pace with light temperature, texture underfoot, and sound absorption.
Use a warm 2700K wall wash to slow arrivals; switch to brighter 3000–3500K near task zones to signal action. Add a runner with subtle ribbing so your feet read direction without thinking.
Layer a quieting material—felt panels, heavy drapery, cork—to soften echo and reduce stress spikes.
Build emotional triggers through scent and touch: a cedar-lined coat niche, a leather pull, a cool stone ledge for keys. Keep cues consistent, not loud—one signature note per threshold. That’s how “in-between” becomes intentional.
Pick Materials That Feel Good Day to Day
While layouts and features grab attention, it’s the materials you touch daily that decide whether a space feels effortless or irritating. Start by auditing friction points: sticky cabinet fronts, chilly tile at dawn, fabrics that pill, and counters that show every fingerprint. Today’s best rooms balance durability with sensory comfort, pairing honest Material textures with calm, flexible color palettes that don’t fatigue you.
- Choose matte or satin finishes where hands land most; they hide wear and feel smoother.
- Favor warm-touch surfaces like oiled wood, cork, or textured laminate over glossy stone in high-contact zones.
- Use performance fabrics (solution-dyed, tight weaves) so seating stays soft but cleans fast.
- Keep hardware consistent in feel—knurled metal or soft-edge pulls prevent slips and snagging.
Test samples at home, barefoot and in real use.
Layer Lighting to Change How Rooms Feel
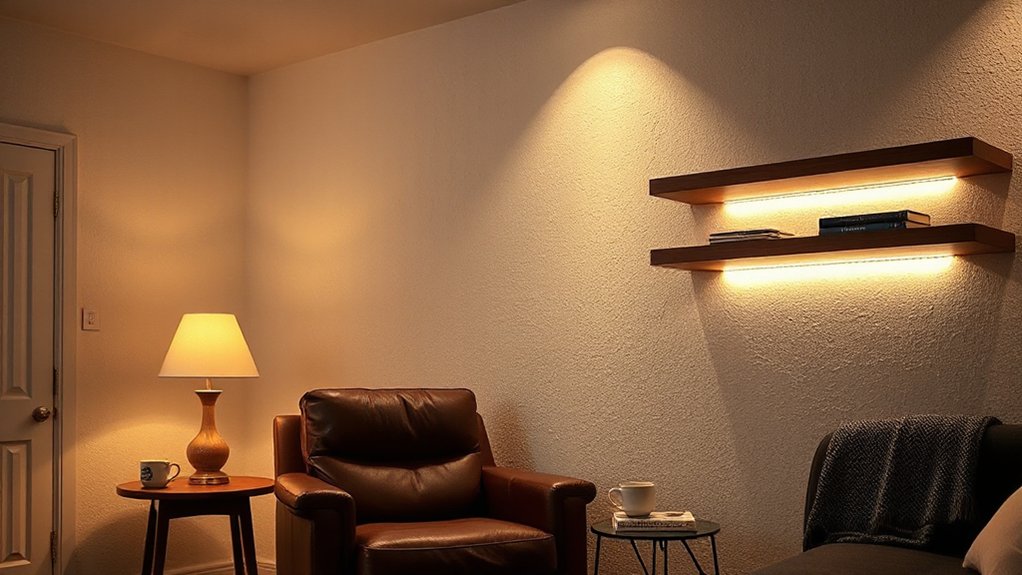
In what ways can a room feel calmer, taller, or more intimate without moving a single wall? You do it with Light layering: combine ambient, task, and accent sources so you control mood by scene, not by a single overhead.
Start with a dimmable ceiling wash for baseline comfort. Then add task lights where your hands work—pendants over counters, an adjustable sconce by the bed, a focused desk lamp.
Finish with accents that sculpt: wall grazers to stretch height, picture lights to add depth, and low-level floor lamps to soften corners. Tune color temperature to Color psychology: 2700K reads restorative, 3000K feels social, and cooler light sharpens focus.
Put it on smart controls so transitions feel effortless.
Use Storage That Keeps Everyday Rooms Clear
Even if you love a lived-in look, your rooms feel calmer and more intentional when you give everyday items a dedicated “drop zone” that disappears on cue. Treat storage like infrastructure: it should work hard, read quiet, and support your routines without visual noise. Choose aesthetic storage that matches your finishes, then add Hidden compartments where clutter tends to land.
- Install slim console drawers for keys, mail, and chargers near the entry
- Use lidded baskets in open shelving so small items don’t “pixelate” the view
- Add toe-kick or bench-seat hidden compartments for shoes, toys, and linens
- Standardize containers in a single material palette for instant cohesion
Keep one surface per room deliberately empty, and you’ll maintain clarity even on busy days.
Frequently Asked Questions
How Much Does Experience-First Redesign Typically Cost for a Small Home?
You’ll typically spend $10,000–$50,000 for a small-home experience-first redesign, depending on scope and finishes. You’ll need cost analysis and budget planning for lighting, built-ins, acoustics, and sensory materials; permits can add costs.
Can Renters Apply These Ideas Without Making Permanent Changes?
Yes—you can apply these ideas as a renter using Temporary solutions and Rental friendly modifications: peel-and-stick wallpaper, removable hooks, tension rods, smart bulbs, layered rugs, portable storage, and art ledges, all instantly reversible and deposit-safe.
How Do I Balance Accessibility Needs With Minimalist Aesthetics?
Like a calm gallery, you’ll balance access and minimalism by prioritizing clear pathways and reachable controls, then hiding supports in plain sight. Use Color harmony and smart Material selection—matte finishes, tonal contrasts, discreet grab bars, streamlined lighting.
Which Upgrades Deliver the Biggest Impact When Time Is Limited?
You’ll get the biggest impact fast by swapping fixtures for Mood lighting, adding Smart technology controls, revitalizing paint, upgrading cabinet pulls, and decluttering surfaces. Prioritize one statement element, then improve comfort with a quality rug.
How Do I Measure Whether the Room Experience Actually Improved?
You measure improvement by collecting feedback methods: quick post-use surveys, short interviews, and passive observation. Track satisfaction metrics like comfort ratings, task completion time, repeat use, and complaints, then compare baselines weekly.
Conclusion
When you design from experience first, you stop treating everyday rooms like work zones and start letting them carry you. You’ve audited the pinch points, mapped real routines, and set clear, three-part goals. Now tighten the “in-between” moments—entry, hallway, landing—so they feel like a soft exhale, not a gauntlet. Choose touch-friendly materials, layered lighting, and closed storage, and your home won’t just function—it’ll quietly welcome you back.