


You can transform your kitchen on a budget by tackling targeted upgrades that pay off in daily use. Start with a clear plan: define your budget, set priorities, and mix DIY touches with smart purchases like hardware swaps, peel-and-stick backsplashes, and cost-effective lighting. Small changes add up, from cabinet refreshes to storage solutions, all while staying practical. Ready to weigh options and map a simple timetable that keeps costs predictable and results steady?
Define Your Budget and Upgrade Goals
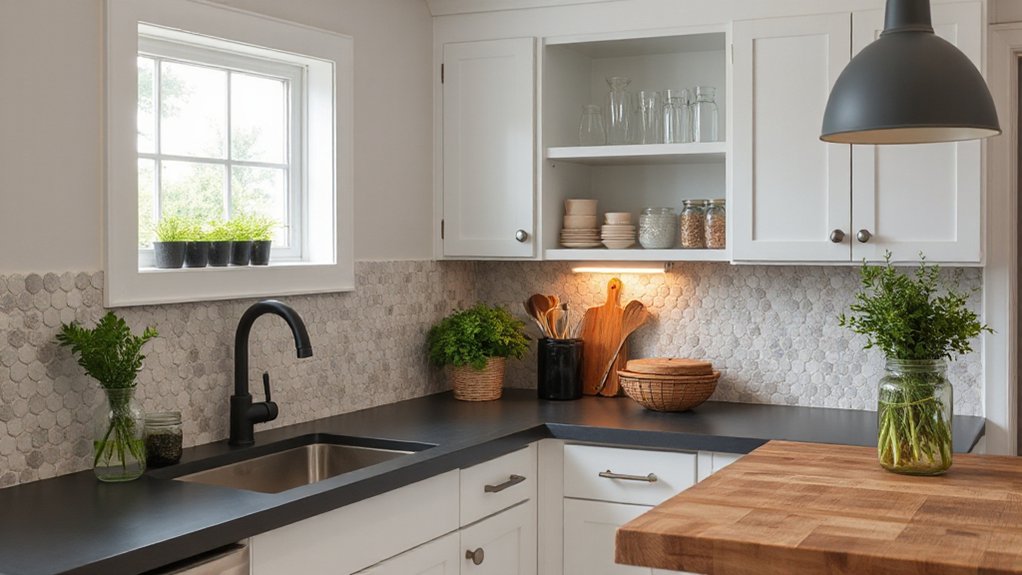
Setting a clear budget and defining your upgrade goals upfront helps you prioritize tasks and avoid costly detours. You’ll start with Budget planning: detail your total spend, allocate portions for essentials, and set a hard ceiling for each category.
Next, do goal setting: list what you want most—new counters, brighter lighting, better storage—and rank them by impact and feasibility. Tie goals to a realistic timeline and your daily routines, ensuring each choice serves long‑term value, not just momentary appeal.
Track costs as you go, updating estimates with actuals to stay on target. Be honest about constraints, such as installation complexity or material lead times.
This clarity streamlines decisions, keeps projects focused, and prevents scope creep.
Plan Projects by Priority and Budget
Now that you’ve defined your budget and upgrade goals, the next step is to plan projects by priority and budget. Start with a simple matrix: list tasks, estimated costs, and impact. Rank items by how much they improve daily use, then allocate funds to the top picks first.
Consider the kitchen layout when sequencing work; small layout tweaks can release bigger gains without a full remodel. Prioritize tasks that remove bottlenecks or improve safety, such as better lighting over cabinets or countertop updates where you prep most.
For appliance placement, plan around workflow—store near prep surfaces, and group hot zones to minimize steps. Leave a contingency for unexpected needs, and schedule projects so you finish on budget and with minimal disruption.
Refresh Cabinets With DIY Paint or Stain
Before you start painting or staining, prep is your first step—clean, sand, and repair any flaws so the finish sticks and looks even.
Choose a finish that fits your kitchen style and use two coats max for durability without drift in shine.
Keep the prep and finish steps tight to align with your budget and goals.
Prep Before Paint
To refresh your cabinets with DIY paint or stain, start with a clean slate: remove doors, hardware, and drawers, then protect nearby surfaces.
Before you mix colors, plan your approach around color psychology and how lighting affects tone. Light shades can brighten tiny spaces, while deeper hues add drama; consider doors stacked with light walls for balance.
Sand existing finishes lightly to create grip, using 180- to 220-grit paper, and wipe away dust. Fill any dents or grain irregularities with wood filler, then re-sand until smooth.
Prime bare wood or glossy surfaces to guarantee even adhesion.
Choose a paint technique that suits your project—brushed for a classic, smooth look, or ragging for texture.
Label hardware locations and allow adequate dry time between coats.
Choose Finishes Wisely
When you refresh cabinets with DIY paint or stain, choosing the right finish ties the look to durability and cleanability. Finishes selection matters because it defines resistance to scuffs, stains, and moisture in a kitchen.
For painted cabinets, consider a semigloss or satin topcoat that’s easy to wipe down without showing every fingerprint. If you’re staining, pair with a durable polyurethane or acrylic finish to protect wood while preserving grain.
Match sheen to your cabinet style: glossy for modern spaces, matte for traditional setups.
Consider material durability: softwoods take stain well but may require more coats; hardwoods hold paint better with proper sanding and priming.
Budget tip: buy sample cans, test on a scrap, and lean toward water-based products for lower odor and quicker cure.
Swap Hardware for an Instant Update
Swapping cabinet hardware is a quick, budget-friendly way to refresh your kitchen. You can choose pulls, knobs, or handles that fit your cabinet style and existing finishes, then install with ordinary drill bits.
Measure centers and depths first so everything aligns, and mark drill holes precisely to avoid slippage. Pick a finish that complements appliances and faucet—brushed nickel, matte black, or brass can create a cohesive look without a full remodel.
The hardware swap is adaptable: swap only a few pieces for a subtle update or replace all hardware for a bold transformation. Keep screws uniform in length to prevent wobble, and cover old screw holes if necessary.
This simple upgrade delivers an instant update with minimal downtime.
Budget-Friendly Lighting Upgrades: Task, Ambient, Accent
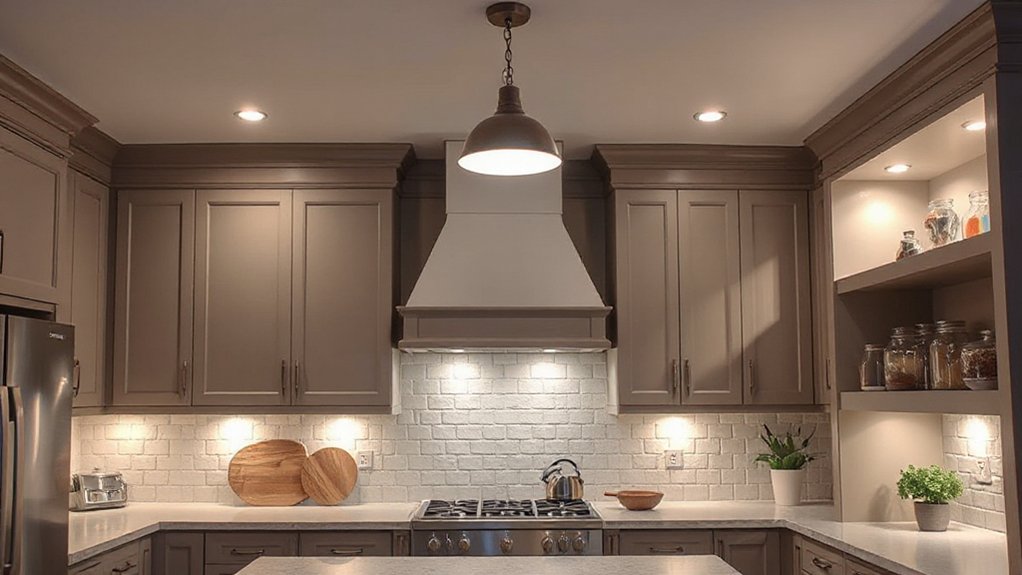
Upgrading lighting is a cost-effective way to finish the look you started with hardware swaps.
In a kitchen, focus on three layers: task, ambient, and accent.
For task lighting, mount bright, cool bulbs over counters and work zones, using under-cabinet strips or adjustable pendant lights to reduce shadows and improve precision.
Ambient lighting should fill the room without glare; consider dimmable ceiling fixtures or recessed lights to set the mood.
Accent lighting highlights architectural features or decorative fixtures, such as a small rail of decorative fixtures or a cabinet display, adding depth.
Use natural lighting where possible by sheer or open windows, and complement with window-friendly colors.
Keep switches simple and lines clean for a cohesive, practical upgrade.
Affordable Backsplash Ideas That Make a Statement
Brighten up your kitchen without blowing your budget by choosing affordable backsplash ideas that still make a statement. You’ll transform the space with bold, low-cost choices that look intentional and finished. Practical options focus on color, texture, and reflectivity to enhance light and depth.
- Decorative tile patterns on a single strip or subway layout
- Glass mosaic sheets for a glossy, easy-install backsplash
- Peel-and-stick backsplash with metallic accents
- Floating tile borders to frame cabinetry
- Reclaimed or budget-friendly tile that mimics high-end looks
Tips: choose a durable, stain-resistant finish, and plan for grout that contrasts for more visual impact. Prioritize simplicity to avoid overwhelming small kitchens.
With thoughtful selection, you’ll achieve a stylish backdrop without breaking the bank.
Smart Storage Hacks That Don’t Require More Space
Even in a small kitchen, smart storage can punch above its weight—without adding square footage. You can optimize by using hidden compartments in existing cabinets to stash flat lids, wraps, and bulky foils.
Install shelf risers to create vertical stacking, letting you double the usable space for plates, bowls, and spices without widening the footprint.
Hang utensils on a magnetic strip near the prep zone, freeing drawer space for tools you actually use.
Choose clear, stackable containers so you can see contents at a glance, reducing rummaging.
Utilize the inside of cabinet doors for cutting boards, sheet pans, or measuring spoons.
Consolidate rarely used appliances into a single, pull-out bin.
These subtle tweaks yield practical, space-conscious organization.
Update Faucets and Minimal Plumbing Details
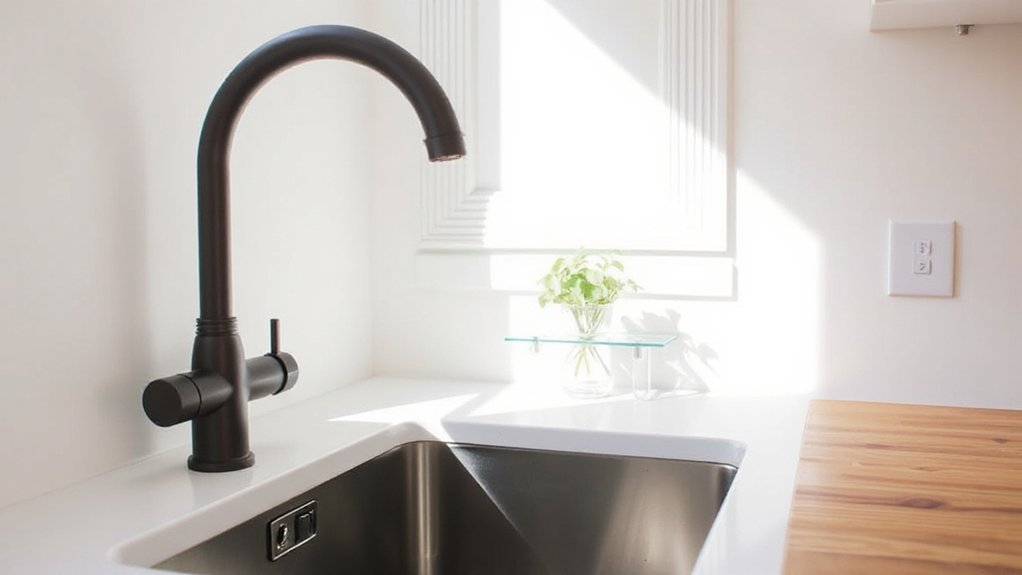
Faucets are where function meets style, and a smart update can dramatically improve daily use without a big remodel. You’ll reduce water waste and boost usability with a well-chosen faucet replacement, plus minimal plumbing details that stay simple to maintain.
- Check water flow and compatibility before buying
- Choose a low-flow model to save on utilities
- Update supply lines if fittings look worn
- Seal connections to prevent leaks
- Document changes for future plumbing troubleshooting
A quick test after install confirms fixtures perform smoothly. Keep a basic wrench and plumber’s tape handy, and avoid over-tightening connections.
If you notice persistent drips, reassess seals or replace faulty cartridges. With deliberate choices, you upgrade aesthetics and reliability without a full remodel.
Budget Countertop Alternatives That Look Great
There are budget-looking countertop options that still read well and last, so you don’t have to overpay for style.
Choose durable, easy-care materials that stand up to daily use and wipe clean easily.
We’ll compare looks, maintenance, and cost to help you pick surfaces that fit your kitchen without breaking the bank.
Budget-Looking Counter Options
For a fresh look without breaking the bank, consider budget-friendly countertop options that mimic pricier materials. You’ll achieve style without the sticker shock, using practical swaps that don’t complicate installation. Focus on durable, easy-to-clean surfaces and simple edges that suit real kitchens.
When you plan, think about countertop materials that balance cost with performance, and don’t overlook lightweight options that are easier to install. Pair with smart backsplashes to enhance the illusion of luxury, while keeping overall project costs in check.
- Laminate that mimics stone for affordable texture
- Solid-surface sheets with seamless seams
- Reclaimed wood or butcher block for warmth
- Vinyl or quartz-look tiles for quick updates
- High-pressure laminate mounted over existing counters
Note: countertop installation tips keep the process straightforward and budget-friendly.
Durable, Easy-Care Surfaces
If you want budget countertops that stand up to daily use, pick durable, easy-care options that look great with minimal fuss. Durable, budget-friendly surfaces don’t require constant upkeep, so you’ll save time and money.
Consider materials that resist scratches, stains, and heat, while still offering a cohesive look in your kitchen. Laminate options can mimic stone at a fraction of the cost and clean with a quick wipe.
Solid-surface alternatives provide seamless maintenance and simple repairs if chips occur. Look for nonporous finishes to reduce surface maintenance and prevent staining.
Keep color and texture in mind for durability under daily wear. Prioritize countertop durability, then assess care routines that fit your routine and budget.
Avoid high-maintenance materials that demand frequent sealing or special cleaners.
Update Appliances on a Shoestring Budget
Upgrading appliances on a shoestring can still deliver real kitchen improvements without busting your budget. You’ll optimize results by smart sourcing, simple fixes, and timely maintenance. Prioritize efficiency, compatibility, and lasting value over flashy features. Focus on appliances you actually use daily, and room-for-moderate upgrades rather than complete replaces.
Keep appliance maintenance in mind—clean coils, replace filters, and seal door gaskets to extend life. Check warranty considerations before buying, and read small-print coverage for labor and parts. Consider refurbished models with favorable return policies, and don’t overlook energy star ratings to slash operating costs.
- Inspect existing units for repair before replacement
- Buy during sales or open-box events
- Prioritize energy efficiency and reliability
- Verify warranty terms and service options
- Schedule routine maintenance to extend life
Floor Refresh Tactics That Save Money
Considering floor refresh on a budget? You can start with peel-and-stain vinyl for a quick color update, or pair paint with tiles to create a fresh look without ripping out everything.
These options keep costs low while delivering a noticeable upgrade.
Peel-and-Stain Vinyl
- Check adhesion and plan your color before you start.
- Clean and degrease the surface for even coverage.
- Peel edges slowly to avoid tearing, then smooth.
- Apply stain in thin, even coats; don’t oversaturate.
- Seal with a compatible, durable finish for mopability.
With vinyl flooring, you gain a refreshed look without the cost of new sheets. Peel and stain is a practical, budget-conscious tactic that minimizes disruption and preserves underlying material.
Keep expectations realistic; surface imperfections may remain, but you’ll still win a cleaner, modern vibe.
Paint-Tile Pairs
Start by choosing a high-contrast or complementary paint color that highlights tile patterns without overpowering the room. Use a semi-gloss or satin paint finish for easy cleaning in kitchen traffic.
Tape off borders to keep clean lines and prevent bleed, and consider stenciled or geometric accents to add visual interest. Protect surrounding surfaces with drop cloths and a sealer on grout lines to reduce staining.
Test small areas first to gauge how color travels over time. With mindful application, tile patterns breathe new life, and paint finishes deliver durable, low-cost updates.
Paint Walls and Ceilings for Maximum Impact
If you want a kitchen that feels bigger and brighter, start with paint. You’ll choose colors that reflect your mood and workflow, using color psychology to set the tone. Light neutrals open spaces; soft blues or greens calm mornings; warm yellows energize cadence for cooks.
Apply even coats to ceilings to maximize light reflection, and consider wall texture for depth—slightly stippled or satin finishes hide imperfections. Match trim to wall color for cohesion, or go crisp white for contrast.
Inspect lighting and natural light before you pick a shade; a hue that looks great at noon may wash out at dusk.
- Test swatches under kitchen lighting to compare finishes
- Prioritize high-reflective colors for ceilings
- Use accent walls sparingly for impact
- Consider semi-gloss for easy cleanup
- Coordinate with countertops and cabinets
Handy Quick-Wins That Save Time and Money
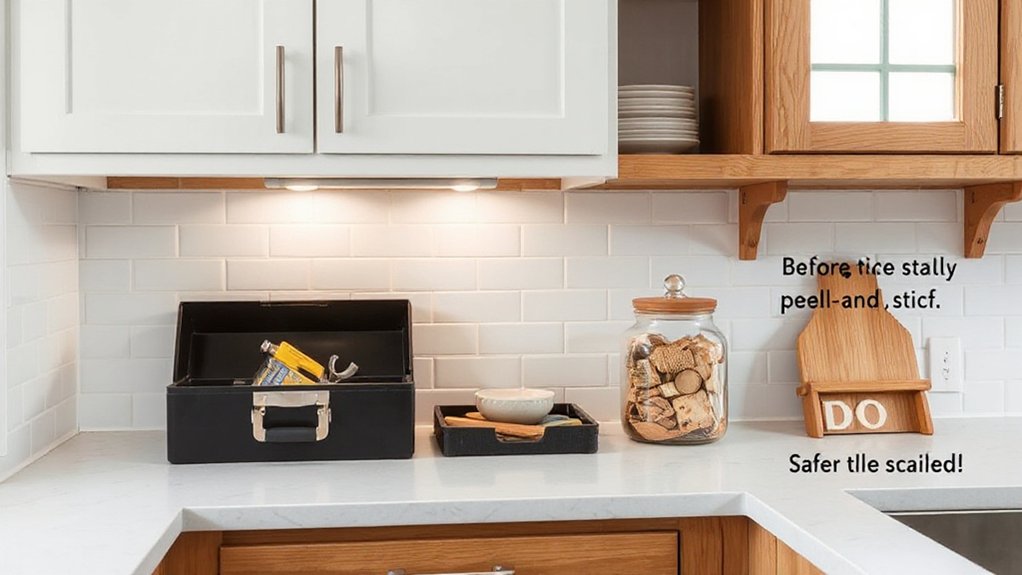
You’ll start with quick wins that trim time and costs, like a fast grout refresh and easy peel-and-stick backsplash tips.
A paint refresh can brighten the space without a full redo, and these moves add up to big savings.
Let’s explore practical, proven steps from Quick Tile Grout Cleaning to Save Big.
Quick Tile Grout Cleaning
Grout cleaning doesn’t have to drain your time or wallet. You can refresh a tiled backsplash fast with simple, repeatable steps that work. Start by sweeping and dry-mopping loose debris, then apply a charted cleaner or a baking-soda paste for a quick foaming lift.
Scrub with a stiff brush along the grout lines, rinse, and wipe to reveal brighter grout. For stubborn stains, reapply and let it dwell briefly before scrubbing again.
When you’re done, consider grout sealing to slow future grime and protect color, and plan a routine clean every few months. If staining persists, target stain removal with a color-safe cleaner.
Keep grout sealing and stain removal in mind for long-lasting results.
- Use a baking-soda paste for quick lift
- Scrub along grout lines with a stiff brush
- Rinse thoroughly, wipe dry
- Seal grout to protect color and ease future cleanups
- Target stain removal with a color-safe cleaner for tough spots
Peel-and-Stick Backsplash Tips
Peel-and-stick backsplashes are a fast, affordable upgrade you can tackle in a weekend. You’ll want to prep surfaces: clean, dry, and smooth; patch any flaws; and remove oil or grease.
Choose a decorative pattern you actually enjoy, then lay out tiles on the counter first to confirm alignment before sticking.
Work from a straight line, using a spirit level to keep rows even. Peel back and press firmly, smoothing air bubbles toward the edge with a squeegee or credit card.
Cut carefully around outlets and corners with a sharp utility knife.
For longevity, guarantee good adhesion by pressing for a full 30 seconds per tile and maintaining a clean edge seal. Adhesive longevity hinges on proper surface prep and consistent pressure.
Paint Refresh, Save Big
A fresh coat of paint can dramatically shift your kitchen’s look without a full remodel, and it won’t break the bank. You’ll choose colors with color psychology in mind to set mood and focus. Pick durable paints and proper prep to boost paint longevity, then seal edges for clean lines. Short, targeted projects pay off fast.
- Prep greens: clean, sand, and prime high-traffic zones for lasting finish
- Pick a durable, washable finish for easy cleanup
- Test color in lighting at different times of day
- Use accent walls to maximize impact without overspending
- Trim and cabinets get strategic, not full repaint, to save time
With planning, you refresh vibes, not budget.
Timelines, Cost Estimates, and Maintenance Plans
Planning the timelines, costs, and ongoing upkeep for your budget-friendly kitchen upgrades helps you stay on track and avoid surprises; start by outlining a realistic schedule, a transparent budget, and a simple maintenance plan.
You’ll map project phases, allow buffer time, and set clear milestones for prep, demolition, installation, and cleanup.
Build a cost estimate with line items for materials, labor, permits, and contingencies, then track expenditures against it weekly.
Prioritize material durability to reduce replacements, and include a long-term maintenance routine to sustain performance.
When choosing a contractor, prioritize proven experience, good references, and clear communication to avoid delays.
Document warranties, expected lifespans, and a plan for occasional refreshes that won’t blow your budget.
Frequently Asked Questions
How to Estimate Total Project Cost Quickly Without Surprises?
To estimate total project cost quickly, you budget planning by listing must-haves, researching prices, and adding 10–20% contingency; compare costs with a cost comparison calculator, then adjust scope to stay under target while avoiding surprises.
Which DIY Tasks Should I Delegate vs. Hire Out?
You should delegate risky tasks—electrical, plumbing, structural work—to pros, while you handle planning and cosmetic tasks. Prioritize DIY safety, use professional tools, and always verify permits, codes, and safety precautions before starting any project.
What Storage Hacks Boost Kitchen Usability First?
Start with cabinet organization: install adjustable shelves and labeled bins, so items are visible and accessible. Then pursue pantry optimization: clear, group similar foods, use clear containers, and add pull-out baskets for easy reach and better flow.
How Long Will Each Project Phase Realistically Take?
You’ll finish each phase in about 1–2 weeks, and you’ll save nearly 10% on energy with appliance upgrades and lighting enhancements. Plan for 4–6 weeks total, including sourcing, installation, and a final walkthrough.
What Maintenance Schedule Prevents Frequent Fixes Post-Update?
Set a monthly routine: schedule appliance maintenance and quarterly plumbing inspections, then address minor leaks, filter changes, and vent cleanings promptly. Track reminders, replace worn seals, and keep receipts for warranties to prevent frequent post-update fixes.
Conclusion
You’ve got this: with smart, budget-friendly tweaks, your kitchen will feel brighter and more functional without draining your wallet. Prioritize tasks, reuse what you have, and tackle quick wins like hardware swaps or fresh paint. Plan for lighting and storage upgrades that pay off over time, not just now. Remember the adage: “little by little, a little becomes a lot.” Consistency beats urgency—small improvements done steadily yield the best long-term results.


