


Fact: retrofitting underfloor heating can cut heating costs by up to 20% in well-insulated spaces. You’ll assess your floor structure, subfloor condition, and existing finishes, then choose between hydronic or electric systems. The install is niche and, if misapplied, pricey or disruptive. Ready to weigh your floor type, insulation, and future comfort against budget and downtime to decide if a retrofit makes sense for you.
How Underfloor Heating Works: A Quick Primer
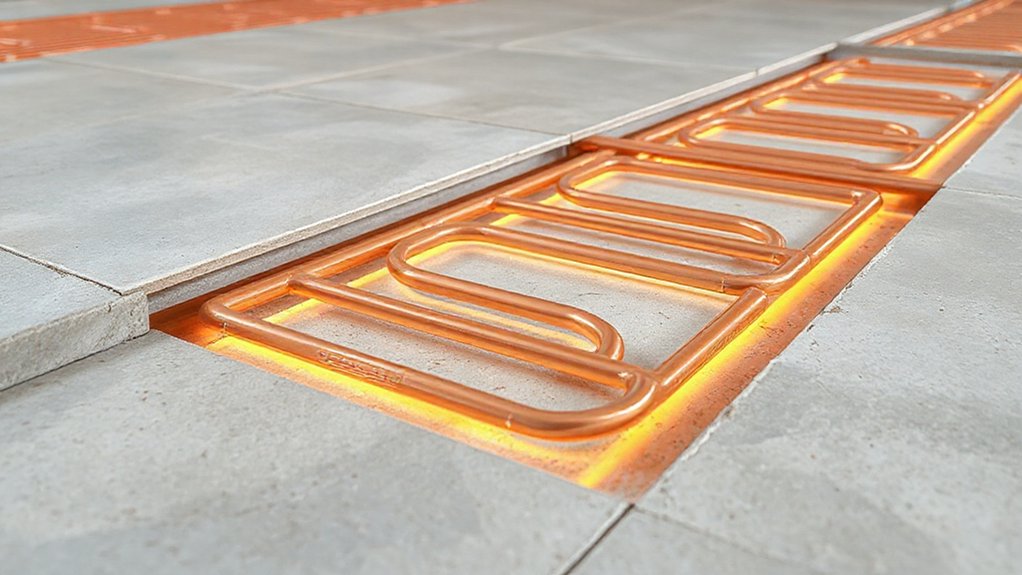
Underfloor heating works by circulating warm water through pipes (hydraulic) or heating cables beneath the floor, creating radiant heat that rises evenly into the room. You’ll feel steady warmth from the surface, with fewer drafts and cooler spots.
In a typical setup, a manifold distributes heat to zones, a thermostat controls target temperatures, and a pump maintains flow. You’ll choose between hydronic or electric elements based on project scope and existing systems.
Hydronic systems require a boiler and pumps; electric mats or cables install quickly in retrofit scenarios. Pay attention to floor type, insulation, and thermal mass to optimize response.
Aesthetic options and aesthetic integration come into play with cover plates, visible routes, and finish transitions, ensuring the system remains unobtrusive while delivering reliable comfort.
Is Retrofit Feasible for Your Floor? Flooring, Structure, and Subfloor Basics
You’ll start by checking flooring compatibility, noting whether your surface can support heated elements or if a secondary layer is needed.
Then, assess structural load considerations to confirm the joists, fasteners, and insulation can handle the added weight and heat, avoiding excessive deflection.
Finally, outline subfloor preparation needs, including moisture barriers and leveling, so you’re ready to install with minimal surprises.
Flooring Compatibility Check
Choosing the right flooring and subfloor setup is essential before you retrofit underfloor heating, because the system’s performance hinges on what lies beneath. You’ll assess floor covering compatibility first: confirm it’s thin enough for heat transfer and won’t trap moisture.
Solid wood can be challenging unless you allow for surface or subfloor modifications, while engineered wood and laminate often work with low-profile systems. Tile and stone distribute heat well but require careful insulation and thin-thickness tiling.
Check subfloor stability, moisture barriers, and an appropriate underlayment—these choices affect response time and even heat. Plan furniture arrangement to avoid obstructing radiant zones, and verify that any carpet or padding won’t insulate so much you lose efficiency.
If in doubt, test a pilot area with a temp probe.
Structural Load Considerations
Before you commit to retrofit, assess how your floor carries load and how that affects the system. You’ll examine framing, joist size, span, and the subfloor’s stiffness to determine if extra weight from pipes or mats is permissible.
Structural integrity matters: look for signs of flex, cracking, or sagging that could worsen under heat. Confirm your load capacity per area with a joist calculator or structural drawings, and compare that to the retrofit’s expected load, including insulation, reinforcing plates, and fasteners.
If you’re near limits, you may need structural upgrades or a lighter system option. Be realistic about transient loads, like furniture rearrangements and equipment, which can change loading patterns.
Document findings to guide installation decisions and avoid overloading the floor.
Subfloor Preparation Needs
Subfloor preparation is the make-or-break step that determines whether retrofit underfloor heating will work safely and effectively. Before you install anything, inspect moisture, flatness, and structure. Correct loose boards, secure subfloor panels, and address squeaks to prevent movement that can crack overlays.
Measure flatness with a long straightedge and plan for gradual progressions to avoid trenches under heat mats. Guarantee the subfloor can bear the load of new systems and finishes, creating a clean, debris-free base.
Plan for vapor barriers where needed and seal any gaps that could trap moisture. Consider decorative finishes and flooring aesthetics early, so your final surface remains even and durable.
Document repairs and keep compatible materials on hand to minimize construction delays.
Hydronic or Electric Retrofit: Which Fits Your Space?
When you’re choosing between hydronic and electric retrofit, start by outlining your space, project timeline, and energy goals.
Hydronic systems excel in larger areas with existing plumbing runs. You’ll need to weigh boiler capacity, piping layout, and floor coverage.
Electric mats or cables offer simpler installation for smaller zones or retrofit-only projects.
Consider upfront costs, running efficiency, and future control needs to decide which fit aligns with your space and budget.
Hydronic Retrofit Fit
Choosing a hydronic retrofit means weighing comfort, efficiency, and install scope against your space and budget. If you already have a boiler or access to radiant heat, this option can deliver steady warmth with minimal air movement.
You’ll plan routing for tubing within a concrete slab or between joists, then select a manifold layout and zone control to target rooms. Expect professional underfloor routing, drywall accommodation, and possible floor buildup adjustments.
Dry-feedback loops and a heat source can operate smoothly with consistent temperatures and reduced dust.
For aesthetics, consider decorative finishes and aesthetic options that conceal mechanicals while preserving access for servicing.
Confirm system zoning during design, ensure proper insulation, and budget for a pump, manifold, and pressure testing.
Electric Retrofit Fit
If you’re weighing an electric retrofit, the decision hinges on speed, simplicity, and space considerations: electric mats or wires install directly under the finished floor without a boiler or circulating pump, making it a leaner option for smaller zones or retrofit projects.
You’ll map out mat layouts to target cold spots and hard-to-heat areas, then choose a compatible thermostat and floor-surfacing method.
Installation focuses on clean subfloor prep, accurate spacing, and proper mat securing to prevent movement.
Consider over-floor covers if your design requires quick finish changes.
Leveling compounds or thin‑set substrates help maintain consistent heat transfer.
Decorative finishes and aesthetic options matter; select a floor finish that won’t insulate excessively or crack under heat cycles.
Plan for zoning, wiring access, and future maintenance access.
Heat Loss and Insulation: How to Gauge Your Home
To gauge heat loss accurately, start by mapping how your home loses energy through walls, ceilings, floors, windows, and doors. You’ll measure insulation levels in each area, identify drafts, and note temperatures in different rooms.
Prioritize airtightness tests and thermal imaging if you have access to them, so you can pinpoint hot spots and cold zones. Use this data to assess overall energy efficiency and where you gain or lose heat most.
Check for consistent moisture barriers and proper vapor control behind walls and under floors to prevent cold bridging. Plan targeted improvements first—seal gaps, upgrade attic and wall insulation, and improve window efficiency.
A focused approach reduces thermostat swings, improves comfort, and supports longer-term savings.
Estimating Retrofit Costs: Materials, Labor, and Hidden Fees
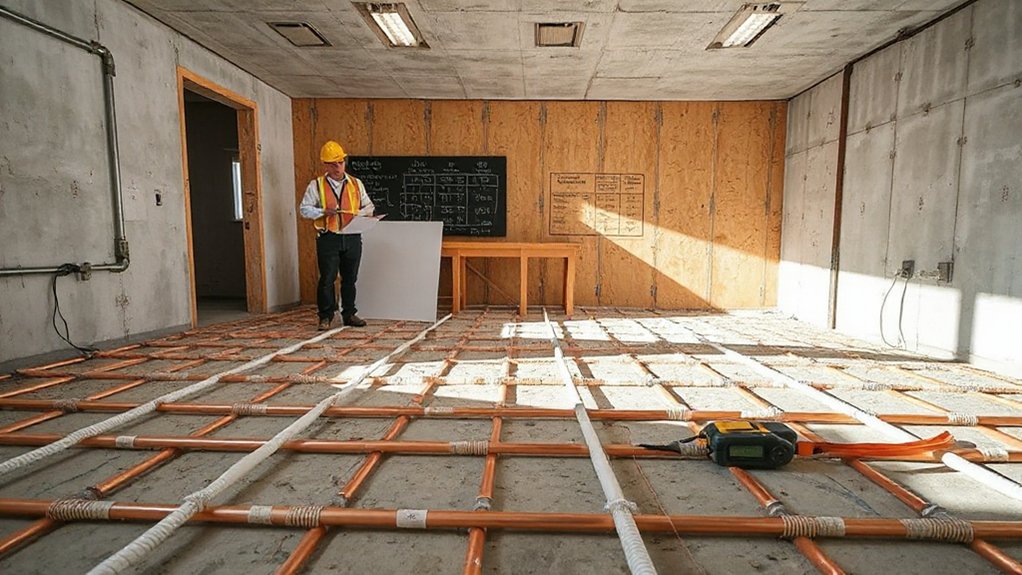
You’ll want a clear materials cost breakdown upfront so you can forecast your budget accurately. We’ll map out every component, from mats and manifolds to fasteners and tools.
And flag possible price swings. You’ll also identify hidden fees—permits, disposal, and professional markup—so there are no surprises as the retrofit progresses.
Materials Cost Breakdown
Materials cost is the backbone of any retrofit project, so start by listing every component you’ll need—from insulation, vapor barriers, and heating mats or cables to control systems and fasteners—and then attach current market prices.
You’ll price mats and cables per square meter, insulation by thickness and R-value, vapor barriers by roll size, and thermostats or wireless controllers by feature set. Don’t forget edge trimming, floor sensors, and adhesive or mounting clips.
Anticipate delivery and machining costs for metal plates or mats, plus shipping. Track material durability to avoid premature replacements, and weigh installation complexity when choosing between mat-first versus cable-first layouts.
A precise bill of materials prevents budget overruns and keeps your project on schedule.
Hidden Fees Insights
Hidden fees can quietly blow a retrofit budget if you don’t account for them up front. As you estimate, list every line item beyond materials and labor, like permit charges, waste disposal, and delivery surcharges.
Allow for contingencies, especially if you’re adapting existing floors or chasing unusual layouts. Include costs for thermostats, sensors, and controls—consider smart thermostats that optimize energy use and may require professional wiring.
Don’t underestimate substrate prep, insulation tweaks, or moisture barriers, which creep into the total when walls or ceilings are opened. Get upfront quotes with itemized estimates, then compare to actuals as work progresses.
Tracking these tiny additions prevents surprises, and integrating energy savings expectations helps you evaluate ROI, value, and payoff timelines.
What Kind of Disruption Should You Expect?
Installing retrofit underfloor heating can disrupt daily routines in several practical ways. You’ll encounter noise from drilling, foam insulation, and occasional tool whirrs, plus temporary floor access limits as subfloor work proceeds.
Scheduling matters: trades may need entry windows, so plan around delivery times and install milestones. Expect some moisture protection steps and brief room-by-room detours that affect daily flow, but most disruptions are short-lived and predictable.
You’ll benefit later from energy efficiency, which can reduce heating bills and stabilize comfort across rooms.
The aesthetic impact is minimal on finished floors, but surface prep and sensor placement may require careful coordination with existing décor, trims, and furniture layouts.
Clear communication with the installation team keeps the project on track and minimizes downtime.
Prepare Your Subfloor: Requirements and Prep Steps
Before you lay the retrofit system, you must guarantee the subfloor is clean, dry, and structurally sound. Start with a thorough sweep and vacuum to remove debris, dust, and grease.
Inspect for cracks, rot, or loose boards; repair or replace as needed to create a flat, continuous plane.
Check subfloor moisture with a reliable meter; address damp spots before proceeding.
Confirm stability by fixing squeaks and securing fasteners.
Plan insulation materials where required by the system to minimize heat loss and improve efficiency.
If using concrete, verify curing and moisture barriers meet spec; wood subfloors may need underlayment with a vapor barrier.
Mark fall lines and plan for drainage or sump locations to prevent future moisture issues.
Choosing Heating Elements for Your Underfloor Retrofit
Choosing the right heating elements is the foundation of a reliable retrofit, and your choice should align with floor type, insulation, and heat load targets.
You’ll decide between electric mats, loose wires, or hydronic systems based on subfloor structure, thermal mass, and installation depth. Electric mats suit dry installations and quick response, while loose wires offer precise control for uneven spaces. Hydronic systems provide efficiency for larger areas but demand more upfront work.
Consider element spacing, expected floor surface temps, and compatibility with your thermostat strategy. Thermostat placement matters for accurate readings; mount in a central, representative location and protect it from direct heat.
Pipe insulation under hydronic lines reduces losses and improves response time, ensuring the system delivers steady comfort with lower energy use. Plan elements to balance startup costs and long-term reliability.
Layout and Zoning for Even Heat: Loop Spacing and Zones
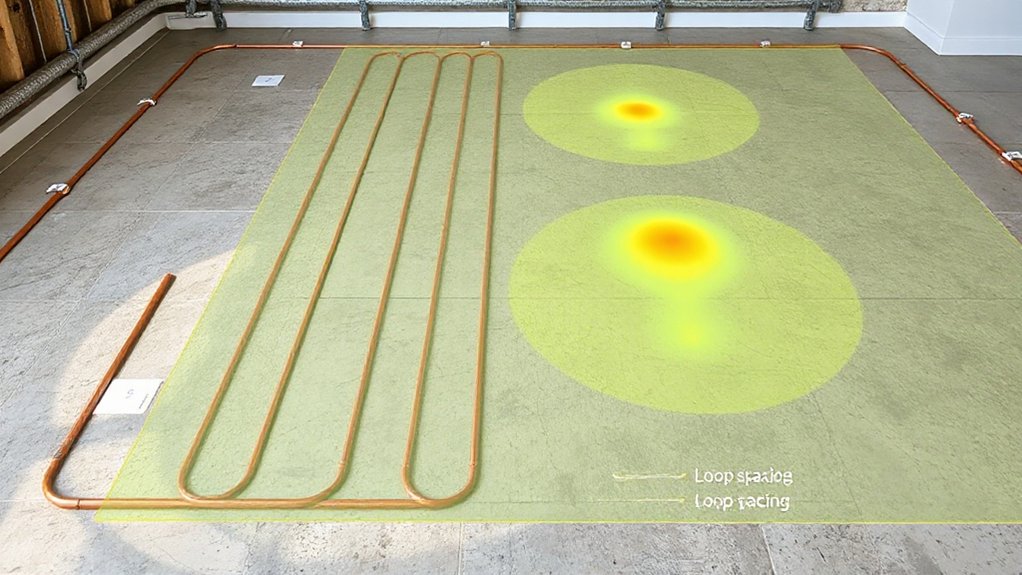
You’ll map loop spacing and zoning to equalize heat across the floor, ensuring consistent surface temperatures and avoiding hot or cold spots. Plan layouts that minimize thermal bridging and maximize subfloor ventilation without compromising coverage.
Then assign zones by room function, balancing loop counts and flow rates for even response.
- Measure room dimensions, mark heat zones, and allocate more loops where foot traffic is dense.
- Stagger loop starts to prevent simultaneous cooling and overheating in adjacent areas.
- Align spacing with substrate tolerances, allowing for movement joints and insulation gaps.
- Document zone controls and expected delta-T to guide future adjustments and maintenance.
Smart Controls for Underfloor Heating: Thermostats, Sensors, Scheduling
Smart controls tie your system together by coordinating thermostats, sensors, and scheduling to maintain even comfort with minimal energy use. You’ll pair room thermostats with floor sensors to prevent overheating and to respond to temperature swings quickly.
Choose wireless or wired options based on your retrofit constraints; wired tends to reduce signal lag in concrete, while wireless simplifies retrofits.
Date- and occupancy-based scheduling helps you shift heat during off-hours without manual tweaks. Confirm sensor placement reflects actual living zones to avoid dead spots.
Look for compatibility with your floor finish and relay compatibility to protect circuit integrity. Material durability matters: select robust, sealed sensors for damp basements or concrete pours.
Also consider the aesthetic impact of displays and wiring on visible walls and trims to keep the look clean.
Installation Approach: DIY vs Professional-Pros and Pitfalls
Whether you tackle it yourself or hire a pro, the installation approach sets the tone for comfort, reliability, and long-term performance. You’ll weigh speed against accuracy, cost against future maintenance, and aesthetic implications against ease of access. Here are key considerations to keep you grounded:
- DIY pace may rush insulation sealing and load calculations, risking uneven heat.
- Pros bring calibrated spacing, proper manifolds, and reliable warranties, reducing pitfall anxiety.
- Wiring diagrams and zoning restrictions influence panel layout and room-by-room control.
- Aesthetics and floor height matter, since bulkier manifolds or thick mats can alter door clears.
Choose clear expectations: confirm warranty terms, material compatibility, and future service access. Plan for potential retrofits if zoning restricts heat distribution.
Safety, Permits, and Compliance: What You Need to Know
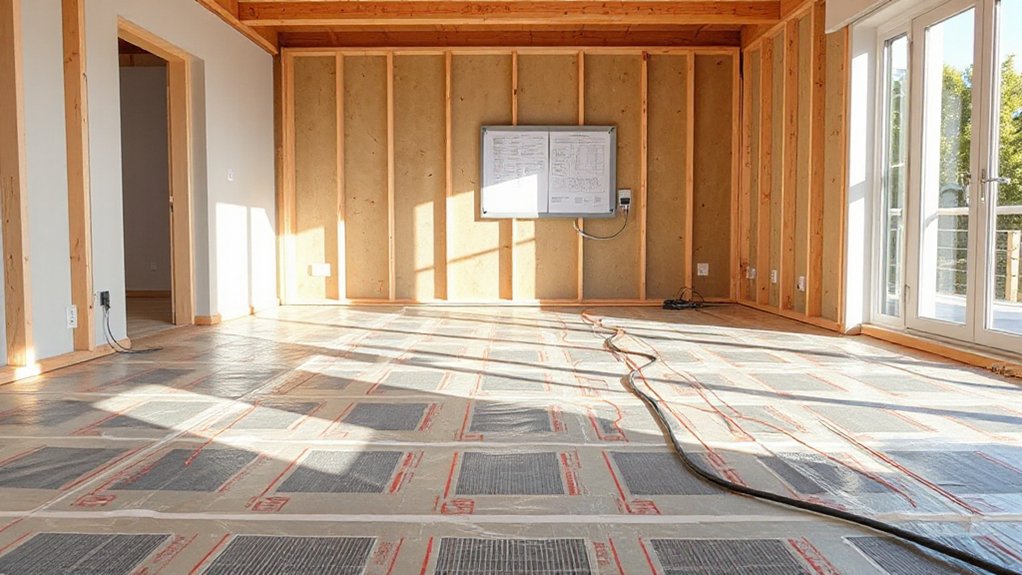
Safety, permits, and compliance should be planned from day one. You’ll check local building codes and fire-safety requirements before any installation. Confirm whether your project needs a permit, a qualified electrician, or a building inspection, and schedule approvals early to prevent delays.
Guarantee your underfloor system is rated for your floor type, and verify compatibility with existing insulation, moisture barriers, and structural loads. Document electrical diagrams, wiring specs, and thermostat controls for future audits.
Consider aesthetics during planning to minimize aesthetic impact, choosing discreet routing and finished floor compatibility. You’ll also weigh environmental benefits, selecting low-EMF, energy-efficient controls and compliant materials.
Finally, keep records of inspections and testing, and notify your insurer if your policy requires it.
Maintenance, Repairs, and Longevity: Keeping It Efficient
Regular maintenance keeps underfloor heating efficient and dependable, so schedule routine checks for the system, controls, and floor performance. You’ll protect longevity, catch small issues, and sustain comfort without surprises.
- Inspect circulation pumps and manifolds for vibrations, leaks, and corrosion, addressing faults before they escalate.
- Test thermostats and floor sensors for accurate readings, recalibrating as needed to avoid heat swings.
- Verify insulation and pipe/depth integrity, ensuring even heat distribution and efficient cycling.
- Clean filters, wet-room substrates, and access points to preserve airflow, reduce noise, and minimize energy use.
Practical upkeep yields clear results: steadier temperatures, lower energy bills, and an enhanced Aesthetic impact, with Environmental benefits from reduced waste and emissions.
Regular checks support durable performance and reliable repairs.
Common Pitfalls and How to Avoid Them
Common pitfalls can derail retrofit projects quickly, but you can head them off with a focused checklist and proactive planning. You’ll avoid costly fixes by confirming floor structure supports the system, selecting a compatible layout, and timing the install to minimize disruption.
Measure room by room to prevent gaps, and don’t under-spec conduit or manifolds; interruptions cost time. Plan for even heat distribution, using a suitable insulating layer and a correctly calibrated thermostat.
Protect finishes during installation, and communicate with trades early to align schedules. Consider decorative finishes and how they may be affected by temperature cycling, ensuring you don’t trap moisture.
Finally, map furniture placement after a test run, so you don’t relocate pieces twice and compromise coverage or comfort.
Making the Decision: Is a Retrofit Right for You?

Start with a quick Retrofit Feasibility Check to see if your space supports underfloor heating, wiring, and insulation upgrades without major rebuilds.
Weigh Cost vs Benefit by estimating install costs, energy savings, and payback time, plus potential impact on resale value.
Consider System Longevity by choosing a compatible manifold, controls, and floor finish that’ll last and minimize future maintenance.
Retrofit Feasibility Check
Is a retrofit feasible for your space, or will it create more headaches than it fixes? Before you commit, run a practical feasibility check that keeps you anchored in reality. Focus on key signals you’ll actually move on.
- Surface preparation: assess floor planes, moisture, and stubborn finishes that block even heat transfer.
- Insulation improvements: quantify gaps, drafts, and heat loss to determine where upgrades pay back.
- Structural limits: confirm joist spacing, load tolerance, and routing options without major excavation.
- Compatibility: verify your existing boiler, controls, and zoning can accommodate a retrofit without cascading upgrades.
If any item signals extensive work beyond the retrofit’s scope, pause. A clear path is forged when surface prep and insulation improvements line up with your heating goals.
Cost vs Benefit
Considering a retrofit means weighing concrete numbers against real-world impact: upfront costs, ongoing energy savings, and how long the payback takes, all anchored to your space, system, and usage. You’ll assess install complexity, floor height changes, and any subfloor prep, then compare quotes from installers to potential energy bills.
Realistic payback hinges on climate, insulation, and thermostat controls; even modest gains compounds over months. Design aesthetics matter: guarantee routing and finishes won’t clash with existing décor while preserving room layouts.
Energy efficiency isn’t just about watts saved; you’ll factor in system response times, comfort uniformity, and lazy hot spots. If the math pencils out within your budget and goals, retrofit makes sense; otherwise, refine the scope or alternatives.
System Longevity Considerations
System longevity hinges on more than initial cost—how a retrofit ages under use, and how you maintain it, will determine its value over time. You’ll want practical checkpoints that keep performance steady without surprises. Consider these factors as you plan:
- Historical installations: review older systems in similar homes to benchmark component life and failure points.
- Component access: design layout and access panels so routine inspection and fixes don’t require demolition.
- Aesthetic considerations: guarantee concealed elements respect flooring and finish integrity to avoid early wear.
- Maintenance cadence: schedule filters, circuit checks, and heating-fluid or conductor inspections to prevent gradual degradation.
Frequently Asked Questions
Can I Retrofit Underfloor Heating Without Removing Existing Flooring?
You can retrofit underfloor heating without removing flooring, but it depends on the system you choose and floor type. Consider flooring removal as minimal, and account for insulation impact, moisture barriers, and mat layout to avoid gaps and overheating.
How Long Does a Typical Retrofit Installation Take?
Buckle up, you’ll typically finish a retrofit in 1–3 days, depending on room count and floor type. You’ll compare flooring options, estimate retrofit cost, and plan wiring, insulation, and underfloor coils for steady, efficient heating.
Will Retrofit Affect Ceiling Insulation or Heat Loss?
Yes, retrofits can affect ceiling insulation and heat loss. You’ll want to guarantee ceiling insulation remains continuous and undisturbed, seal gaps around new underfloor routes, and monitor heat loss through ceilings to optimize comfort and energy efficiency.
Is a Professional Required for All Retrofit Projects?
Ultimately, you don’t always need a pro, yet you should consult one; complexity sparks when juxtaposing DIY limits with professional oversight. Cost considerations and material compatibility influence decisions, guiding you toward safer, compliant, well-planned retrofit outcomes.
Can I Upgrade From Electric to Hydronic in One Go?
You can’t upgrade from electric to hydronic in one go easily; plan a staged retrofit. Assess energy efficiency gains, upfront costs, and installation disruptions; compare long-term operating costs with a detailed energy efficiency and cost comparison. Then decidephaselessly.
Conclusion
If you’re weighing retrofit options, picture a quiet, steady warmth spreading through your space as reliably as a well-timed sunrise. You’ve checked insulation, chosen between electric mats or hydronic loops, and mapped out the subfloor’s needs. With proper planning, trades, and permits, you’ll avoid common missteps and keep energy use predictable. Like a trusted ally in a long winter, a well-executed retrofit promises comfort, efficiency, and future-proofed floors—ready for the next room, the next project, the next season.


