


You’ll pick the right shower tray by matching it to your bathroom’s layout, plumbing, and access needs. First confirm tray size and shape fit clearances, door swings, and soil stack location. Decide between raised (easier plumbing access) and low-profile (better accessibility and aesthetics). Choose a rigid, non-slip material such as stone resin or reinforced acrylic, and make certain of correct fall to the waste and watertight sealing. Next, you can match specific tray options to your space with confidence.
Assess Your Bathroom Layout and Plumbing for a Shower Tray
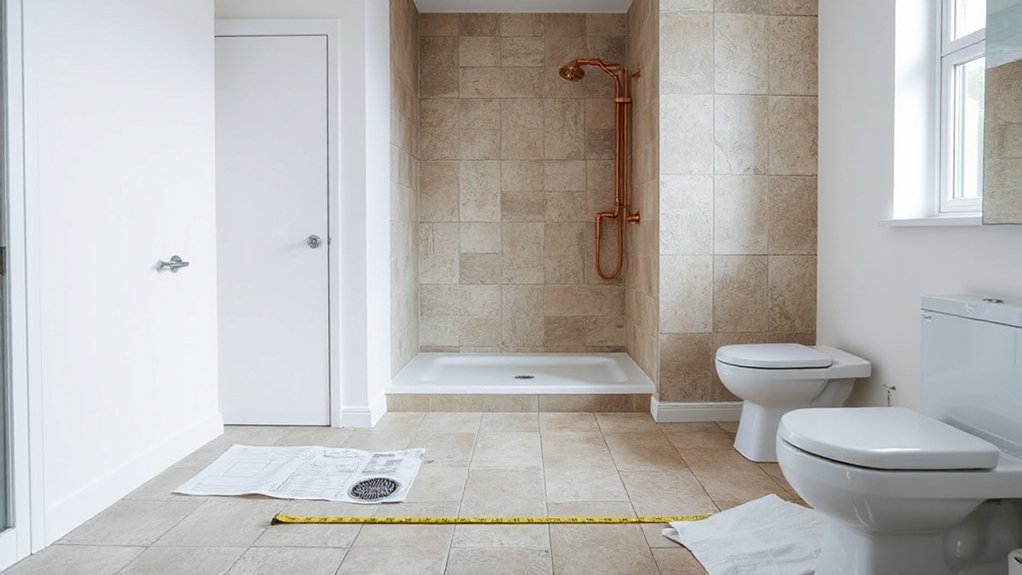
Before you choose a shower tray, you need to map out your bathroom’s physical constraints and existing plumbing runs so the tray integrates cleanly with the space. Measure wall-to-wall dimensions, door swing, and clearances for safe circulation. Locate soil stacks, hot and cold feeds, and assess floor build-up to confirm where you can position the waste outlet and trap.
Check bathroom ventilation next; poor extraction can cause condensation around tray edges and subfloor, undermining seals over time. Verify your fan capacity and duct route suit the new enclosure footprint.
Then review shower curtain options versus screens, because curtain movement, overlap, and rail position affect overspray and required tray width. Align all three—layout, plumbing, and enclosure style—before you commit.
Raised vs Low-Profile Shower Trays: Which Suits Your Space?
Once you understand your layout and plumbing constraints, you can decide whether a raised or low-profile shower tray works better in your bathroom.
A raised tray sits on a plinth or adjustable legs, giving you generous void space for pipework, easy access to the trap, and straightforward maintenance. It’s ideal when you can’t chase wastes into the floor.
A low-profile tray sits close to floor level, creating a streamlined shower enclosure with minimal step-in height. It’s better for accessibility, visual continuity, and making compact bathrooms feel cohesive.
Confirm adequate fall to the waste to prevent pooling and promote water conservation by encouraging efficient drainage and shorter shower times.
Whichever you choose, align tray height with door thresholds for a safe, unified finish.
Shower Tray Shapes and Sizes for Different Bathroom Layouts
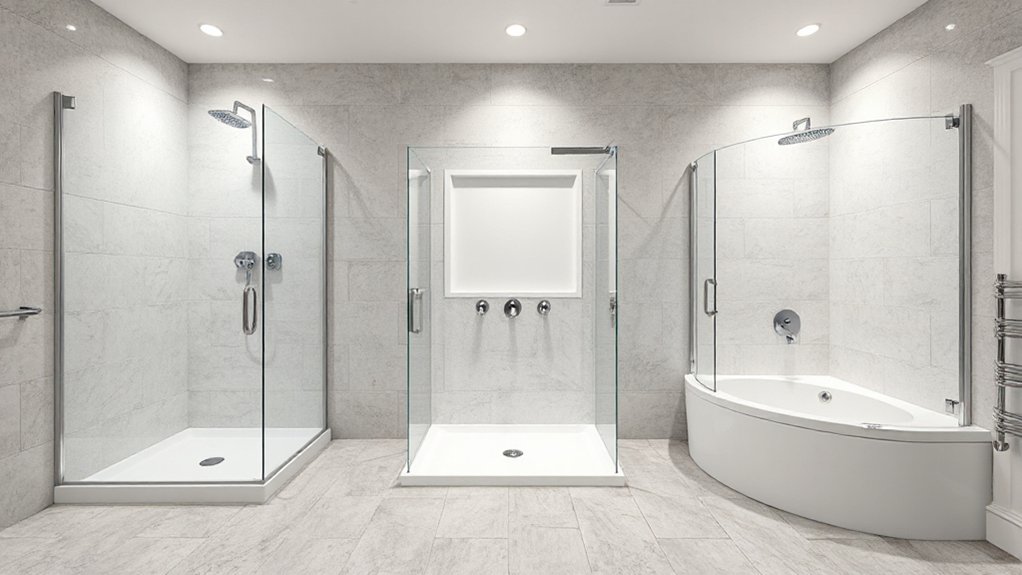
Although tray height and plumbing constraints shape your options, you still need to match shower tray shapes and sizes to your bathroom’s geometry and circulation routes.
In compact rooms, a 760–800 mm square or quadrant tray maximizes usable floor area and keeps entry paths clear. Quadrants soften corners and often improve Shower enclosure compatibility with curved doors.
In long, narrow bathrooms, rectangular trays (1000–1700 mm) align neatly with walls, creating a generous walk‑in feel and clean Bathroom aesthetics.
Position the tray to maintain at least 600 mm clear access in front of basins and WCs.
For awkward niches or loft spaces, offset quadrant or custom‑sized trays help you exploit every millimetre while avoiding door clashes and ensuring safe movement lines for all users.
Shower Tray Materials Compared: Stone Resin vs Acrylic (and More)
Now you need to decide which shower tray material actually suits your bathroom’s performance and budget requirements, with stone resin and acrylic as the primary options.
You’ll weigh stone resin’s rigidity, heat retention, and premium feel against its higher weight and installation demands.
You’ll also compare acrylic and other composites, considering impact resistance, surface wear, and maintenance so you can specify the most suitable tray for long-term use.
Stone Resin Pros And Cons
When you’re comparing shower tray materials, stone resin stands out for its dense composite structure, excellent load-bearing capacity, and reassuringly solid underfoot feel.
But it also demands careful consideration of weight, installation requirements, and cost. You get a premium, rock-like finish that instantly upgrades your bathroom decor and works seamlessly with contemporary enclosures and minimalist layouts.
Its rigidity keeps flex and movement noise to a minimum, which many households find reassuring.
However, stone resin’s mass means you may need subfloor reinforcement and skilled installation. It’s also harder to maneuver in tight spaces.
In everyday use, follow simple maintenance tips: avoid abrasive cleaners, wipe down after use, and check seals regularly.
With consistent care, a stone resin tray delivers long-term stability and visual cohesion.
Acrylic And Other Options
Stone resin isn’t your only option for a high‑performing shower base; acrylic and alternative composites offer different balances of weight, comfort, and cost.
Acrylic trays are lightweight, warm underfoot, and easier for a single installer to handle in tight spaces, which can keep labour costs predictable.
You’ll find broader color options with acrylic than with many budget stone versions, helping your tray blend with existing sanitaryware and tiles so the room feels coordinated rather than pieced together.
However, acrylic can flex if poorly supported, so insist on a rigid base frame or full‑bed mortar support.
For longevity, follow simple maintenance tips: use non‑abrasive cleaners, avoid harsh solvents, and wipe standing water to minimise surface dulling and mould at the perimeter.
Safety, Comfort and Accessibility Features to Look For in a Shower Tray
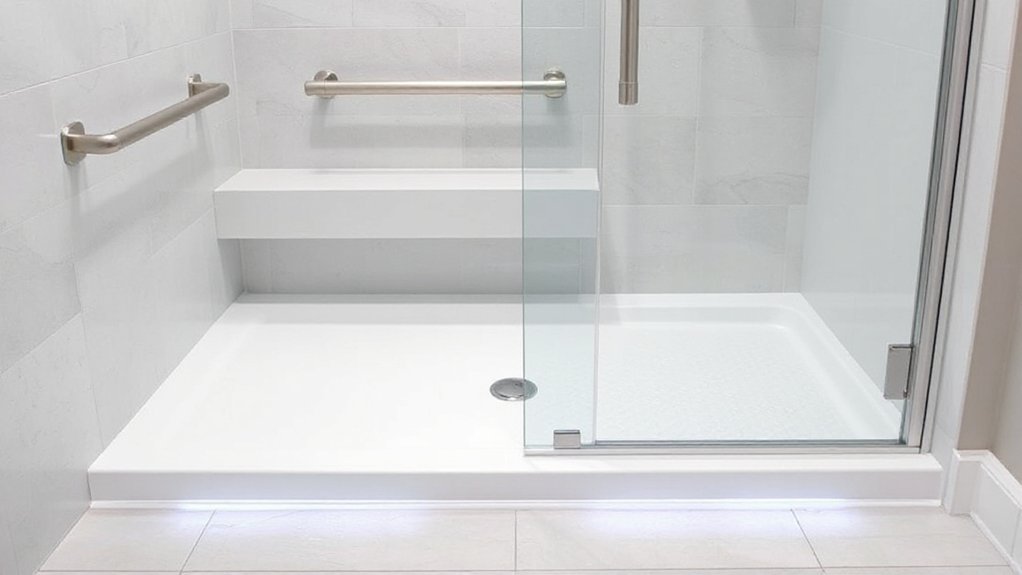
When you assess safety and comfort, you should prioritise trays with certified non-slip surface options that maintain grip even when soapy and wet.
You’ll also want to think about low-profile trays that minimise step-over height, reducing trip risk and improving everyday usability.
For maximum accessibility, especially in multi-generational or future-proofed bathrooms, specify walk-in compatible designs that integrate flush or near-flush with the floor.
Non-Slip Surface Options
Although shower trays might seem straightforward, their surface characteristics critically affect safety, comfort, and accessibility in daily use. You’ll want a non-slip finish that feels secure underfoot without being abrasive. Prioritise trays tested to recognised slip-resistance ratings (such as DIN 51097 or equivalent); these standards verify performance on soapy, wet surfaces.
Look for integrated textured patterns rather than stick-on mats, which trap dirt and compromise hygiene. Fine micro-texture offers grip while still supporting easy cleaning and good water efficiency, because water drains instead of pooling on the surface.
When refining your bathroom design, coordinate colour and texture: a lightly contrasting, non-slip surface can aid users with reduced vision without making the tray feel clinical, helping everyone in your household feel confident and included.
Low-Profile and Walk-In
Beyond surface grip, tray height strongly influences how safe and user-friendly your shower will feel. A low-profile or walk-in tray reduces step-over height, minimising trip risk for children, older adults, and anyone with reduced mobility. You create a space that welcomes every household member without feeling clinical.
Prioritise rigid construction, a level-access threshold, and a subtly contoured surface that channels water toward the waste for ideal water drainage efficiency. A flush-fit design with anti-slip zones near the entrance and controls lets you move confidently.
Specify a removable waste cover and accessible trap to simplify shower tray maintenance. Choose finishes that resist staining and limescale, so the tray keeps looking fresh, and pair them with compatible screens to maintain continuous, barrier-free access.
Shower Tray Installation Basics: Drainage, Floor Strength and Sealing
Even the best-quality shower tray fails without correct installation, so you need to get the drainage, floor support, and sealing details exactly right from the start. Begin by aligning the waste outlet with existing pipework and confirming adequate fall for efficient drainage under typical water pressure. Check tray slope and waste position for tile compatibility, especially with large-format tiles, so cuts look clean and grout lines stay consistent.
Next, verify floor strength. Assess joist direction, span, and subfloor condition, then reinforce with additional noggins or a structural backer board if there’s any flex.
Finally, bed the tray on a full layer of suitable adhesive or mortar and create a continuous, elastic watertight seal at all perimeter junctions to prevent hidden leaks and long‑term damage.
Shower Tray Costs, DIY vs Pro Fitting, and When to Hire a Specialist
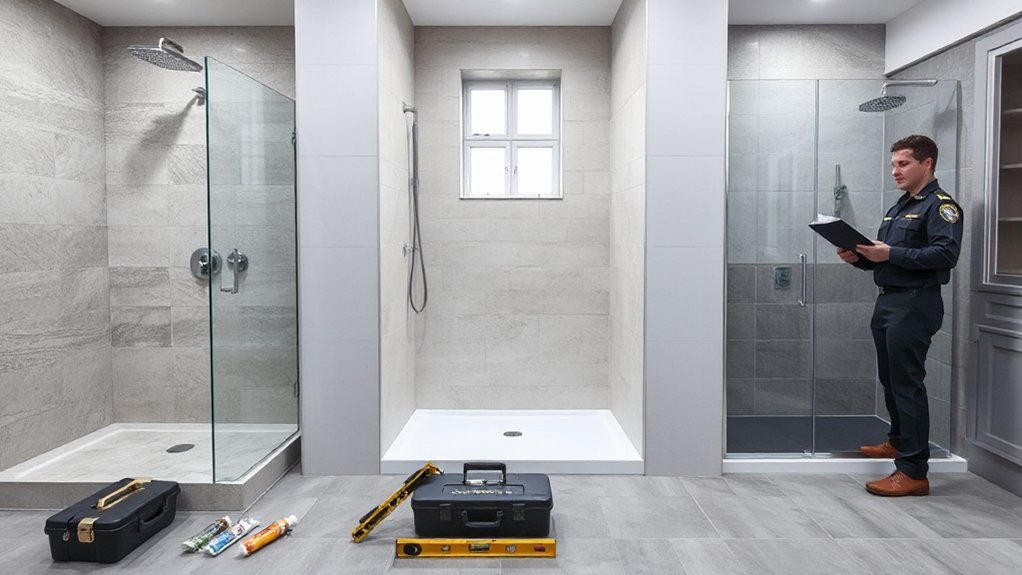
Getting the technical details right is only half the job; you also need to decide how much to spend, what you can realistically do yourself, and when to bring in a professional. Budget not just for the tray but for waste fittings, adhesive, support frames, and contingency.
DIY fitting works if you’re confident with levelling, waste alignment, and watertight sealing. However, misalignment or flex can void shower tray warranties and cause hidden leaks.
You should seriously consider a pro if you:
- Feel anxious about cutting floors or tiles.
- Have timber floors, awkward joists, or low-profile trays.
- Need the warranty to stay rock-solid.
- Want guaranteed gradients that simplify shower tray cleaning.
A specialist installer gives you tested detailing, compliant finishes, and peace of mind.
Frequently Asked Questions
Can I Use Underfloor Heating Beneath a Shower Tray, and Does It Affect Durability?
You can install underfloor heating beneath many trays if you follow manufacturer guidelines. Proper insulation and temperature control protect shower tray durability, preventing thermal stress, warping, and microcracks, so you’ll enjoy comfortable, efficient heating without compromising long‑term structural performance.
How Do I Keep a Shower Tray Free From Limescale and Staining Long Term?
You keep the tray pristine by wiping daily with a mild acidic cleaner, using soft cloths, never abrasives. Prioritize Cleaning tips suited to acrylic or stone resin; this Material comparison prevents etching, preserves gloss, and sustains long‑term hygiene.
Are Eco-Friendly or Recycled Shower Trays Available, and Are They as Durable?
Yes, you’ll find robust Eco materials and Recycled options; many match or exceed standard tray durability. Prioritize high‑density resin, third‑party certifications, slip‑resistance, and impact ratings, and you’ll enjoy sustainable performance that still feels premium and inclusive.
Will Choosing a Dark-Coloured Shower Tray Show Scratches or Soap Marks More?
Yes, dark-coloured trays can highlight scratch visibility and soap residue more. You’ll manage color maintenance better by choosing a matte finish, fine-textured surface, and regular pH‑neutral cleaning, which collectively reduce visual contrast and keep the tray uniformly sleek.
How Does a Shower Tray Choice Affect My Home’s Resale Value or Buyer Appeal?
Your shower tray choice directly boosts resale value by signaling cohesive bathroom design, durability, and water efficiency. Prioritize low-profile, non-slip, easy-clean surfaces; buyers read these features as modern, eco-conscious, and move‑in ready, aligning you with current market expectations.
Conclusion
You’re now equipped to choose a shower tray that fits your layout, plumbing, and budget while meeting safety and accessibility needs. Prioritise robust materials, correct load-bearing, and watertight sealing to avoid remedial work later—water leaks account for roughly 30% of domestic bathroom insurance claims. When in doubt about structural integrity, drainage falls, or tanking, don’t DIY; hire a specialist to guarantee long-term performance and full compliance with building regulations.


