


You can turn a garage into a safe, efficient home gym by evaluating space, ventilation, and layout first, then choosing versatile, secure gear that fits your routines. Prioritize impact flooring, proper lighting, and noise management, plus clear zones for warm-up, strength, and cardio. Plan for storage, electrical safety, and climate control, and map a phased upgrade to stay motivated without overwhelming costs. Start with a solid baseline and watch how a disciplined setup unleashes your consistency and results.
Key Takeaways
- Assess space, layout zones, ventilation, lighting, and clearance to support warmup, strength, cardio, and storage needs.
- Select compact, modular gym gear with secure storage and floor mats; place away from doors and airflow to minimize interference.
- Install impact-absorbing flooring, proper insulation, moisture barriers, and dehumidification to protect equipment and comfort.
- Plan electrical: GFCI outlets, surge protection, task lighting, and smart controls; ensure safe wiring and circuit capacity.
- Create a phased budget and motivation system with progress tracking, seasonal upgrades, and safety checks for sustained use.
Assess Your Space: What Your Garage Can Become
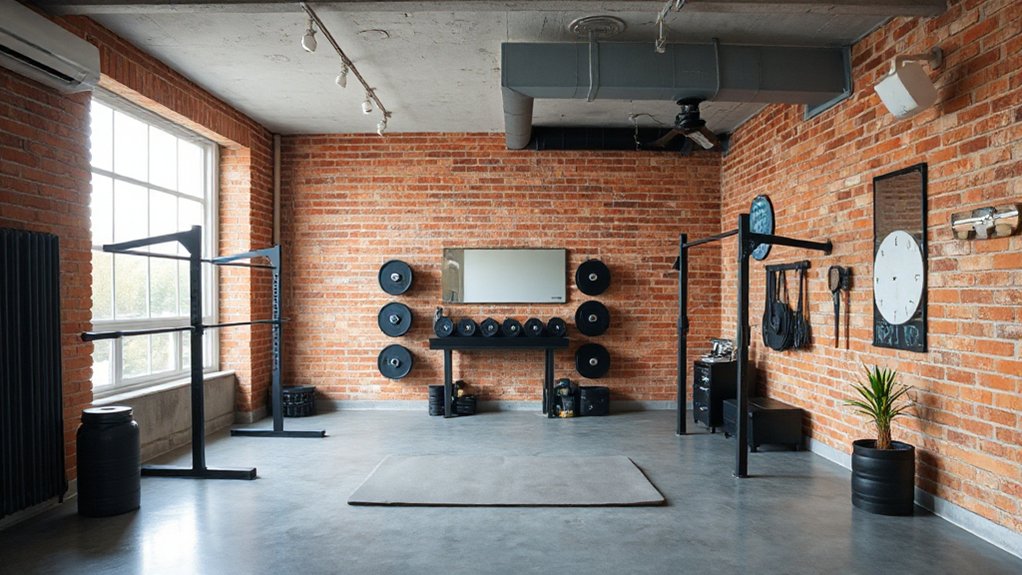
Your garage isn’t just a storage space—it’s a blank slate for a personalized workout hub. You’ll map dimensions, note door and window placements, and identify utilities that support a gym vibe.
Assess ceiling height for rack use and overhead movements, plus floor resilience for impact.
Prioritize zones: warmup, strength, cardio, and storage.
Evaluate ventilation, natural light, and potential glare from exterior lighting.
For storage organization, plan durable shelving, labeled bins, and wall-mounted racks to free floor space.
Consider electrical access for equipment, fans, and charging stations, ensuring safe clearance around outlets.
Determine load-bearing capacity, moisture risk, and insulation needs to prevent equipment corrosion and temperature swings.
Design Criteria: How to Choose a Layout That Fits
To choose a layout that fits, start with a clear flow plan: designate zones for warmup, strength, cardio, and storage, and position equipment to minimize transit distance while preserving safety margins around doors, racks, and mats.
Then map clear sightlines, ensuring exits remain unobstructed and cord/wire paths stay tidy.
Prioritize modular placement so future upgrades won’t force major rearrangement.
Align cardio machines with ventilation and natural light if possible, and separate free weights from heavy machinery with sturdy barriers or matting.
Consider traffic patterns during peak use to avoid bottlenecks.
Add decorative accents and cohesive color schemes to create a focused, motivating ambiance without clutter.
Finally, document dimensions, clearance, and anchor points so you reproduce the layout reliably as your goals evolve.
Core Gear to Prioritize for Your Garage Gym
When selecting core gear for your garage gym, prioritize equipment that delivers the most versatility and turnover for space and budget. Choose a compact power rack or adjustable squat rack with rackable targets, safety arms, and integrated pull-up leverage.
Pair it with a versatile barbell, bumper plates, and a range of adjustable benches to cover squats, presses, rows, and isolation moves without clutter. Add a resistance band set and a pair of kettlebells for mobility and conditioning in tight spaces.
Prioritize function over form; select durable, weight-tested items with modular options to expand capabilities over time. Consider storage solutions that keep gear off the floor, aligning with home decor goals.
Implement soundproofing techniques to reduce noise transfer while you train.
Flooring That Protects You and the Space
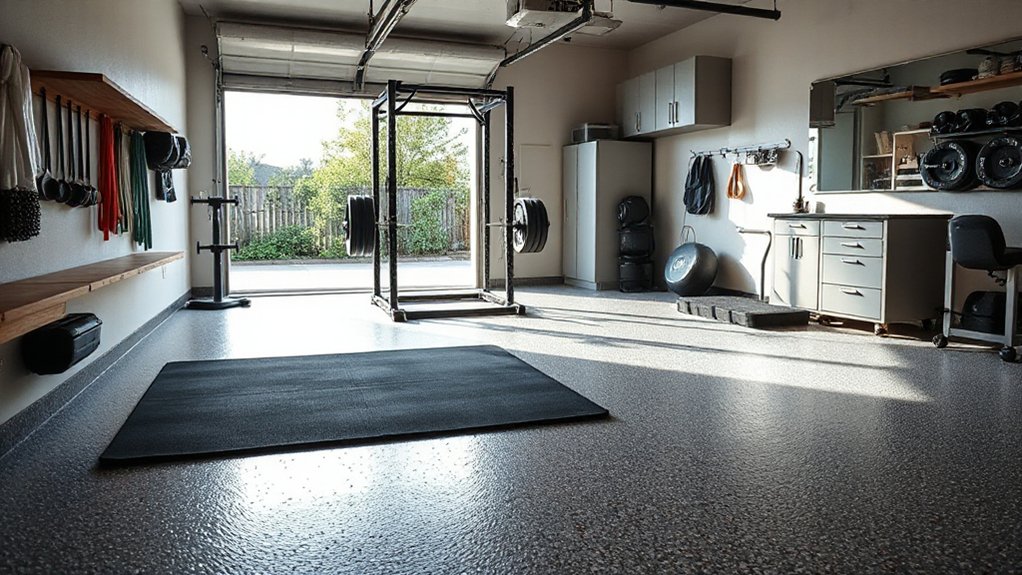
We’ll start by evaluating protective floor layer options that withstand rolling weights, drops, and moisture, so you preserve both your concrete and equipment.
Next, consider impact-absorbing material choices that reduce joint fatigue and protect subflooring during high-intensity moves.
This discussion keeps focus on durability, ease of installation, and long-term cost efficiency.
Protective Floor Layer Options
Protective floor layers are essential when converting a garage into a home gym because they absorb impact, guard concrete, and keep equipment from slipping or damaging the space. You’ll evaluate protective floor layer options by practical criteria: load weight, square footage, moisture exposure, and ease of installation.
Polyurethane and vinyl flooring offer seamless surfaces with solid durability if you expect heavy machines and frequent drops. Interlocking rubber tiles provide portability and excellent shock absorption, beneficial for weightlifting and plyometrics.
Consider raised-foam underlayment beneath dense mats to reduce vibration transfer to the slab. For durability, prioritize high-density EVA or closed-cell foams, and ensure edge seams stay sealed.
Flooring durability considerations guide you to a resilient, long-lasting setup that protects concrete and promotes safe workouts.
Impact-Absorbing Material Choices
Impact-absorbing flooring choices balance safety, durability, and cost, so you can train hard without compromising the space. You’ll evaluate impact absorbing material choices by consistency, shock absorption, and ease of installation.
Prioritize Flooring durability, resistance to moisture, and cleanability to safeguard subflooring and equipment.
- Interlocking rubber tiles that compress repetitive loads without rebound
- High-density foam tiles for comfort under Olympic lifts
- Cork underlayment with closed-cell coating for moisture resistance
- Rubber mats at entry zones for dirt containment
- Vinyl with EVA layers for a durable, easy-clean surface
Choose a layered approach: top surface for grip, mid-layer for impact, bottom layer for moisture control. This ensures long-term stability, safer workouts, and minimized maintenance.
Insulation, Climate Control, and Moisture Mitigation
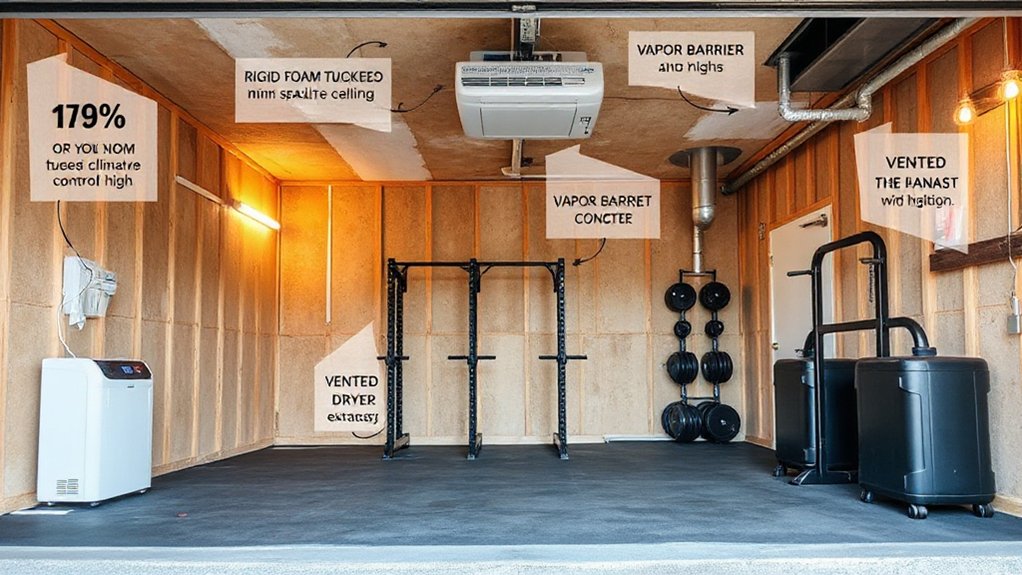
Insulating your garage and controlling moisture start with a clear plan: seal air leaks, choose appropriate insulation, and install a vapor barrier to prevent condensation. You’ll target the walls, ceiling, and door seal, using weatherstripping and rigid board or batt insulation suitable for garages.
Prioritize insulation materials with high R-values per inch and low vapor permeability to minimize moisture buildup. Choose a vapor barrier on warm-in-winter surfaces to stop condensation, then add a dehumidification strategy for humid months.
For climate control, pair insulation with a dedicated HVAC or portable unit sized to the space, plus a programmable thermostat.
Guarantee proper garage organization so equipment stays off insulation and airflow remains uninterrupted. This approach reduces energy waste, protects flooring, and supports safe, effective workouts.
Lighting and Electrical Needs for Safe Training
A well-lit gym space reduces injury risk and improves form, so start by outlining a lighting plan that covers task, ambient, and accent needs with safety in mind. You’ll implement smart lighting for adaptive brightness, color temperature, and zoning, plus reliable electrical wiring to support high-load equipment and circuit stability.
Guarantee outlets are GFCI-protected and positioned for equipment placement, with surge protection and proper cord management. Use recessed or daylight-mimicking fixtures to reduce shadows, and install backup lighting for power interruptions. Label breakers clearly, keep wiring compliant with code, and plan dedicated circuits for cardio, weight racks, and ventilation systems to prevent nuisance trips.
- Smart lighting scenes for different workouts
- Task-focused workstation brightness
- Ambient glow to reduce fatigue
- Accent cues for safety zones
- Electrical wiring and circuit zoning
Storage Solutions to Keep the Gym Clutter-Free
To keep your home gym clutter-free, prioritize smart storage that keeps equipment off the floor and easy to access during workouts. Install wall-mounted racks and pegboards to hold bands, grips, and gloves within arm’s reach, reducing doorway jams.
Use stackable bins with clear fronts for small accessories, labeled by exercise type to speed setup. Add a dedicated corner for mats and sliders with a low-profile shelf to prevent curling or tripping hazards.
Choose a ceiling-mounted pulley system or collapsible rack for bulky items, freeing floor space for dynamic moves. Implement a consistent labeling system to support clutter management and daily tidying.
Regularly audit gear usage, removing obsolete items, and reallocate space to maintain ideal Storage organization.
Quiet and Vibration: Solutions That Calm the Neighbors and Your Walls
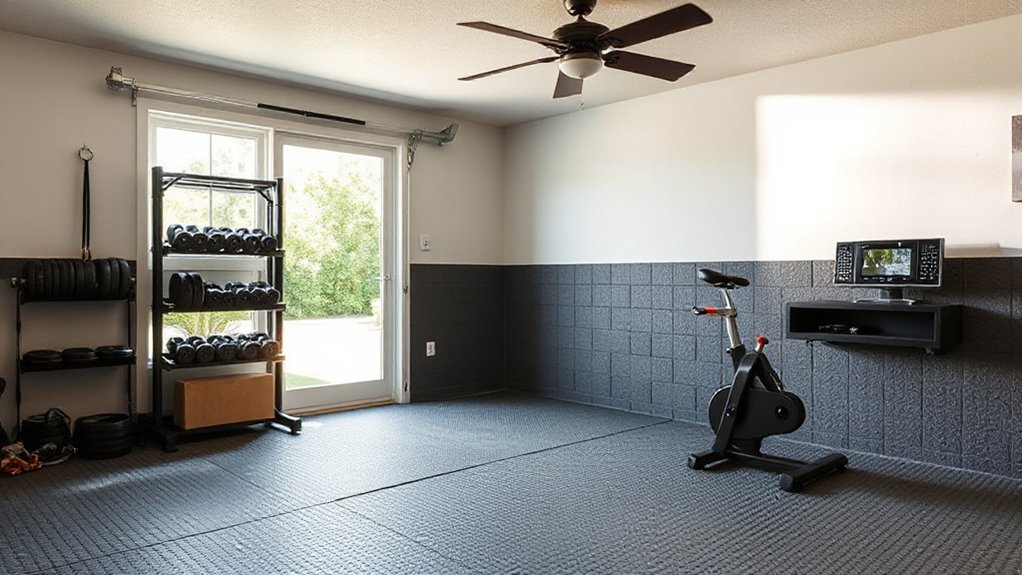
When you’re converting a garage into a home gym, prioritizing quiet and vibration control keeps the neighbors soothed and your walls intact. Implement targeted soundproofing methods to reduce impact and airborne noise, then schedule workouts during reasonable hours and establish clear neighbor communication to manage expectations.
Use dense mats, vibration pads, and ceiling damping panels where applicable to lower transfer. Seal gaps around doors and windows with weatherstripping to prevent sound leaks. Choose quieter equipment or add anti-vibration feet, and place machines away from shared walls.
Track results with a decibel meter to verify improvements and adjust placement as needed.
- Dense mats and vibration pads under all cardio and weight stations
- Ceiling damping panels for upper-floor rooms
- Weatherstripping to seal doors and windows
- Anti-vibration feet on machines
- Quiet-hour protocol and open neighbor updates
Budgeting Your Garage Gym: Costs, Savings, and Phased Plans
You can transform a garage into a practical home gym on a clear, staged budget by prioritizing needs, letting costs guide your phased plan, and tracking savings as you go. Begin with a needs-first list, separating essentials from nice-to-haves, then assign unit costs and a target timeline.
Budget for core upgrades first: insulation, flooring, ventilation, and a reliable power setup. Use phased milestones to control cash flow, locking in prices with upfront quotes and avoiding impulse purchases.
Include Garage ventilation considerations in the planning to prevent moisture and odor buildup, and plan a paint color selection that supports lighting and mood without repainting later.
Track variances weekly, adjust the sequence, and document savings to fund subsequent phases. Conclude with a transparent budget summary for stakeholders.
Safe Setup: Anchors, Mats, and Equipment Placement
Anchoring your workout area and placing equipment thoughtfully are essential for safety and efficiency. You’ll maximize stability by using dedicated anchor points for racks, benches, and wall-mounted gear, checking load ratings, and securing bolts firmly. Position anchors away from doors and airflow to prevent interference.
Lay down safety mats at high-impact zones to cushion drops and protect flooring, ensuring edge seams sit flush.
Map out a clear traffic pattern to avoid collisions and keep cords short, taped, or tucked.
Establish a dedicated squat stance and deadlift zone with non-slip mats and reinforced floor contact.
Verify clearance around each piece before use, and routinely inspect hardware for wear.
- Anchor points for racks and benches
- Safety mats in high-impact zones
- Clear traffic pathways
- Non-slip zones around equipment
- Regular hardware inspections
Maintenance and Upgrade Plan to Stay Motivated
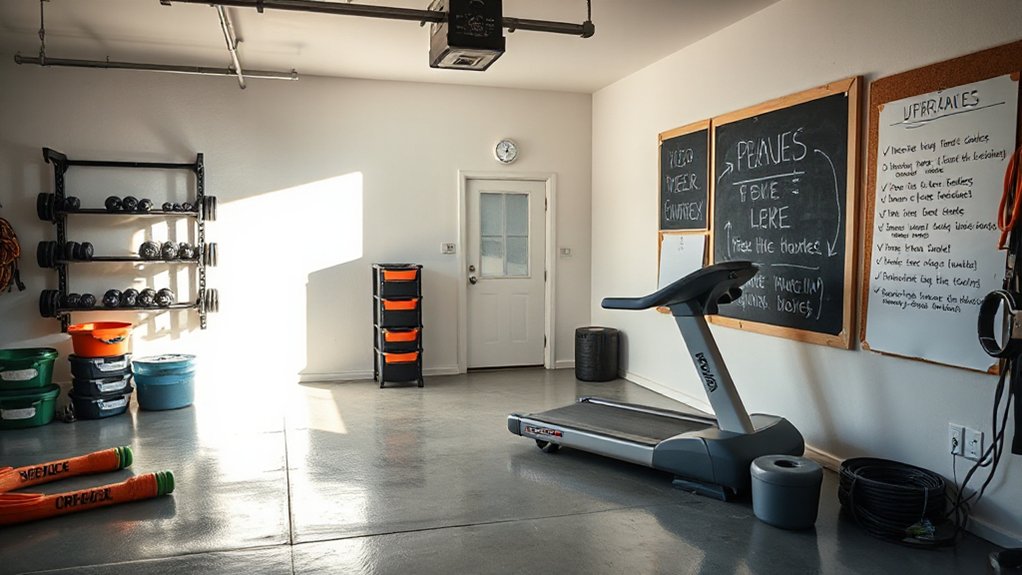
Set a regular maintenance cadence you can actually keep, with a simple calendar of checks for mats, anchors, and equipment function every month.
Outline a seasonal upgrades plan that fits your budget and space, targeting one practical improvement per quarter.
Track your motivation using direct metrics like training consistency, goal progress, and gear usage to stay on course and adjust as needed.
Regular Maintenance Cadence
- Consistent cleaning and tightening
- Proactive wear-point inspections
- Clear, dated maintenance logs
- Quick-reaction fix kit
- Space reorganization when needed
Seasonal Upgrades Plan
You’ll implement a quarterly review to verify safety, tighten bolts, and swap worn components, keeping performance ideal.
In spring, optimize layout for new routines, reinstall mats, and refine garage organization so gear stows efficiently.
Summer focuses on ventilation, lighting, and durability, plus a lightweight seasonal decor update to reduce clutter.
Fall targets storage upgrades and dust-control measures that protect equipment.
While winter prioritizes flooring, padded surfaces, and added warmth for longer sessions.
Track results with a simple checklist and stay motivated through visible gains and organized spaces.
Motivation Tracking Methods
Motivation tracking keeps your maintenance and upgrade plan focused and measurable. You’ll implement concrete systems that stay visible, actionable, and deadline-driven, ensuring momentum never stalls.
Use progress journals to log workouts, equipment checks, and space adjustments, then review weekly to adjust targets. Pair journals with motivational quotes placed where you train to reinforce intent without interrupting flow.
Track both short-term wins and long-term milestones to sustain momentum through plateaus.
- Progress journals note dates, reps, loads, and equipment status with concise summaries
- Visual dashboards summarize weekly gains, energy levels, and budget adherence
- Quick daily prompts capture motivation shifts and decision points
- Weekly reflection highlights what worked and what to tweak
- Motivational quotes anchored near the rack or mat reinforce purpose
Frequently Asked Questions
How Much Should I Budget for a Basic Garage Gym Setup?
A basic garage gym typically runs about $1,000 to $4,000, depending on what you need. You’ll want a solid power rack, adjustable bench, barbell, plates, and a cardio option.
Include Garage insulation to keep climate consistent, and budget for mats and lighting.
Prioritize Storage solutions for gear overlap and safety.
Look for multi-function equipment to maximize space, and consider secondhand buys for substantial savings without sacrificing durability or results.
Track costs to stay within budget.
Can I Use Existing Garage Walls for Equipment Mounting?
Yes—you can use existing garage walls for equipment mounting, but plan for wall reinforcement first.
Install proper mounting brackets rated for your gear and wall type, and add studs or reinforced framing where needed.
Use concrete anchors for masonry or heavy-duty toggles for drywall with backing.
Distribute loads to avoid stud-only mounting, and seal gaps to prevent moisture.
Check local codes, use a level, and test weight limits before loading up.
What Are the Best Non-Slip Flooring Options for Weights?
You’ll want rubber mats for durability and foam tiles for comfort, minimizing slip and noise.
Rubber mats offer superb grip under heavy lifts, while foam tiles give a forgiving layer for cardio zones.
Choose interlocking, full-coverage options, and guarantee a cushioned edge shift where weights move.
Prioritize a textured surface, proper thickness, and moisture resistance.
Regularly seal seams, clean spills promptly, and verify floor load limits to protect both you and the equipment.
How Do I Address Ventilation Without Costly AC?
To address ventilation without costly AC, you should maximize natural ventilation and pursue DIY ventilation solutions.
Open windows and doors strategically to create cross-ventilation during workouts, using a low-cost fan in one doorway to pull stale air out.
Install a simple exhaust fan or a window vent to vent hot air.
Add programmable timers, moisture-absorbing dehumidifiers, and breathable seals around gym areas.
Regularly inspect seals and vents for ideal, consistent airflow.
Are There Space-Saving Equipment Ideas for Small Garages?
Imagine this: you transform a 12×20 garage into a functional gym in a weekend, using wall mounted racks and foldable equipment.
You save floor space by mounting racks along studs and tucking mats under a drop-down rack.
Opt for foldable benches, compact squat stands, and a foldable treadmill.
With this setup, you’ll train efficiently, change workouts weekly, and keep the area clutter-free for daily use.
Conclusion
You’ve laid the groundwork like a craftsman: solid space, smart layout, and gear that moves with you. As you finish concrete certainty—anchored mats, clean airflow, whisper-quiet cardio, and a climate that never quits—remember the gym’s not just walls, it’s momentum. Keep improving in phases, track results, and treat this space as your daily benchmark. When days drag, you’ll recall those early plans and push forward, turning a garage into a resilient, personal training ground.


