You’ll elevate interior style fastest when you treat lighting as a planned system, not a last-minute fixture. Start by mapping daylight hour-by-hour, spotting glare on screens and glossy surfaces, then use sheers, matte finishes, and furniture shifts to calm it. Layer dimmable ambient, focused task light (like 300–500 lux under cabinets), and narrow-beam accents for art at roughly 30°. Specify 90+ CRI LEDs and keep CCT consistent by room. Next, you’ll see how to build room-by-room scenes.
Set Interior Lighting Goals by Room
Where do you start when you’re planning interior lighting? Set measurable goals per room: task visibility, ambient comfort, and accent emphasis.
In the kitchen, target high-CRI, glare-controlled task light over prep zones and the sink; layer dimmable ambient to avoid shadowing.
In living areas, prioritize flexible scenes—reading, entertaining, TV—with dimmers and multiple circuits.
In bedrooms, aim for low-lux, warm CCT at night, plus focused light at closets and vanities.
In baths, specify even vertical facial lighting at the mirror, not just overhead.
Let color palettes guide CCT choices: cooler for crisp whites, warmer for earthy tones.
Use furniture placement to align sconces, pendants, and switch zones with real use paths.
Assess Windows, Exposure, and Glare
Start by mapping your window orientation (N/E/S/W) and noting nearby obstructions, since exposure drives daylight intensity, heat gain, and color shift across the day.
Then identify glare hotspots by checking sightlines to screens and task surfaces during peak sun angles, and log when reflections spike.
You’ll use that quick audit to prioritize shading, glazing, and fixture placement that keeps daylight useful without visual discomfort.
Map Window Orientation
How your windows face the sky determines not just brightness, but heat gain, contrast, and the kind of glare that wrecks screens and finishes. Start by mapping each opening’s azimuth and noting obstructions, overhang depth, and nearby reflectors. Window placement becomes a performance decision, not just a facade move.
If you’re in the Northern Hemisphere, north light stays coolest and most consistent for studios; south exposure brings the highest solar load, so size glazing to your HVAC strategy. East delivers sharp morning sun; west runs hottest late day, so plan lower-SHGC glass or exterior shading.
For daylight optimization, log seasonal sun angles, then align task zones and reflective finishes to the most stable light. Use simple sun-path apps and a compass to validate on site.
Identify Glare Hotspots
Even if your daylight levels look perfect on paper, glare hotspots can still sabotage comfort, screen visibility, and perceived finish quality. Start hotspot identification by walking the room at 9am, noon, and late afternoon. Note direct sun patches on floors, glossy millwork, stone, and TV or laptop screens.
Check window height, glazing spec, and exterior reflectors (water, pale paving, neighboring glass) that bounce light deeper than expected.
Measure with a lux meter or phone app, but also look for high-contrast edges that cause squinting. For glare reduction, add adjustable layers: sheers plus dim-out rollers, exterior screens, or micro-louver films.
Re-aim work zones so your sightline runs parallel to windows, not into them. Specify matte paints (5–10 sheen) and low-gloss hardware to dampen specular spikes.
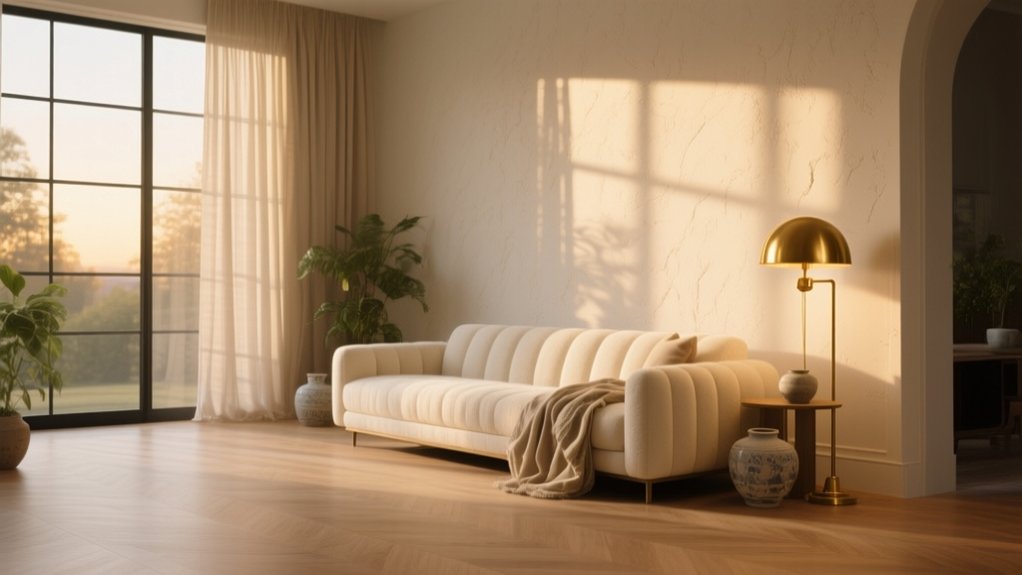
Use Natural Light as Your Base Layer
Start by tracking how sunlight moves through your rooms from morning to dusk so you can map hotspots, shadow zones, and glare risk.
Then place mirrors strategically—opposite key openings or at bounce angles—to push daylight deeper without creating harsh reflections.
Finish by choosing light-friendly fabrics like sheer weaves, matte finishes, and pale, high-LRV textiles that transmit and diffuse brightness while keeping the look current.
Track Sunlight Through Day
Across a typical day, sunlight behaves like a moving, high-CRI spotlight—so track it before you add fixtures. Spend one weekday and one weekend day observing Sunlight patterns room by room: note where hard-edged beams land, when they soften into bounce light, and when glare hits screens.
Sketch a simple floor plan and mark hourly patches; your phone’s compass and a lux meter app make it faster.
Then optimize Window placement decisions you can still influence: adjust furniture zones, specify lighter window treatments, and choose glass performance (low‑E, tint, or diffusion) based on heat gain and contrast.
Treat daylight as your baseline ambient layer, then size electric light to fill only the gaps—late afternoon shadows, north-room flatness, and overcast days—without fighting the sun’s directionality.
Place Mirrors Strategically
Where does your daylight die out first—right past the window line, in a hallway, or at a deep work surface? Treat that fade zone as your target for mirror placement.
Position a mirror perpendicular to the window to “catch” side light and push it deeper, or opposite the window to double perceived brightness without adding glare.
Keep sightlines in mind: aim reflections toward ceilings or pale walls, not straight into seating or screens.
Use tall, vertically oriented mirrors to extend daylight bands higher on the wall, improving ambient spread.
In tight corridors, place mirrors on the long wall to widen the field and bounce light forward.
Pair mirrors with other reflective surfaces—lacquer, glass, polished metal—to amplify daylight while staying minimal and current.
Choose Light-Friendly Fabrics
Mirrors can push daylight deeper, but fabric choices decide whether that light stays clean and usable or gets swallowed. Treat natural light as your base layer, then select textiles that support it. Favor sheer linen, cotton voile, or gauze panels; they maximize Light diffusion while preserving privacy. Skip heavy velvets or dense chenilles near windows unless you’re controlling glare for media rooms.
Use pale, matte weaves for bounce without sparkle, and keep high-sheen satins to accents so they don’t create hot spots. Watch Fabric textures: nubby bouclé and chunky knits scatter light softly, while tight twills cast harder shadows.
For rugs, choose low-pile wool in warm neutrals to reduce contrast and keep the room reading brighter.
Plan a 5-Step Interior Lighting Layout
Although your fixtures may look great on paper, you won’t get a space that functions (or photographs) well until you map lighting in a deliberate sequence.
Step 1: audit daylight by hour and note glare zones.
Step 2: mark primary sightlines and focal points, then plan color contrast so materials read true in photos and at night.
Step 3: set target illuminance per zone (lux/foot-candles) and choose correlated color temperature to match finishes.
Step 4: place power, switching, and dimming locations early; prioritize smart controls and energy efficiency with LED loads and occupancy schedules.
Step 5: mock it up—use temporary lamps, measure with a lux app, and adjust beam spreads, mounting heights, and aiming before you buy.
Layer Interior Lighting: Ambient, Task, Accent
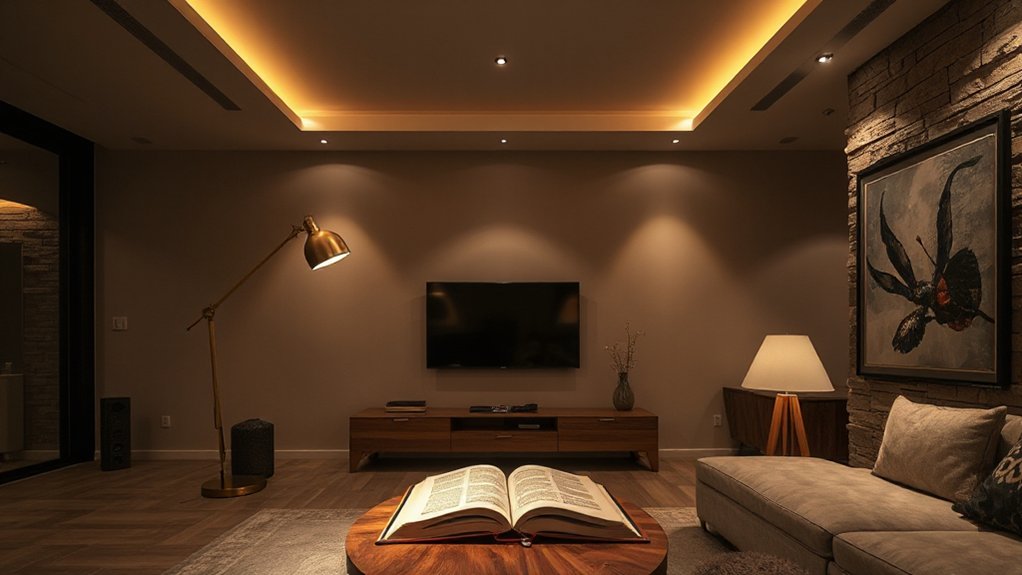
Because a single overhead fixture can’t deliver comfort, function, and visual depth at once, you’ll get better results by layering light into three roles: ambient for overall, low-glare illumination; task for high-precision brightness at work surfaces; and accent for controlled punch on art, texture, and architectural features.
Start with dimmable ambient sources that keep shadows soft and circulation safe. Add task lights where your eyes work hardest—under-cabinet strips, a desk arm lamp, a vanity bar—aimed to cut glare and increase contrast.
Finish with accent using narrow-beam spots or adjustable track heads to sculpt surfaces and create focal hierarchy. For Layered illumination that feels modern, tune color temperature consistently and group circuits by scene.
Specify energy-efficient bulbs with high CRI so colors read true.
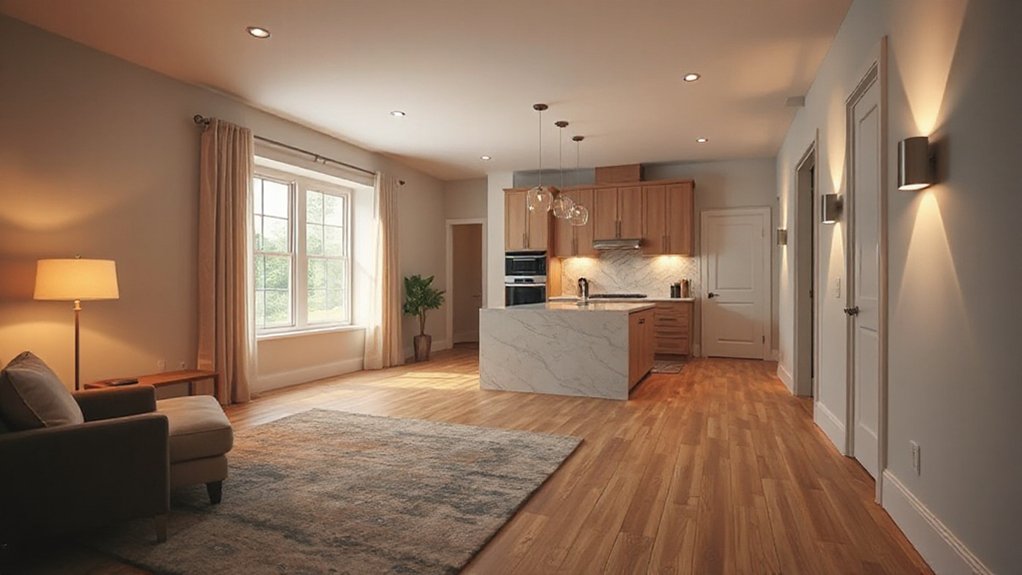
Choose Ambient Lighting for Ceiling Height
If you’re working with low ceilings, you’ll get the best ambient results from a soft glow—think low-profile LEDs or indirect cove light that spreads evenly without glare.
With high ceilings, you can’t rely on a single fixture, so you’ll want layered light that combines downlight, uplight, and suspended sources to keep illuminance consistent at eye level.
Match output and beam control to the ceiling height, and you’ll avoid flat, underlit rooms while staying aligned with today’s clean, architectural lighting trend.
Low Ceilings, Soft Glow
When your ceiling sits low, ambient lighting needs to spread laterally and stay glare-controlled, or the room will feel cramped fast. Skip bare bulbs and high-output downlights; they create hotspots and harsh ceiling bounce. Instead, use flush-mount LEDs with wide diffusers, edge-lit panels, or slim drum fixtures that push lumens outward.
Aim for 2700–3000K and a 90+ CRI to keep skin tones clean while maintaining ambient ambiance. Add a dimmer and set your baseline around 10–20 footcandles for living areas, higher for kitchens.
Place wall sconces or cove-style LED tape close to the ceiling line to wash walls, not the plane above you, so you get soft shadows and perceived height.
High Ceilings, Layered Light
High ceilings flip the ambient-lighting problem: instead of fighting glare and compression, you’re trying to keep a tall volume from feeling dim at eye level. Match your ambient layer to ceiling height by bouncing light off broad surfaces: uplights, cove LEDs, and wall-washers create a uniform field without hotspots.
Skip a single central pendant as your only source; it reads decorative, not functional. Add mid-level luminaires—sconces at 60–66 inches, linear picture lights, or track heads aimed at walls—to pull brightness down where you live.
Then anchor the floor plane with lamps for contrast and dimmer control. Choose 2700–3000K, high-CRI LEDs, and separate circuits so you can tune day-to-night.
Let natural illumination lead, and fill shadows after sunset.
Size Ambient Fixtures for Room Width
Although ambient lighting sets the overall mood, fixture scale has to track the room’s width to avoid a space that feels underlit or visually top-heavy.
For a single ceiling fixture, use a quick sizing rule: convert the room’s width (in feet) to inches for an approximate diameter. A 12‑foot-wide room wants about a 12-inch drum, globe, or compact chandelier; go larger if you’re leaning into the current oversized-pendant trend, but keep clearance clean.
In open plans, maintain Ambient scale by repeating medium fixtures rather than one giant statement.
Prioritize Fixture placement on the room’s visual centerline, not just the electrical box, and align with key sightlines so the fixture reads intentional from entry and seating zones.
Add dimming for flexibility.
Put Task Lighting Where Work Happens
Right-sizing your ambient fixture sets the room’s baseline, but task lighting has to land exactly where your hands and eyes work. Map your work zones first—prep counters, sink, desk, vanity—and light each with targeted beams, not spill.
Under-cabinet LEDs should sit near the front rail to push light onto the counter, not your backsplash. Aim for 300–500 lux at the surface and choose 90+ CRI so color reads true.
At a desk, a shaded arm lamp keeps the source out of your sightline; set it opposite your writing hand to reduce shadows.
In baths, place vertical sconces at eye height to cut harsh under-chin shading. Put task lighting on dimmers for flexibility.
Add Accent Lighting to Show Texture and Art
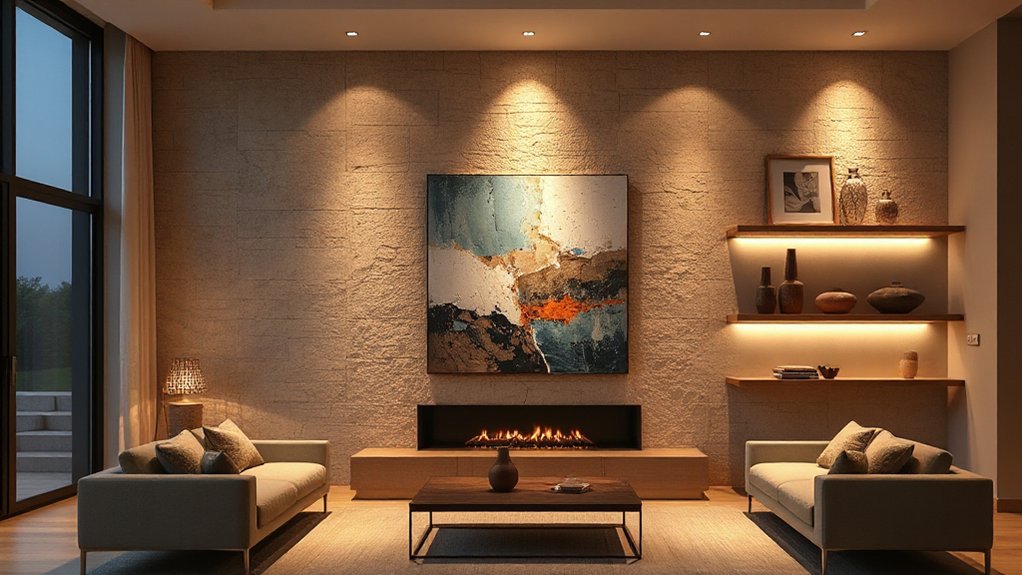
Once your ambient and task layers work, accent lighting gives the room its depth by carving out texture and pulling art forward.
For Texture highlighting, aim narrow beams and steep angles: wall-grazing linear LEDs exaggerate brick, plaster, and slatted wood, while adjustable spots skim drapery or stone. Keep fixtures discreet—recessed gimbals, mini track heads, and picture lights stay on-trend and easy to reposition.
For art illumination, place the beam about 30 degrees off the vertical to reduce glare, and size the spread to the frame so the wall doesn’t wash out. Use dimmers to fine-tune contrast and prevent hotspots.
Highlight one feature per sightline, and you’ll avoid visual noise while guiding the room’s hierarchy.
Choose Bulb Color Temperature by Mood
After you’ve used accent lighting to highlight texture and art, you’ll set the room’s emotional tone by choosing bulb color temperature (CCT) on purpose.
Pick warm light (~2700–3000K) when you want relaxation, neutral white (~3500–4100K) when you need focus, and cool daylight (~5000–6500K) when you’re chasing an energized, modern feel.
Match the Kelvin range to the activity, and you’ll get lighting that feels intentional rather than accidental.
Warm Light For Relaxation
Why does a room instantly feel calmer under softer light? Your eyes read warm color temperatures as sunset-like, so your nervous system downshifts.
For relaxation, spec bulbs around 2200K–2700K (often labeled “warm” or “extra warm”). That range boosts a cozy ambiance, especially with high CRI (90+) LEDs that keep wood, skin, and textiles looking rich instead of gray.
Use dimmable drivers and set scenes: 30–40% output for winding down, 10–20% for late-night calm.
Layer light, not brightness—table lamps, sconces, and shaded pendants reduce glare and create calming hues on walls.
Avoid bare bulbs and cool “daylight” packaging; look for warm-dim or amber-filament styles if you want on-trend vintage warmth.
Neutral White For Focus
Warm light cues your brain to slow down, but task-heavy spaces need a cleaner signal. Choose neutral white lamps in the 3500–4100K range to keep contrast crisp without washing out textures.
In a home office, kitchen prep zone, or vanity, this temperature supports accurate color judgment and reduces the “yellow cast” that can dull detail work.
Pair it with high CRI (90+) LEDs so skin tones and materials read true against white walls and a neutral palette. Use dimmable drivers to shift intensity, not color, and aim for layered lighting: an overhead ambient base plus a focused task beam at 30–60° spread.
If glare shows up on screens, add a diffuser or bias light behind the monitor.
Cool Daylight For Energy
When do you reach for cool daylight instead of neutral white? Choose it when you want a crisp, high-alert vibe and higher perceived brightness at the same lumen output. Aim for 5000–6500K LEDs in task-heavy zones, but control glare with diffusers and matte finishes so the room stays sharp, not sterile.
- Morning kick-start: Match cool daylight to your Sunlight patterns—use it near east-facing windows to reinforce wakefulness.
- Performance spaces: Put it over gym corners, laundry, garages, and maker benches; pair with high CRI (90+) for accurate color.
- Energy strategy: Use daylight harvesting—add photosensors or smart dimming so fixtures ramp down as real daylight rises.
Keep it on dedicated circuits, and dim to 3500–4000K in the evening.
Choose Brightness by Lumens (Quick Guide)
Three numbers matter most when you’re choosing brightness: lumens, room size, and task type.
For ambient light, target 10–20 lumens per square foot; for kitchens and baths, 30–40; for desks and vanities, 50+ on the work zone.
Do a quick Lumens comparison: a 450-lumen lamp reads “soft,” 800–1,100 lumens feels “everyday bright,” and 1,600+ lumens suits large rooms or high ceilings.
Layering stays on-trend: pair ceiling fixtures with floor lamps and under-cabinet strips so you can scale output.
For Brightness calibration, put key lights on dimmers, then set daytime at 70–80% and evening at 30–40% to reduce glare and keep contrast comfortable.
Use High-CRI Bulbs for True Colors
Even if you nail the lumen count, low-CRI bulbs can still make your finishes look dull or “off.” CRI (Color Rendering Index) measures how accurately a light source reveals color compared with daylight, and it matters most in spaces where you judge materials up close—kitchens, baths, closets, art walls, and makeup or desk zones.
For dependable color accuracy, target CRI 90+ (or “high-CRI” LEDs); it keeps paint undertones, stone veining, and skin tones honest. Use this quick filter when you shop:
- Check CRI + R9: CRI ≥90 and strong R9 for saturated reds.
- Pair with the right CCT: 2700–3000K warm, 3500–4000K task-neutral.
- Choose quality drivers: low flicker, consistent bins, better bulb longevity.
Test one bulb at home before you commit.
Match Lighting Fixtures to Interior Style
Although the specs matter, your fixtures should also speak the same design language as the room—finish, form, and scale can make lighting feel intentional or instantly “off.” Match silhouettes to your interior style (clean cylinders for modern, opal globes and brass for mid-century, lantern profiles for traditional, sculptural pieces for contemporary).
Then align metal tones and sheen with your hardware so the mix looks curated instead of accidental. Treat lighting fixture styles like furniture: repeat one dominant finish, then add one controlled contrast (matte black with brushed nickel, or aged brass with warm woods).
Use color coordination to echo undertones in floors, textiles, and paint—cool metals with grays, warm metals with creams. Keep proportions tight: larger rooms need larger diameters and longer drops.
Add Dimmers for Flexible Interior Lighting
When you add dimmers, you don’t just lower brightness—you tune the room’s mood, glare, and energy use in real time. Dimming gives you adjustable brightness that tracks daily rhythms: crisp task light for mornings, softer ambient light at night.
Choose modern dimmer switches rated for your lamp type (LED, halogen) and verify minimum load compatibility to prevent flicker. Pair them with high-CRI LEDs so colors stay accurate as you dim, and consider smart dimmers for scenes, schedules, and voice control without changing fixtures.
For best results, dial in levels by zone: ceiling, accent, and task lighting should dim independently.
Focus on these moves:
- Specify LED-compatible dimmers with trailing-edge control.
- Set preset scenes for work, dining, and wind-down.
- Calibrate each circuit’s low-end trim during installation.
Avoid These Interior Lighting Mistakes

Dimmers give you control, but they can’t fix a bad lighting plan—so it’s worth calling out the mistakes that make interiors feel flat, harsh, or unreliable. Don’t rely on a single ceiling fixture; you’ll get glare and dead corners.
Avoid mismatched color temperatures—mixing 2700K with 4000K reads chaotic, not curated. Skip bargain LEDs with low CRI; they wash out finishes and skin tones.
In bulb selection, match lumen output to the fixture, and confirm dimmer compatibility to prevent flicker or dropout.
During lighting installation, don’t ignore beam angle and mounting height; the wrong spread creates hotspots and shadows.
Finally, don’t forget maintenance access and circuit planning—smart, layered control fails when the hardware’s hard to service.
Room-by-Room Interior Lighting Plans
Because each room supports different tasks, you’ll get better results by planning lighting by zone—ambient, task, and accent—then tuning color temperature, output, and beam spread to how the space actually gets used. Start with a dimmable base layer, then add targeted light where your eyes work hardest, and finish with accents that sharpen lighting aesthetics without glare.
- Kitchen: Use high-CRI (90+) 3000–3500K ambient lighting, under-cabinet task lights with wide beams, and small accents over open shelving.
- Living room: Keep ambient lighting soft at 2700–3000K, add reading lamps with controlled cutoff, and wash one wall for depth.
- Bedroom/bath: Go warm (2700K) for winding down; add mirror-side vertical task lighting to reduce shadows and improve grooming accuracy.
Budget Interior Lighting Upgrades That Matter
Room-by-room plans tell you what light each zone needs; now it’s about getting those results without a full rewire. Start with lamps and bulbs: swap to high-CRI LEDs (90+), choose warm-dim for living areas, and match lumens to task height. You’ll boost Energy efficiency instantly while improving color accuracy and reducing glare.
Next, add plug-in dimmers and smart bulbs where you can’t change fixtures; you’ll get layered light without opening walls. Use Smart controls to schedule circadian shifts, set scenes, and cut standby waste with occupancy or daylight sensors.
Upgrade shades too: diffusers, frosted globes, and deeper reflectors soften hotspots. Finally, tune placement: move floor lamps to bounce off walls, not eyes. Measure with a phone lux app before/after.
Frequently Asked Questions
How Do I Reduce Eye Strain From Screens With Interior Lighting?
Reduce eye strain by matching screen brightness to ambient lighting, using ambient layering: dimmable overhead plus bias light behind monitors. Choose 3000–4000K color temperature, reduce glare with shades, and position screens perpendicular to windows.
What Lighting Choices Help People With Migraines or Light Sensitivity?
Want fewer migraine triggers? Choose dimmable, flicker-free LEDs with warm color temperature (2200–2700K), add layered ambient glow, use indirect lighting and shades, avoid bare bulbs, and control daylight with sheers or blackout curtains.
How Can I Improve Lighting for Video Calls Without Harsh Shadows?
Place a diffused key light at 45° and add Ambient glow from a front-facing lamp or monitor bar. Match Color temperature (around 4000–5000K). Raise lights above eye level, bounce off walls, dim overheads.
Are Smart Bulbs Worth It Compared to Smart Switches and Dimmers?
Yes—smart bulbs are a Swiss Army knife versus switches. You’ll tune color temperature per scene, automate schedules, and boost energy efficiency, but they cost more. Choose switches/dimmers for whole-circuit control and simpler installs.
What Lighting Strategies Make Small Rentals Feel Brighter Without Rewiring?
You’ll boost brightness by maximizing Natural sources with sheer curtains, mirrors, and clear sightlines; then layer plug-in ambient, task, and accent lighting. Choose high-lumen LEDs, uplights, and decorative fixtures, using smart plugs for scheduling.
Conclusion
You’ve obsessed over paint swatches and furniture lines, yet the “minor” light still runs the show. When you set room goals, map windows and glare, and treat daylight as layer one, your layout finally behaves like a system. Stack ambient, task, and accent, then add dimmers so one plan works all day. Skip the usual mistakes—overhead-only, mismatched color temps, no control—and your budget upgrades look oddly expensive.