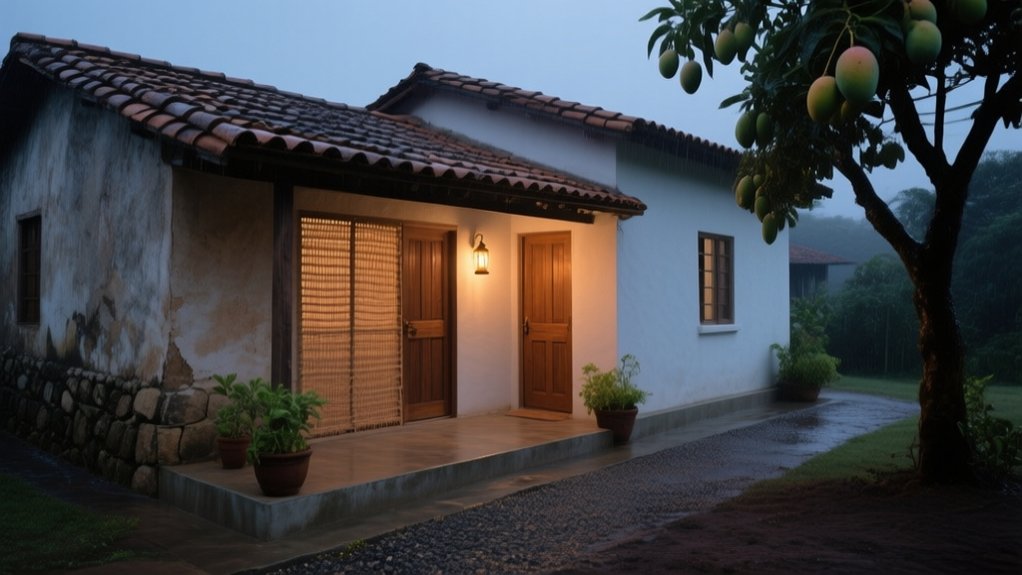

You reimagine a village bungalow by starting with a careful walk-through: track daylight, prevailing winds, humidity, and any cracks or damp, then check the roof space for leaks and sagging. You tighten the plan, not the footprint, by easing pinch points, aligning doors, and zoning rooms by sun and privacy. You bring light deeper with tall openings and screens, add secure cross-vent vents, choose matte, repairable materials, and build storage around daily routines—there’s more ahead.
Key Takeaways
- Audit existing daylight, airflow, moisture, and structural issues first; document cracks, damp patches, roof leaks, and prevailing winds to guide priorities.
- Refine the layout by shortening hallways, aligning doors, and rezoning public/private/service areas to improve flow and everyday simplicity.
- Build storage around daily routines—entry hooks, boot trays, kitchen drop zones, and built-ins for odd corners—to reduce clutter and friction.
- Increase light and privacy with taller windows, plastered reveals, recessed curtain tracks, and permeable screens that admit daylight while blocking views.
- Choose honest, repairable materials and simplified exterior details; use hardy landscaping and durable paths that age gracefully and suit village life.
Audit Your Village Bungalow’s Light, Airflow, and Structure
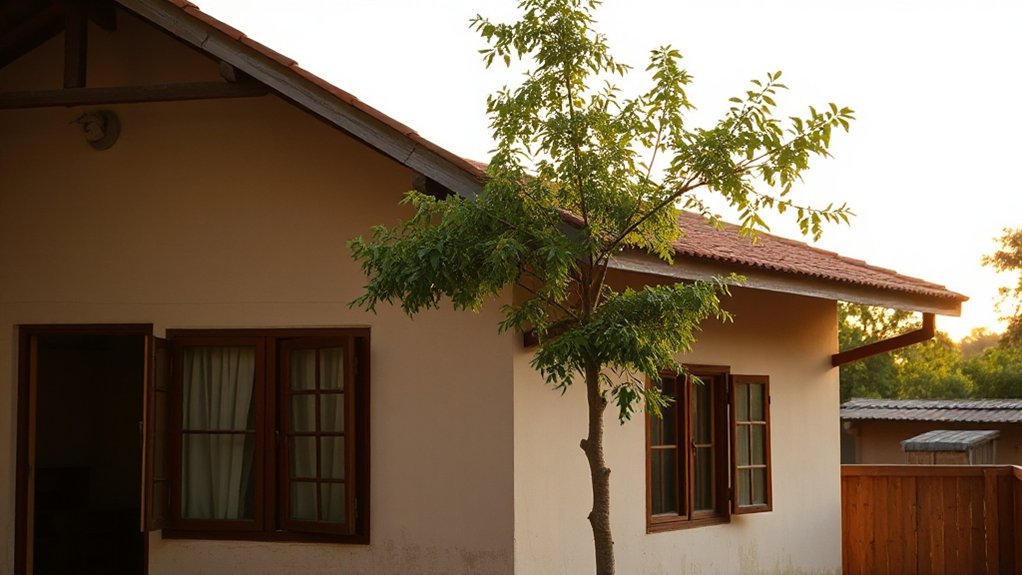
Before you pick finishes or furniture, walk through your village bungalow and document how it actually performs—where daylight falls at different hours, which rooms feel stale or drafty, and what the structure is quietly telling you through hairline cracks, damp patches, or uneven floors.
Map prevailing winds, note where doors bang or curtains breathe, and test cross-ventilation by cracking opposite windows. Track humidity with a cheap meter, especially near the bath, chimney breast, and north walls. Check roof space for leaks, sagging rafters, and compressed loft fill; prioritize Sustainable insulation that won’t trap moisture against old masonry.
Photograph skirting lines and window reveals to spot movement. Step outside and study Garden integration: trees shading rooms, hard paving causing splashback, and clogged gullies pooling against foundations. Record it all before you change anything.
Rework the Bungalow Plan, Not the Footprint
You don’t need to expand your village bungalow’s footprint to make it feel bigger—you need to tighten the plan. Start by refining interior flow: shorten dead-end hallways, align doors for clear sightlines, and group daily routes so you’re not zigzagging through the house.
Then rezone rooms by use, separating quiet sleep/work areas from active cooking/living zones. Let shared storage and a flexible multipurpose space do more of the heavy lifting.
Refine Interior Flow
Although the bungalow’s footprint stays fixed, the way you choreograph movement inside can change everything. So start by mapping the daily routes—entry to kitchen, kitchen to dining, bedrooms to bath—and then reshape walls, door placements, and openings to remove pinch points.
Widen tight corners with cased openings, swap swing doors for pocket or barn sliders where clearance fights circulation, and align sightlines so you can read the home at a glance.
Keep thresholds consistent: match floor heights, reduce abrupt progressions, and use continuous trim to guide the eye. Test furniture placement with tape on the floor, ensuring a 36-inch clear path past tables and sofas.
Maintain color harmony across adjoining spaces so movement feels seamless, not segmented. Finally, tune lighting: brighter at intersections, softer along runs, to cue direction without signs.
Rezone Rooms By Use
Once you’ve smoothed the circulation routes, rezone the bungalow by assigning each room a clear job—public, private, or service—so the plan supports daily rhythms without adding a single square foot.
Put living, dining, and kitchen along the sunniest façade, then line up bedrooms behind a door or short hall to quiet them.
Treat the mudroom, pantry, laundry, and bath as a compact service band that shares plumbing and hides clutter near the entry.
Use furniture, rugs, and lighting to reinforce borders instead of building new walls.
Strengthen landscape integration by aligning public rooms with the porch and garden views, while private rooms face calmer side yards.
Let exterior color signal zones from outside—warmer at gathering areas, cooler at retreat spaces.
Bring Daylight Deeper: Without Losing Privacy
Because village plots often sit close to the street and neighboring courtyards, the trick to pulling daylight deeper into a bungalow is shaping the light before it reaches the living zones. Start with window placement: push clear glazing higher on the wall, and keep sill heights above eye level where paths pass outside. Use narrow, tall openings to bounce light onto ceilings and deep plastered reveals to soften glare.
Add privacy screens that still transmit brightness—perforated brick, timber slats, or woven cane set off the glass by a few centimeters. You’ll get a luminous buffer that blocks direct views while keeping rooms legible.
Inside, lighten finishes near openings, and align interior doorways so borrowed light can travel down corridors without exposing bedrooms to the street. Keep curtain tracks recessed for clean lines.
Add Cross-Ventilation With Small, Smart Openings
Where can you steal a steady breeze without turning your bungalow into a wind tunnel? Start by mapping prevailing winds and spotting blocked paths: a corridor, a pantry wall, heavy curtains.
You’ll get Cross ventilation when air can enter low on the windward side and exit high on the leeward side, so pair a small casement window with a high transom or vent above an internal door.
Use smart openings: narrow slit windows, offset louvers, or a perforated clerestory that stays secure while you sleep.
Keep openings on opposite walls slightly misaligned to pull air across the room, not straight at your bed.
Add insect mesh and adjustable stops so you can tune airflow during monsoon gusts and dusty afternoons.
Pick Durable Materials That Patina Quietly
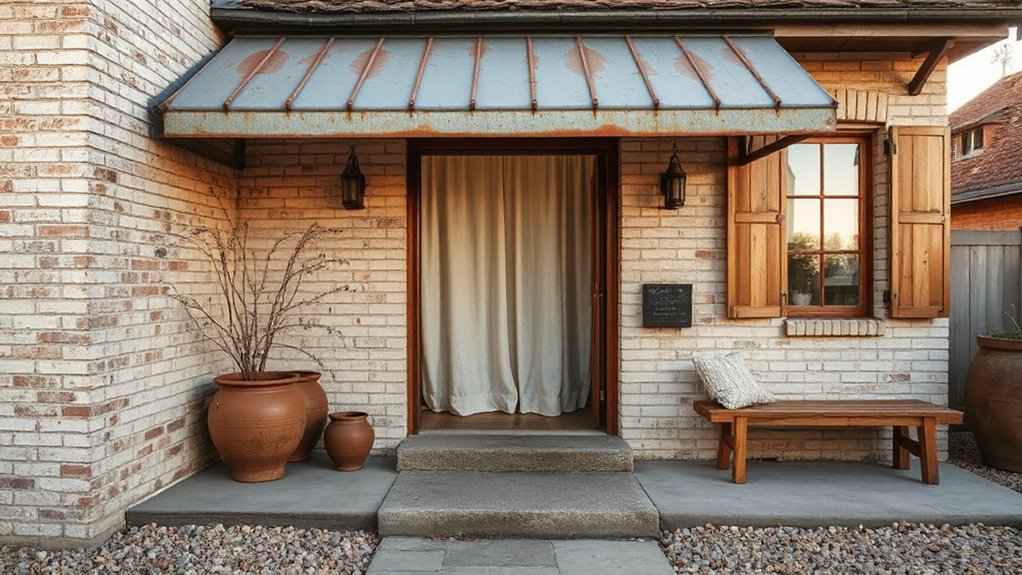
You’ll get the most out of a village bungalow when you choose natural, honest materials—solid wood, brick, stone, and lime plaster—that can take daily wear without looking tired.
You can keep upkeep low by specifying matte, breathable finishes that hide scuffs, resist peeling, and let surfaces mellow rather than fail.
You’ll also want to detail edges, drips, joints, and thresholds so water sheds cleanly, metals don’t stain adjacent walls, and everything ages with a quiet, even patina.
Favor Natural, Honest Materials
Even if the bungalow’s layout stays modest, the materials you choose will decide whether it feels settled and authentic ten years from now. Favor honest surfaces that reveal grain, mineral, and tool marks instead of hiding them. You’ll still get Modern aesthetics when you keep lines clean and details spare.
Choose materials that age with dignity and support Sustainable practices by reducing replacements and transport. Prioritize locally available species and stone that suits your climate, so expansion, moisture, and sunlight don’t fight the building.
- Solid wood for thresholds, shelving, and window stools that can be reworked
- Lime plaster or clay render that breathes with old masonry
- Natural stone or brick for hearths and entry steps that wear evenly
You’ll feel the place become quieter, not newer, as it lives.
Choose Low-Maintenance Finishes
Although fresh paint and glossy sealers look crisp on day one, they demand constant touch-ups in a hard-working bungalow. Choose finishes that tolerate wet boots, sun, and dusty village winds without fuss.
For floors, specify matte oil-finished oak, terrazzo, or sealed brick; they hide scuffs and spot-clean fast. In the kitchen, pick honed stone or compact laminate over high-polish surfaces that show every fingerprint.
Use breathable limewash or mineral paint indoors so you can patch small marks without flashing.
Outside, narrow your exterior paint options to mineral or high-quality acrylic in mid-tones; they fade evenly and resist peeling.
Let your landscaping choices reduce maintenance too: gravel paths and drought-tough natives cut mud and splashback on walls.
Detail For Graceful Aging
Low-maintenance finishes keep daily wear from becoming a weekly project, but the bungalow still needs details that look better as they get used. Choose materials that soften, darken, and polish with touch: solid brass, oiled oak, soapstone, and limewash. You’ll stop chasing perfection and start noticing how your home records seasons, visitors, and routine.
- Use threshold stones and exterior brick pavers that hide scuffs and track-in.
- Specify repairable surfaces: screwed hardware, replaceable boards, and re-oilable wood.
- Pick matte, mineral finishes that accept patches without flashing.
Carry the same logic outside: follow Gardening tips that favor hardy perennials and gravel paths over fussy edging. With Community engagement—neighbors dropping by, shared tools, kids’ bikes—your durable choices won’t just survive; they’ll settle in.
Simplify Bungalow Details: Trims, Hardware, Thresholds
When you strip a bungalow down to its essential lines, the small details—trim profiles, hardware shapes, and thresholds—start doing most of the visual work. Keep casings and baseboards consistent room to room, and choose a simple profile that matches the home’s era; skip fussy decorative trims that compete with natural light. Where you must repair, patch with the same thickness so shadow lines stay even.
Swap mismatched knobs and latches for one finish and one geometry. If you love ornamental hardware, limit it to the front door so it reads as a deliberate accent, not noise.
At thresholds, reduce bumps: use flush or low saddles, align flooring heights, and add a durable metal edge where grit and rain track in. Your feet will notice daily.
Build Storage Around Daily Village Routines (Not Trends)
Clean trims and consistent hardware set the bungalow’s baseline; storage should follow that same quiet logic by supporting how you actually move through a village day.
Map your routines first: shoes off at the door, market baskets on return, coats for sudden rain, jars for pantry staples.
Then build storage where the action happens, not where a magazine says it should.
Use Vintage furniture—an armoire for linens, a bench with lift-top—for character without clutter, and commission Local craftsmanship for built-ins that fit odd corners and thick walls.
Prioritize:
- A mudroom niche with hooks, tray, and boot grid
- A kitchen drop zone for produce, keys, and reusable bags
- A low cabinet near the stove for daily pots, grains, and tea
Frequently Asked Questions
Do I Need Special Permits to Renovate a Village Bungalow?
Yes, you’ll likely need permits, especially for structural, electrical, or plumbing work. Check Zoning regulations, Historic preservation rules, setbacks, and inspections. Call your village building department early; they’ll confirm scope, fees, and timelines.
How Much Does a Quiet Transformation Renovation Typically Cost?
You’ll spend anywhere from $50,000 to $250,000—enough to make your wallet whisper—depending on Historic preservation demands, Material selection, and local labor. You’ll control costs by reusing finishes, prioritizing repairs, and staging upgrades.
How Long Will Construction Take if I Remain Living On-Site?
You’ll typically need 10–16 weeks if you stay on-site, since crews phase work to keep essentials running. Historical preservation reviews and neighborhood regulations can add 2–6 weeks for approvals, inspections, and rescheduling.
Can I Integrate Solar Panels Without Changing the Bungalow’s Character?
Yes—you can add solar integration while preserving bungalow aesthetics. You’ll use low-profile panels, match frame colors to roofing, place arrays on rear slopes, hide conduits, and keep rooflines clear; you won’t alter details.
What’s the Best Way to Find Contractors Experienced With Village Homes?
Start with your local historic preservation office and village planning board for referrals, then do thorough contractor vetting: review past village projects, call references, confirm permits experience, and hire someone who documents methods and materials.
Conclusion
You finish by letting your village bungalow breathe, not by making it bigger, but by making it wiser. You’ve checked structure, tuned the plan, and pulled daylight deeper while keeping prying eyes out. You’ve added small openings that catch breezes like nets, chosen materials that age with dignity, and pared back fussy trims. You’ve built storage where shoes, grain, tools, and buckets actually land. Less show, more shelter.