

You can improve ventilation in an older home by pinpointing drafts, tweaking airflow paths, and adding targeted exhausts and purifiers without sacrificing character. Start with simple tests to map stale zones, seal leaks around doors and windows, and preserve natural cross-ventilation. Then introduce well-placed fans, vents, and humidity control to keep air moving. It’s a careful balance—enough openness to feel fresh, enough sealing to prevent excessive heat loss—and the next steps will guide you there.
Key Takeaways
- Assess current airflow by noting room-to-room odor, humidity, and drafts; map problem areas to target improvements first.
- Seal leaks around doors, windows, and ducts with weatherstripping and acoustic sealants to boost efficiency.
- Install discreet ventilation upgrades such as compact filters, transfer grilles, or smart vents to balance air distribution.
- Use portable or ceiling fans and strategic furniture placement to minimize obstructions and improve cross-ventilation.
- Monitor humidity and air quality with hygrometers and purifiers, and schedule regular maintenance of filters and ducts.
How Aging Homes Lose Fresh Air: and How to Fix It
Old houses often feel stuffy because their aging design traps air and blocks natural airflow. You’ll notice stale pockets where fumes, moisture, and heat linger, while drafts sneak through gaps that aren’t obvious at first glance.
To fix this, you balance practical needs with historical preservation and aesthetic considerations. Start by evaluating window frames and doors for tightness; install weatherstripping and selective, historically respectful gaskets that don’t compromise ornament.
Consider controllable vents or operable transoms to restore cross-ventilation without altering exterior silhouettes. Upgrade kitchen and bath exhausts to modern, quiet, code-compliant models that vent outside, not into attics.
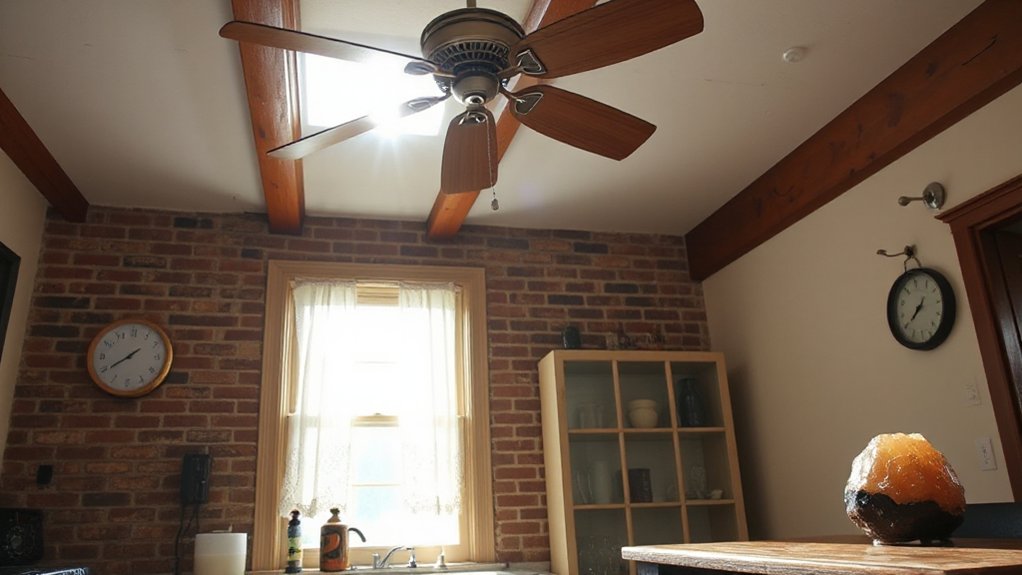
Use ceiling fans or air movers to promote circulation while maintaining the building’s character. Document changes for future preservation, proving that comfort and heritage can coexist.
Audit Your Home’s Airflow: Quick Checks and What They Tell You
You can start with a quick airflow audit to spot obvious problems before you investigate fixes. Begin by observing room-to-room differences in smells, drafts, and humidity.
Note airflow patterns: does air flow from living spaces to bedrooms, or vice versa?
Run a simple test: open a few interior doors and watch for cross-ventilation when a window is cracked.
Check trapdoors, returns, and ceiling diffusers for clear obstructions or dust buildup.
Listen for stale air in corners and feel for uneven cooling or heating.
Identify ventilation myths you encounter—bigger gaps aren’t always better if they bypass living zones.
Map findings into a simple diagram, prioritizing changes that restore balanced circulation without creating new drafts.
This prepares you for targeted, efficient improvements.
Seal Drafts to Preserve Healthy Home Ventilation
You’ll seal drafts by identifying gaps, then improving flow with targeted weatherstripping. Start by locating air leaks early and sealing them, so you preserve healthy ventilation without over-tightening.
Use weatherstripping effectively to keep drafts out while maintaining steady indoor air movement.
Seal Gaps, Improve Flow
Gaps around doors, windows, and ducts aren’t just drafts—they’re ventilation leaks that waste energy and let in unwanted moisture and pollutants. To seal gaps effectively, start with a quick survey of each room entrance, attic hatch, and utility chase.
Use low-expansion spray foam for large openings, then back it with caulk or gasket foam for smaller joints.
Weatherstripping on doors and operable windows reduces air exchange where you don’t want it, while still allowing controlled flow when needed.
Prioritize gaps around plumbing penetrations and duct trunks, using acoustic sealant where noise transmission matters.
Maintain breathable yet airtight seams at ceilings and floors.
The goal: preserve fresh air, minimize drafts, and keep a steady, comfortable flow throughout the home.
Identify Air Leaks Early
Pride in a tight, well‑ventilated home starts with spotting drafts early, not waiting for them to widen. You’ll inspect common pinch points—the attic hatch, electrical outlets, and door bottoms—before temperatures shift.
Use a simple smoke test or incense stick to trace invisible leaks, noting where you feel a draft or see curtain movement.
Prioritize air leaks near the kitchen and bathrooms, since these areas repeatedly influence indoor air quality.
Once you locate a leak, seal it promptly with appropriate materials, then recheck to confirm effectiveness.
Regular air duct cleaning helps maintain steady airflow and reduces hidden leaks that degrade ventilation.
Keep a lightweight calendar for seasonal checks, and pair leak repairs with filter changes and routine indoor air quality assessments to sustain a balanced, healthier home.
Use Weatherstripping Effectively
Weatherstripping is your first line of defense against drafts, keeping airflow steady without compromising comfort. You’ll create an air barrier that stops unwanted leakage while preserving natural ventilation where you want it.
Start with doors and windows, choosing low-friction seals that compress cleanly yet endure seasonal shifts. Inspect for gaps at sills, frames, and sash joints, then apply weatherstripping techniques that match each surface: V-strip for uneven gaps, door sweeps for thresholds, and foam tape where precision matters.
Prioritize continuous coverage over patchy fixes, and test by feeling for drafts after each installation. Maintain the system annually, replacing worn seals and realigning hardware.
This practical approach blends air barrier integrity with thoughtful design, delivering reliable comfort without sacrificing breathable, healthy air.
Balance Humidity for Comfort and Health in Vintage Spaces
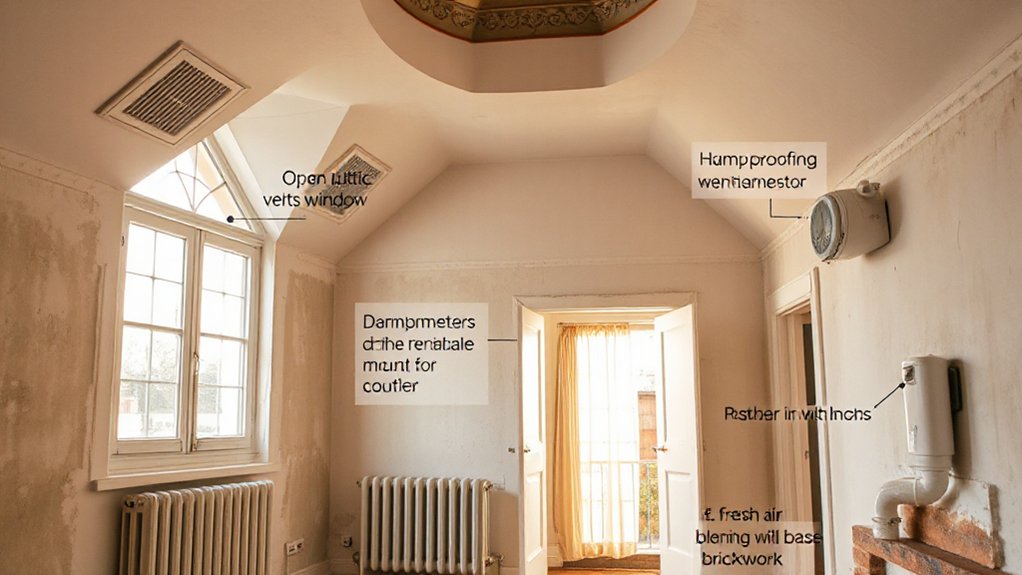
Maintaining the right humidity levels in vintage spaces isn’t just about comfort—it protects wood, plaster, and fabrics from warping, cracking, or mold growth. You’ll balance moisture by monitoring indoor conditions and making targeted adjustments.
Start with humidity meters in key rooms to track daily swings and identify patterns tied to heating cycles or laundry days. Keep relative humidity between 40% and 60% for most vintage materials, avoiding extremes that stress joints and finishes.
Use well-sealed, breathable furnishings and position hygrometers away from direct heat sources. For quick checks, place a few indoor plants to help stabilize microclimates, but don’t rely on them as a primary method.
When readings spike, open a window briefly or run a dehumidifier on high humidity days, then close it to maintain steady levels.
Gentle, Efficient Ventilation Options for Older Homes
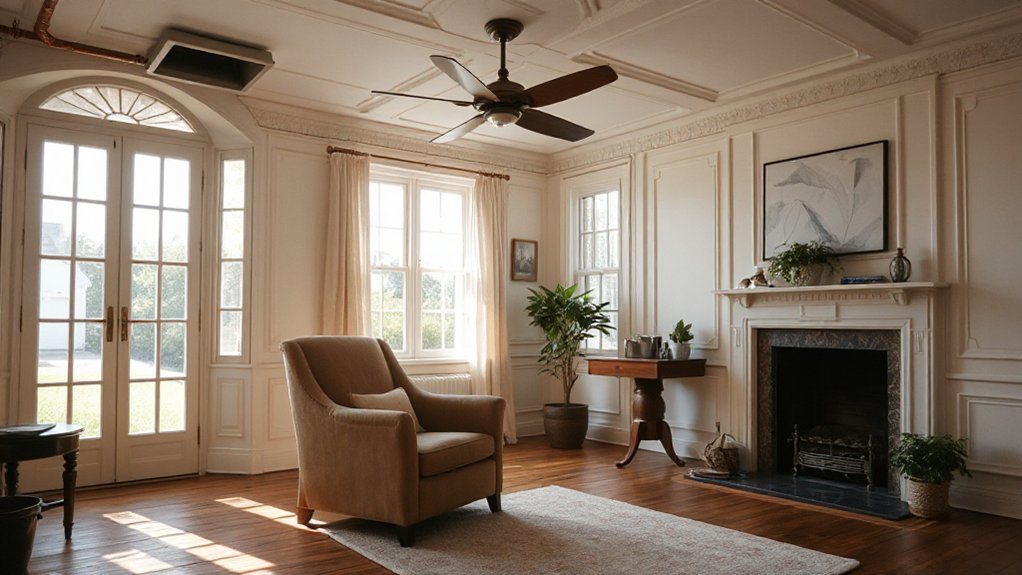
Gentle, efficient ventilation in older homes starts with smart, low-impact options that fit tight floor plans and historic finishes. You’ll prioritize compact, ceiling- or wall-mounted units that don’t disrupt plaster, trim, or wallpaper.
Focus on balanced air exchange rather than brute airflow; choose systems that run softly, with variable speed and intelligent control. Filter efficiency matters: look for MERV-rated media and easy maintenance to preserve historic aesthetics.
Integrated ventilation systems should connect to bathrooms and kitchens for targeted exhaust, while passive inlets maintain baseline supply without drafts. Use zoning to protect delicate rooms, and pair fans with exhaust dampers to minimize heat loss.
Install durable, corrosion-resistant components, and document performance data to monitor long-term effectiveness. This approach delivers consistent comfort without compromising design integrity.
Natural Ventilation That Keeps Your Historic Style
Natural ventilation in historic homes can be effective without compromising character when you leverage architecture and airflow thoughtfully. You’ll optimize existing features, like high ceilings, transoms, and operable windows, to create cross-ventilation without altering the overall silhouette.
Prioritize exterior guardrails, shutters, and vents that align with historical preservation standards, so openings work with style rather than against it. Use ceiling or attic vents to promote buoyant airflow, but size and placement should respect ornamentation and materials.
Seal drafts strategically around doors and sash joints to reduce wind-driven infiltration while preserving aesthetics. When you retrofit, select materials and colors that echo the era to maintain historical preservation and curb appeal.
Focus on thermal mass, shading, and moisture control to sustain comfort with minimal intervention, honoring aesthetic considerations.
Room-by-Room Upgrades for Vintage Layouts (Living Room, Bedrooms, Basement)

You’ll optimize each room’s airflow by choosing targeted venting options in the living room to balance cross-ventilation with heat retention.
In bedrooms and the basement, apply clear airflow strategies that align with your vintage layout, focusing on door placement, supply/return paths, and controlled infiltration.
This room-by-room approach keeps your design-conscious plan practical, precise, and ready for immediate upgrades.
Living Room Venting Options
In older homes, the living room often serves as the main pressure point for air changes, so start by evaluating existing ductwork and supply vents to identify bottlenecks.
Next, map how air travels from the furnace to seating zones, prioritizing even distribution.
Consider installing smart vents to tune airflow per area without overhauling the whole system, and pair them with a programmable thermostat for responsive adjustments.
Add an air purifier with a true HEPA filter near high-traffic seating to capture dust and odors without sacrificing comfort.
If you notice stagnant zones, introduce targeted returns or reposition furniture to open travel paths.
Keep ceilings clear, seal gaps around electrical boxes, and test after changes to confirm balanced, comfortable ventilation throughout living rooms.
Bedroom and Basement Airflow Strategies
When optimizing bedroom and basement airflow in vintage layouts, start by auditing each space’s airflow paths from the main ducts to the room corners. Then pinpoint bottlenecks caused by doors, low ceilings, or bulky furniture.
In bedrooms, prioritize close, unobstructed paths from supply diffusers to sleeping zones. Reposition heavy dressers and use slim-profile shelving to reduce obstructions. Consider transfer grilles or return gaps to improve bedroom airflow without sacrificing privacy.
In basements, elevate air movement with a dedicated supply near bulkheads and ensure a clear path to the stairs for exhaust routes. This enables basement ventilation even behind thick walls.
Use strategically placed ceiling or portable fans to displace stagnant air. Seal leaks, balance dampers, and test after changes to confirm consistent airflow across rooms.
Control Odors, Allergens, and Moisture: Practical Steps
To control odors, allergens, and moisture in older homes, start with targeted ventilation and sealing: open pathways that move air efficiently, but seal leaks that pull damp air in from crawl spaces or basements. You’ll want a tight envelope around ducts, attic hatch, and rim joists, reducing infiltration while preserving flow.
Place an air purifier strategically to capture particles without creating noise or drafty zones; ideal spots are main living areas or bedrooms, away from direct heat.
Use odor absorber techniques such as activated charcoal or baking soda near kitchens, bathrooms, and pet areas, refreshed weekly. Pair these with humidity control: dehumidify where humidity stays high, and ventilate intermittently to prevent stale air.
Focus on consistent, observable improvements, not perfect perfection.
Create a Realistic Ventilation Plan and Timeline
Begin with a clear, realistic assessment of your home’s current ventilation and identify priority rooms. Map a practical plan that targets these spaces first: bedrooms, living areas, and the kitchen-adjacent zone where heat and moisture tend to accumulate.
Set measurable milestones: weeks for sealing gaps, months for installing filtration or mechanical help, and quarterly checks for air changes per hour. Align the timeline with budget and seasonality, so you aren’t chasing improvements during peak heating or cooling.
Design-with-purpose means choosing discreet solutions: compact air filtration devices tucked into closets, and ceiling or wall vents that minimize visual impact.
Integrate indoor plants as a micro-boost, while ensuring sufficient light and airflow. Track progress with simple notes, adjusting priorities as you observe comfort and odor changes.
Maintain and Monitor Your System for Long-Term Comfort
Keep a steady cadence of checks so you don’t lose gains. Maintain your system with routine inspections, filter replacements, and duct cleanings on a schedule that matches usage.
Track airflow, pressure, and temperatures each season to spot deviations early. If you notice drafts, stale zones, or unusual noises, address them promptly to preserve air quality.
Document changes and maintenance dates so you can forecast replacements and budget upgrades. Prioritize high-quality filters and verify seals around vents remain intact, reducing dust and contaminants.
Calendar reminders for professional service help you stay proactive rather than reactive. Use a simple log to note indoor air quality indicators, humidity levels, and occupant comfort.
Thoughtful system maintenance sustains long-term comfort and efficient performance.
Frequently Asked Questions
How Often Should I Inspect My Ventilation Setup in an Old Home?
You should inspect your ventilation setup at least twice a year, more often if you notice drafts, odors, or humidity swings.
Check air filters monthly and replace as needed, and test CO2 levels during peak occupancy.
Inspect ducts, vents, and seals for cracks and gaps, and confirm outdoor intake isn’t blocked.
Prioritize air quality and well-sealed, efficient airflow.
Regular, deliberate checks keep Ventilation systems performing and your home design-conscious and comfortable.
Can I Ventilate Without Modifying Historic Architectural Features?
Opening with a symbol—a quiet doorway—you can ventilate without altering historic features if you choose discreet, modern ventilation strategies.
You can pursue window-driven drafts, trickle vents, and mechanical systems that respect Historic preservation while delivering fresh air.
You’ll install compact, high-efficiency units and careful duct routing that minimize visible impact.
In practice, document conservation goals, test for unintended drafts, and design around era-appropriate finishes.
Modern ventilation aligns with preservation, without compromising architecture.
What Is a Practical Budget Range for Upgrades?
A practical budget range for upgrades depends on scope, but you’ll typically target $2,000 to $8,000 for basic improvements, and up to $15,000 for extensive, design-conscious systems.
Start with cost estimation for components like vents, fans, and controls, then align with your comfort goals.
In budget planning, prioritize energy-efficient options and quiet operation.
Consider phased upgrades, and keep contingency in mind.
You’ll get better performance when you map costs to desired airflow and peace of mind.
Are There Safety Concerns With Installing New Vents in Vintage Walls?
Example: a vintage storefront case study shows you safety matters with vent installation in historic preservation projects. You should avoid damaging historic materials, test for lead paint, and route ducts away from plaster layers.
Yes, there are safety concerns—fire stops, proper sealing, and mold control must be addressed. You’ll require permits and coordination with preservation standards.
Prioritize durable, reversible methods, maintain aesthetics, and document changes for future maintenance.
How Long Does It Take to Notice Air Quality Improvements?
Air quality improves within hours to a few days, depending on your space and changes you make. You’ll notice fresher indoor air as soon as ventilation starts moving stale air out and bringing in fresh air.
Use quality sensors to track progress and adjust speeds. With consistent operation, Indoor air quality noticeably shifts in 24–72 hours.
Keep sensors calibrated, doors open when feasible, and seals tight to prevent leaks that undermine the gains.
Conclusion
You’ll finish strong by recognizing what works, refining what hurts, and sticking with a simple cadence: assess, seal, ventilate, monitor. You’ll audit drafts, seal leaks, and balance humidity; you’ll install gentle exhausts, clear pathways, and clean filters; you’ll upgrade rooms methodically, from living spaces to basements, preserving vintage charm while boosting airflow. You’ll create a realistic plan, set milestones, and track results. You’ll breathe easier, enjoy healthier air, and keep your older home comfortable and stylish.

