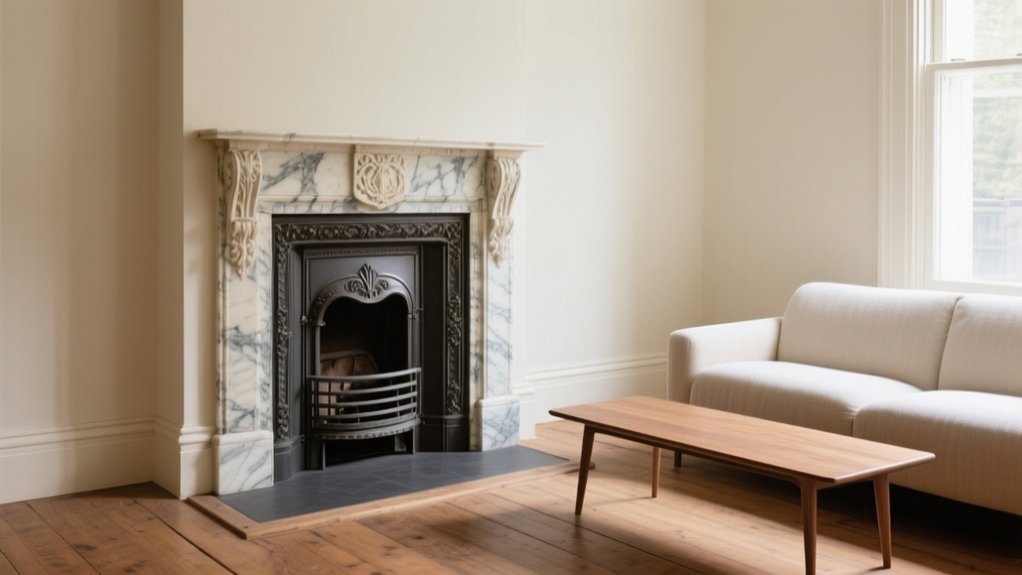

Start by documenting every face, joint and fixing, then test for loose surrounds, spalling brick, damp marks and blocked flues using a moisture meter or endoscope. Work out what’s original from patina, tool marks and period joinery, and flag modern bolts or patch lines. Decide if you want a decorative feature or a working hearth, because Part J and listed building consent may apply. Keep cleaning gentle, and use lime mortar for repairs. Next, you’ll see how to refinish, reset tiles and add safe upgrades.
Start With an Antique Fireplace Condition Check
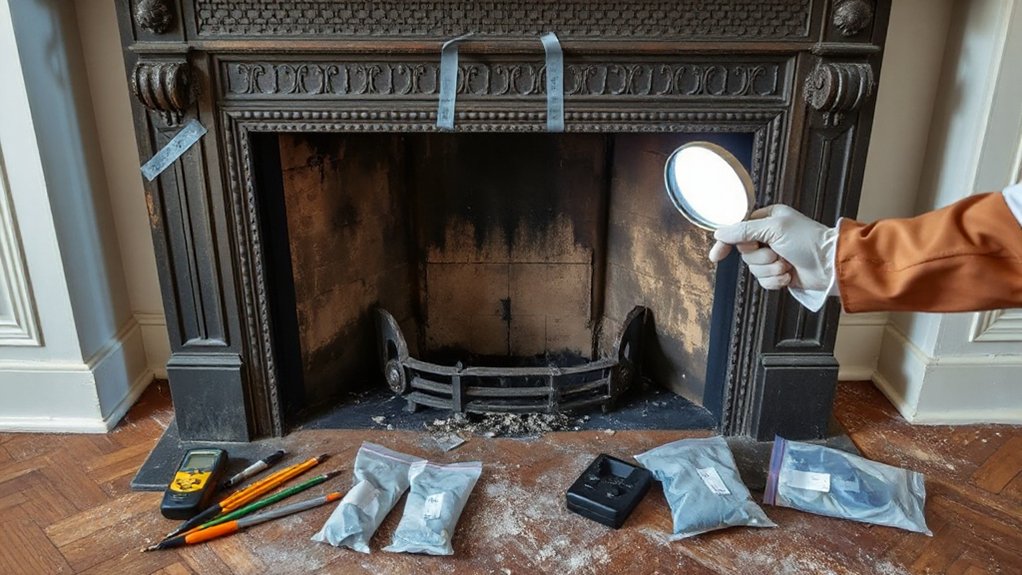
Before you touch a tool or order materials, carry out a thorough condition check of the antique fireplace so you know exactly what you’re dealing with.
Photograph every face, joint, and fixing, then note soot staining, hairline cracks, spalling brick, loose hearth tiles, and any damp marks on the chimney breast.
Test stability by gently rocking the surround and tapping for hollow-sounding plaster.
Check the flue route for blockages and ventilation, and look for heat damage around the opening.
Use Modern technology: a moisture meter on masonry, an endoscope up the flue, and a thermal camera to spot cold bridges.
Isolate electrics if there’s Vintage lighting nearby, and record cable routes before you disturb anything.
Log findings, prioritise hazards, and plan your next steps.
Identify Which Antique Fireplace Parts Are Original
You’ll need to confirm what’s original before you plan any restoration, so check for period materials and authentic joinery on the surround, mantel and hearth.
Look for tool marks, aged patina, and consistent fixing methods that match the fireplace’s era.
Then spot later repairs and replacements by noting mismatched timber or stone, modern screws or adhesives, and obvious patching or re-pointing.
Spot Period Materials And Joinery
Although later repairs can look convincing at a glance, original fireplace components usually give themselves away through period-correct materials and the way they’re put together. So start by checking what it’s made from and how it’s joined.
In UK homes, you’ll often see cast iron, slate, marble, Bath stone, and softwood surrounds; each should show age in a consistent, honest way. Look closely at period materials and joinery techniques: pegged mortice-and-tenon on timber, hand-cut dovetails in mantelshelves, and lime bedding on stonework, not rigid modern bonds.
Keep your torch and tape handy, and trust your fingertips as much as your eyes. You’re looking for:
- weight that feels reassuring
- tool marks that tell a story
- edges softened by time
- fixings that sit quietly
- a patina that steadies the room
Detect Later Repairs And Replacements
Once you’ve clocked the period materials and joinery, start hunting for the tell-tale signs of later repairs and swapped parts, because they often hide in plain sight. Check for mismatched screw heads, bright galvanised fixings, or plugs hiding modern woodscrews where cut nails should be.
Look for fresh, sharp arrises next to softened wear, and for filler lines that telegraph replaced sections in mantel legs or lintels.
Inspect the fireback and grate: a lighter casting, crisp logos, or metric bolts usually signal a later insert. Use Modern technology—endoscope cameras up the flue and moisture meters on surrounds—to spot patched brickwork and damp-driven spalling.
Finally, judge proportion: Contemporary design tweaks often shift shelf depth or tile layout away from period norms.
Decide: Decorative Fireplace or Working Hearth?
You’ve now got to decide whether the fireplace will stay as a decorative focal point or return to service as a working hearth.
If you want real heat, you must prioritise safety, Building Regulations compliance, and proper functionality of the flue, chimney, and hearth construction.
If it’s purely for display, you can focus on the aesthetic finish while still making the surround and opening sound and stable.
Aesthetic Display Vs. Heat
Before you strip paint or order a new surround, decide what the fireplace needs to do: serve as a handsome focal point or deliver real heat.
If you’re after Visual appeal, prioritise proportion, patina, and Decorative accents—tiles, cast-iron inserts, and a well-scaled mantel shelf.
If you want warmth, choose a configuration that suits your room size and how you live: occasional glow in a snug, or steady output in an open-plan space.
Let that decision steer every choice, from grate style to hearth depth, so you don’t waste money chasing the wrong outcome.
- You want the room to feel welcoming at dusk
- You crave a calm, finished focal point
- You miss the ritual of laying a fire
- You need comfort in a draughty Victorian terrace
- You’d love a talking point that feels authentic
Safety, Codes, And Functionality
Whether the fireplace will stay purely decorative or return to service as a working hearth, treat safety and compliance as the non-negotiable starting point. You’ll decide the route by inspecting the chimney, hearth and surround, then matching intent to condition.
If you keep it decorative, cap and ventilate the flue correctly, fit an appropriate vent to prevent damp, and check the opening’s stability so loose masonry can’t fail.
If you want live fire, involve a HETAS-registered installer and follow Building Regulations Part J. You’ll need a sound flue liner, suitable hearth dimensions, clearances to combustibles, and a working carbon monoxide alarm.
Prioritise ventilation safety: inadequate air supply causes poor draw and dangerous fumes. Aim for historical accuracy in materials and profiles, but don’t replicate unsafe details.
Chimney and Flue Safety Checks (Codes + Clearances)
How do you know an antique fireplace is genuinely safe to use, not just attractive? You check the chimney and flue against UK Building Regulations (Part J) and the appliance maker’s clearances, then confirm the route is sound, continuous, and correctly sized.
Keep Historical authenticity and Material preservation in mind, but never at the expense of safe separation from combustibles.
- You’ll sleep easier knowing fumes can’t creep back indoors.
- You’ll protect timbers, lath, and plaster from hidden heat.
- You’ll prevent tar and soot build-up that can ignite suddenly.
- You’ll spot cracked liners and failed joints before they worsen.
- You’ll enjoy real flame without that nagging doubt.
Measure hearth projections, mantel distances, and register-plate seals, and verify ventilation provisions.
DIY vs Pro: Who Should Do What
Start by sizing up your skills and the scope: you can usually handle cleaning, minor cosmetic repairs, and reinstating a surround.
But you should bring in a HETAS-registered installer or competent builder for structural work, flue lining, or any solid-fuel installation.
Check early whether you’ll need Building Regulations sign-off, listed building consent, or local authority approval, because DIY shortcuts can leave you non-compliant.
Put safety first—carbon monoxide risk, clearances to combustibles, and correct ventilation mean you shouldn’t take on anything you can’t certify and test properly.
Skill Assessment And Scope
Before you lift a scraper or book a tradesperson, assess the fireplace’s condition and the work’s legal and safety implications. Start with what you can see and measure: loose tiles, cracked hearth edges, degraded pointing, or a wobbling surround.
If you can keep Historical accuracy and Material preservation front and centre, you’ll make better calls on who does what.
- You’ll feel the relief of stable stonework under your hand.
- You’ll regret rushing when a glaze chips or marble stains.
- You’ll protect family history by keeping original profiles crisp.
- You’ll gain confidence testing small, hidden patches first.
- You’ll sleep easier when complex repairs sit with a specialist.
DIY: gentle cleaning, wax removal, paint stripping trials, minor re-pointing.
Pro: carving, structural consolidation, tile repairs, bespoke slips.
Permits, Safety, And Compliance
Where do permits end and good sense begin when you’re restoring an antique fireplace? Start with your local council and Building Regulations Part J. If you’re altering the flue, installing a stove, or opening up a boarded hearth, you’ll face permit requirements and must use compliant materials and clearances.
In a listed building or conservation area, get listed building consent before you lift a chisel.
DIY has a place: you can strip paint, repoint cosmetic joints, or refinish a surround, provided you don’t disturb the flue or structure. Leave structural lintels, chimney integrity, and appliance fitting to a HETAS-registered installer or competent builder.
Follow safety protocols: isolate gas, check for asbestos, ensure ventilation, and insist on a smoke test and carbon monoxide alarm.
Set Your Antique Fireplace Restoration Budget (Cost Ranges)
Although every period fireplace throws up different surprises, you’ll get a smoother restoration if you set a realistic budget up front. Allow £150–£400 for a HETAS-registered sweep and inspection, then £500–£1,500 for minor masonry, pointing, or a new lintel.
If you’re relining a flue, plan £900–£2,500; a full rebuild of the opening and hearth can reach £2,000–£6,000+. Add £300–£1,200 for Fireplace accessories, and £250–£900 for Modern technology like discreet fans or carbon monoxide alarms.
Keep a 15–20% contingency so you’re not derailed by hidden voids or damaged brickwork.
- Relief when costs stay contained
- Confidence signing off trades
- Pride seeing crisp original lines
- Calm knowing the room’s safe
- Joy when the first fire draws well
Clean an Antique Fireplace Without Stripping Patina
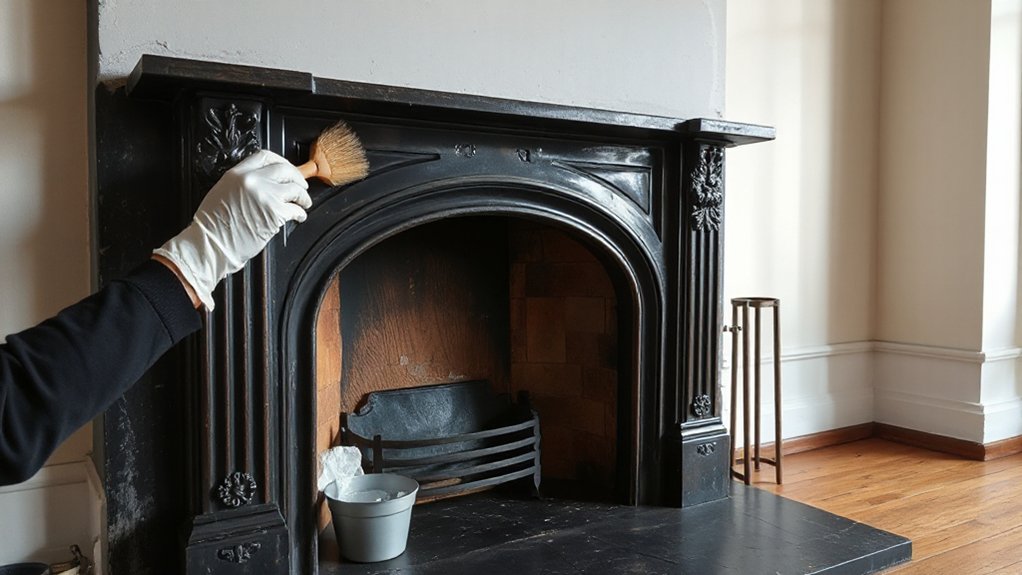
Even if the surround looks grubby, you’ll get the best result by cleaning in gentle stages so you lift soot and wax without bleaching the original patina.
Start dry: vacuum with a brush nozzle, then use a soft paintbrush to tease dust from mouldings. Mix warm water with a drop of washing-up liquid; wipe with a well-wrung microfibre cloth, turning it often.
For soot, dab (don’t rub) with a chemical sponge. Avoid abrasives, steamers, and citrus degreasers, which can lighten aged marble, slate, or cast iron.
Rinse with clean water, then dry immediately.
Waxed surrounds need only a tiny amount of clear beeswax, buffed lightly. Remove fireplace accessories first, and refit once fully dry.
Use modern lighting to spot missed smears and streaks.
Repair Antique Fireplace Brick, Stone, and Mortar
Once you’ve cleaned the surround and can see what you’re working with, check the firebox and hearth for loose bricks, crumbling mortar joints, heat-spalled stone, or hairline cracks that could worsen with use.
Rake out failed joints to a sound depth, mist the masonry, then repoint with a breathable lime mortar matched in colour and aggregate for Historical accuracy.
Replace fractured bricks with reclaimed equivalents, and bed them true on lime, not cement.
For stone, pin small splits with stainless dowels and use lime-based repair mortar; keep edges crisp to protect Vintage aesthetics.
If movement persists, stop and consult a conservation builder.
You’ll feel:
- relief when joints firm up
- respect for original workmanship
- confidence lighting the first fire
- pride in a safer hearth
- calm knowing it’ll last
Restore an Antique Cast-Iron Insert (Rust + Polish)
Before you reach for paint, strip the cast-iron insert back to clean metal so you can treat rust properly and keep the original detail sharp. Start by removing it carefully, labelling fixings, and vacuuming soot.
Use a wire brush and abrasive pads; for heavy corrosion, apply a phosphoric acid rust remover, then rinse and dry with a heat gun. Neutralise residues and inspect for cracks around the grate and canopy.
Protect the Historical significance by keeping crisp edges and maker’s marks intact—don’t over-grind. Once sound, warm the iron and rub in traditional graphite paste or stove polish, working it into scrollwork to showcase Artistic craftsmanship.
Buff with a soft cloth, then cure with gentle heat for an even satin sheen.
Keep and Reset Original Antique Fireplace Tiles
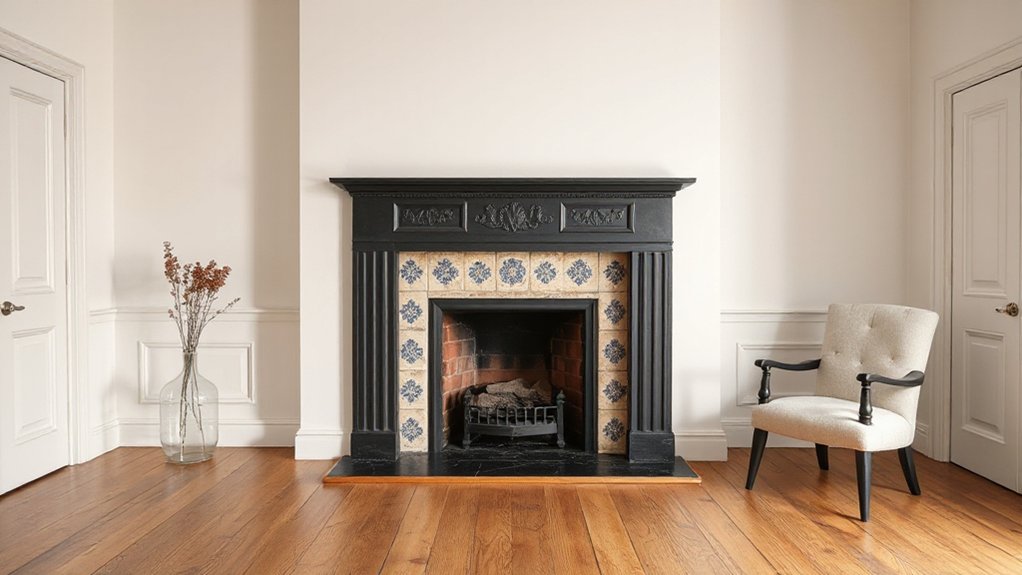
Although cracked or crazed fireplace tiles can look beyond saving, you’ll usually get a better result by keeping the originals and resetting them than by swapping in modern replacements. Lift tiles carefully, label positions, and photograph the layout so you can reinstate the pattern exactly.
Soak off old adhesive, rake out loose grout, then bed tiles on a lime-based mortar that suits period masonry and tolerates heat movement. Set a tight, even joint line, and regrout with a sympathetic colour so the surround reads crisp in a Modern design scheme without losing its age.
Reset tiles square to the opening to limit draught gaps and support Energy efficiency when you add a proper register plate.
- You save a century of patina
- You keep the room’s story intact
- You avoid jarring new gloss
- You feel proud of careful work
- You hear the hearth “click” back into place
Refinish an Antique Fireplace Mantel (Wood or Stone)
With the tiles back in their rightful pattern, turn to the mantel, because tired finishes and ingrained soot will drag down the whole surround.
Start by testing a small hidden patch: you’ll learn whether you’re dealing with shellac, wax, paint, or a previous stain.
On timber, strip gently with a solvent-based remover and a scraper, then neutralise, sand lightly, and raise the grain with a damp cloth. Re-wax or french polish for Vintage ambiance, keeping crisp edges and any Artistic detailing sharp.
On stone, avoid acids; use a pH-neutral cleaner and a soft brush, then poultice stubborn soot marks.
Finish with a breathable stone sealer only if it won’t darken the surface, and keep heat clear.
Choose the Right Antique Fireplace Hearth Materials
Where do you start when the original hearth has cracked, sunk, or gone missing? You match period, property, and use. For Georgian rooms, choose honed limestone or Purbeck stone; for Victorian grates, go for slate or quarry tiles with a simple border.
Guarantee the slab thickness suits the subfloor and use a lime-based bed so it can breathe. Keep joints tight, edges eased, and check fireplace ventilation so heat doesn’t trap moisture beneath.
Finish with a subtle sheen that works with antique lighting, not against it. Choose materials that make you feel:
- grounded by cool stone underfoot
- proud of honest wear and patina
- calm in a tidy, fire-safe margin
- connected to local British craft
- reassured by solid, level footing
Modern Upgrades: and Mistakes That Hurt Value
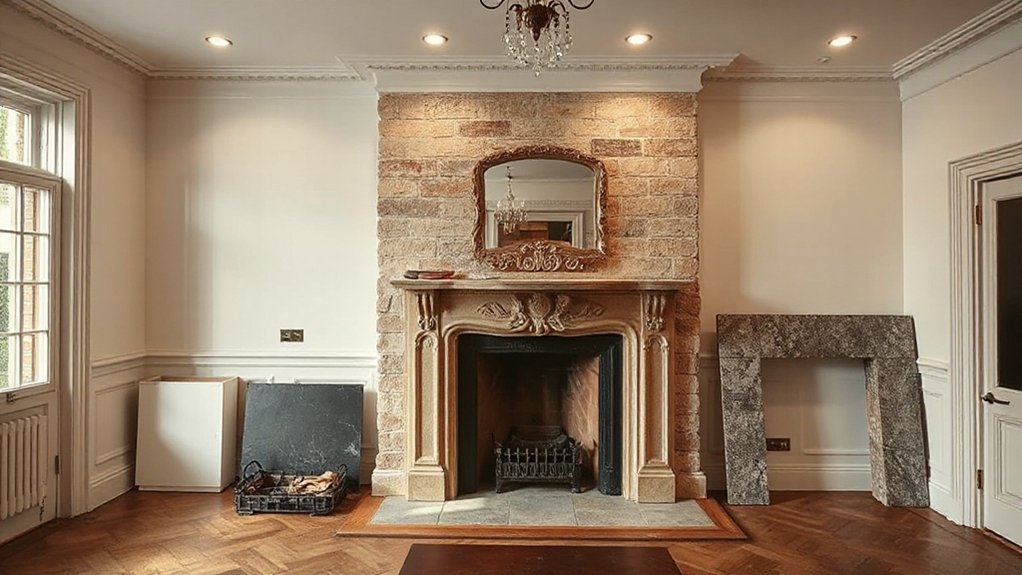
If you modernise an antique fireplace, you’ll protect its charm and its resale value only when every upgrade stays reversible and in keeping with the period.
Add discreet safety: a HETAS-approved liner, a correctly sized register plate, and a CO alarm.
Improve efficiency with a stove that suits the opening, or a removable fireback, not brute-force alterations.
Keep Historical accuracy by retaining the original surround profile, mantel height, and grate style; document any changes for future buyers.
Maintain Material authenticity: clean stone with poultice, re-point with lime, and match tiles by glaze and thickness.
Avoid the value-killers: cement pointing, sealing damp with tanking, grinding back patina, fitting glossy granite slips, widening the opening, or boxing in with plasterboard.
Don’t spray-paint cast iron; wax it.
Frequently Asked Questions
How Do I Research My Fireplace’s Maker, Age, and Original Style?
You’ll start with fireplace dating by photographing marks, measuring openings, and noting materials. For maker identification, check foundry stamps, backplates, and registers; compare with UK trade catalogues, local archives, and Historic England lists.
Can I Get Restoration Grants, Tax Credits, or Historic-Preservation Incentives?
Yes—you can, but don’t count your chickens: you’ll need Historic preservation status. Check your local council, Historic England, and the National Lottery Heritage Fund for financial incentives, plus VAT relief, after consents.
Will Restoring an Antique Fireplace Affect My Homeowner’s Insurance Coverage?
Yes, it can affect cover—you’ll need to tell your insurer about restoration, Fireplace safety upgrades, and Modern heating integration. Use HETAS/Gas Safe installers, keep certificates, and check exclusions for solid-fuel appliances and listed buildings.
What Permits Are Required for Fireplace Restoration in My Municipality?
You’ll typically need Building Control approval (or a Competent Person sign-off) and listed building consent if protected. Like rebuilding a lighthouse, secure certificates early for fireplace safety; delays can shift your restoration timeline—check your council.
How Can I Source Period-Appropriate Accessories Like Andirons, Screens, and Tools?
You’ll source period-appropriate pieces via UK salvage yards, reclamation dealers, antiques fairs, and online marketplaces; ask for provenance and measurements. Prioritise Vintage accessories with Authentic detailing, then consult your local fireplace specialist for matching.
Conclusion
Treat your antique fireplace like a listed building in miniature: check its condition, prove what’s original, then upgrade with restraint. A surveyor once showed me a 19th‑century surround “improved” with cement and a tight flue liner; within a winter, the tiles cracked and the stack damped through. That £600 shortcut became a £3,000 repair. You’ll protect value by keeping breathable materials, meeting clearances, and using a HETAS‑registered pro where it matters.