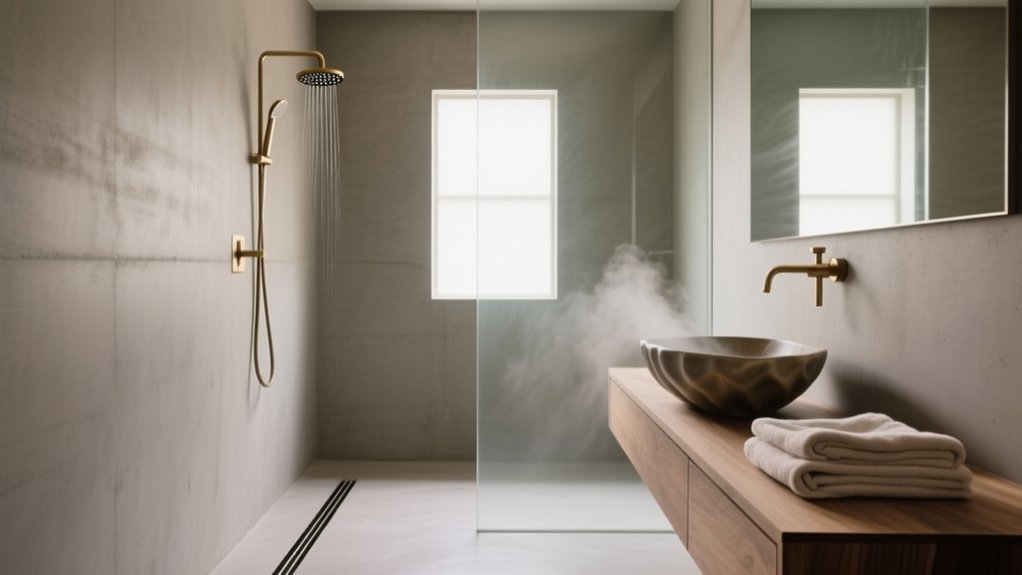

You get quiet luxury from a wet room only when you design the whole bathroom as a fully tanked, continuously waterproofed envelope, not just a curb-free shower with pretty tile. You plan clear dry-to-wet zones, place the drain to match flow, and build the right slope for fast, predictable drainage. You detail corners and penetrations with tapes and collars, then flood-test. You choose slip-rated surfaces and ventilation that clears humidity fast. Keep going to see what details matter most.
What Is a Wet Room (and What Isn’t)?
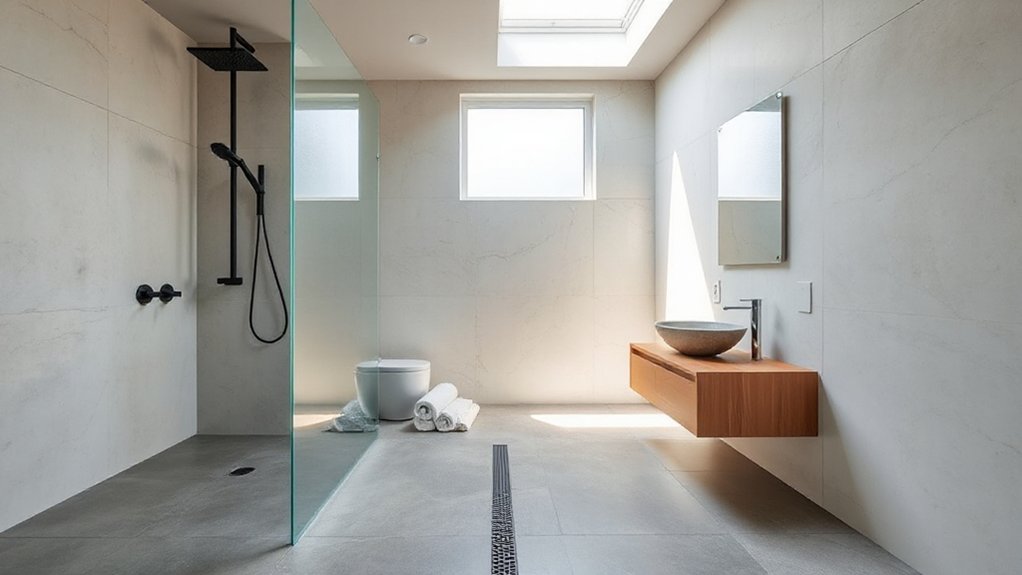
Where does a wet room begin—and where does it stop? You’re defining a fully waterproofed bathroom zone where floor, walls, and penetrations form a continuous tanking system, and water drains through a graded floor to a central or linear outlet.
You typically remove the curb, simplify thresholds, and rely on slip-resistant surfaces, correctly detailed junctions, and a controlled water path.
It isn’t merely a shower with a frameless screen, a “spa-style” tile upgrade, or a room that tolerates splashes without membrane continuity.
Historical evolution and cultural influences matter: from Roman bathing and Japanese ofuro to Scandinavian wet-area codes, you inherit an approach that treats the entire room as the shower envelope.
If it’s not sealed, sloped, and drained, it’s not a wet room.
Is a Wet Room Right for Your Home?
To decide if a wet room fits your home, you’ll need to confirm your space and layout can support an open shower zone without compromising clearances or ventilation.
You’ll also have to plan robust waterproofing, proper slope-to-drain geometry, and a realistic budget for membranes, drains, and tilework.
Then, account for ongoing maintenance like grout care and drain cleaning.
Finally, you should weigh how the design reads to future buyers in your market, since resale value can rise with a well-executed wet room—or drop if it looks improvised.
Space And Layout Fit
Although wet rooms can make a bathroom feel larger, they only work well when your existing footprint and structure can support a true open-plan shower zone without creating daily nuisance. You’ll want a clear circulation path so towels, storage, and the vanity don’t sit in the splash zone, and doors can swing freely without conflict.
Measure wall runs and set priorities: a minimum comfortable shower field, a sensible WC offset, and reachable storage. If you can’t separate “dry-use” tasks from “wet-use” tasks by distance or a partial screen, you’ll feel the compromise fast.
Plan color coordination to visually zone functions—matte finishes read calmer and hide wear. Evaluate lighting options too; layered task and ambient light reduces glare on wet surfaces and keeps edges legible for safe movement.
Waterproofing And Drainage Needs
If your home can’t handle continuous water exposure and fast drainage, a wet room will fail in ways you’ll notice every day. You’ll need a bonded waterproofing membrane on floor and walls, sealed penetrations, and a continuous slope that directs water without puddling at thresholds or corners. Specify drains early; their location governs joist cuts, pipe runs, and tile geometry, even when decorative fixtures and color schemes set the visual mood.
- Verify subfloor stiffness; deflection cracks grout and breaks the waterproof layer.
- Build a 1–2% pitch to a linear or center drain, with a recessed entry.
- Use compatible thinset, tapes, and collars; don’t mix systems.
- Pressure-test the drain and flood-test the pan before finishes go in.
Budget, Maintenance, Resale
Once you’ve locked in the membrane, slope, and drain layout, the wet room stops being a waterproofing exercise and becomes a cost-and-ownership decision. Your budget planning should account for pan-free floor prep, linear drain hardware, large-format tile, slip-rated mosaics, and upgraded exhaust capacity.
Add frameless glass only if it reduces splash, not just for looks; it raises labor and cleaning time.
Maintenance is simpler when you minimize grout joints, specify stain-resistant epoxy grout, and choose a drain with a removable strainer and accessible trap.
Plan for periodic sealant renewal at movement joints and perimeter transitions.
For resale value, prioritize universal access, a defined dry zone, and code-compliant ventilation—buyers appreciate performance as much as spa minimalism.
Keep documentation for inspections and future repairs too.
Plan the Wet Room Layout: Zones and Splash Control
You’ll get a wet room that performs reliably when you define clear dry-to-wet zones, placing storage, towel hooks, and electricals outside the primary spray path.
You can then optimize splash containment by sizing and positioning the shower area, glass panel, and drain line to intercept water before it reaches the dry zone.
If you map these zones early, you’ll simplify waterproofing details and keep daily use clean and predictable.
Define Dry-To-Wet Zones
Although a wet room reads as one continuous surface, you still need to define dry-to-wet zones to control splash, manage drainage, and protect finishes. Start by mapping a Dry zone for towel storage, lighting controls, and door swing clearance. Then assign the Wet zone to the shower and drain field. You’ll get better performance when each zone has its own slope logic, material spec, and maintenance expectation.
Keep transitions subtle but unambiguous, so the room feels calm while working hard.
- Set a primary drain axis and align fixtures to it.
- Specify flooring by coefficient of friction and water exposure.
- Separate electrical, storage, and ventilation clearances from spray paths.
- Detail thresholds and changes in plane for clean water routing.
Optimize Splash Containment
Because water doesn’t respect visual boundaries, you need to design splash containment into the layout, not hope the floor slope fixes it.
Position the shower head so its spray cone lands within a defined wet zone, then limit rebound with a fixed glass panel or return wall sized to the spray pattern.
Keep the entry outside the direct line of fire and give it a small thresholdless “dry lip” using a subtle cross-fall.
Specify a continuous Waterproof membrane up walls and under adjacent flooring, and wrap corners with preformed seals to stop capillary creep.
Choose a Drainage system that matches the flow rate: linear drains along the wet edge capture sheet flow; center drains need tighter, four-way falls.
Verify splash reach with a mock spray test.
Wet Room Waterproofing: Tanking Details That Matter
When a wet room fails, the waterproofing details—not the tile—usually take the blame. You’ll get quiet luxury only when your tanking system behaves like a continuous liner, wrapping walls, floors, and junctions without compromise. Choose Eco friendly materials with certified low-VOC primers and membranes, and log batch numbers for traceability.
- Prep: You’ll de-dust, degrease, and prime to the manufacturer’s spec—no shortcuts on porous substrates.
- Corners: You’ll reinforce all changes of plane with bonded tape and pre-formed internal/external corners.
- Penetrations: You’ll seal pipework and fixtures with collars, then flood-test before finishes go on.
- Verification: You’ll use Smart technology (moisture sensors) behind access panels to detect leaks early.
Wet Room Drainage and Floor Slope: Linear vs Center
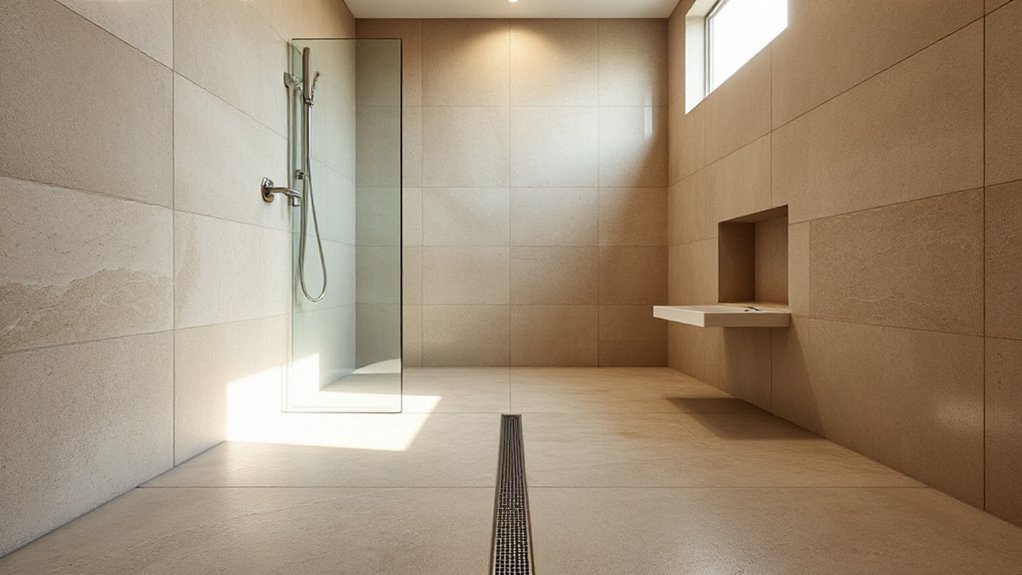
To get a wet room that drains fast and feels level underfoot, you’ll design the floor geometry around the drain type: a linear channel lets you fall the surface in one clean plane, while a center drain forces a four-way pitch that demands tighter setting-out and more precise tile cuts.
With linear drains, you’ll place the channel at the entry or wall and run a consistent 1:80–1:50 gradient toward it, simplifying slope calculations and minimizing lippage risk.
With a center drain, you’ll confirm equal falls from all sides, check perimeter datum lines, and allow for thicker build-up near corners.
Compare drainage options by outlet size, trap access, and compatible membrane clamping; then verify flow rate against shower head output and pipe runs.
Wet Room Tile: Slip Ratings, Grout, and Calm Texture
Once you’ve set the slope and drain layout, you’ve got to match your wet room tile to real slip-resistance ratings, not showroom gloss. You’ll also control traction and maintenance through grout line width, grout type, and a sealing plan that fits the tile’s porosity.
To keep the room feeling composed, you can choose calm textures—matte finishes, fine micro-relief, and smaller formats where needed—so grip improves without visual noise.
Slip Resistance Ratings
Although glossy tile can look pristine under showroom lights, it often becomes the weak link in a wet room because slip performance depends on more than surface shine. You’ll want slip resistance that’s measurable, repeatable, and aligned with safety standards, not just “textured” by description.
- Check the test method: prioritize DCOF (wet) or DIN 51130/R ratings, and confirm the lab protocol.
- Match rating to zone: higher traction at the shower entry and main walking line, moderate elsewhere.
- Specify finish intentionally: matte, micro-structured, or honed surfaces can raise traction without visual noise.
- Verify maintenance behavior: soaps, oils, and cleaners can reduce friction, so request wet-condition data.
Choose calm texture that protects you quietly.
Grout Lines And Sealing
Where do grout lines actually earn their keep in a wet room—traction, waterproofing, or both? You’ll get traction from more joints, but you should never rely on grout for waterproofing; the membrane and drain detailing do that work. Your job is to specify joints that drain cleanly, resist cracking, and stay hygienic under constant wetting.
For grout durability, choose a high-performance cement grout with polymer additives or, better, an epoxy grout in splash zones. Keep joint widths consistent and honor movement joints at perimeters and changes in plane. Tool joints full and dense, then cure per manufacturer timelines to avoid pinholes. Use sealing techniques that match the material: seal cementitious grout after cure, and reseal on a maintenance schedule; don’t seal epoxy unless specified.
Calm Textural Tile Choices
Grout joints help with traction and hygiene, but the tile’s surface texture still sets the day-to-day feel and slip behavior of a wet room. You’ll get safer footing when you pair calm textural tiles with a verified slip rating suited to shower zones. Look for manufacturer test data (DCOF or equivalent) and keep finishes consistent so water flow and cleaning stay predictable.
Favor soothing surface finishes that read matte, not glossy, and that don’t trap soap film in deep pits.
- Choose small-format floors; more joints increase grip.
- Specify a balanced texture: micro-grain, not sharp relief.
- Match grout width to tile flatness; tighter joints clean easier.
- Seal thoughtfully: grout needs it; most porcelains don’t.
Glass or No Glass? Keep Sightlines Open
Whether you enclose the shower or leave it open, glass changes how a wet room performs and feels by controlling spray while preserving long sightlines. If you go frameless, specify 10–12 mm tempered panels, polished edges, and minimal hardware so glass aesthetics stay crisp and quiet.
Add a return panel or full-height screen when your shower head has high flow or wide spray; you’ll keep water off towel zones and reduce slip risk outside the pitch.
Prefer no glass? You’ll need a deeper dry-zone, a longer entry, and tighter floor falls so splash stays contained.
For privacy considerations, choose acid-etched bands, reeded glass, or partial-height walls that block angles without shrinking the room.
Detail the threshold-free junctions carefully.
Wet Room Ventilation and Humidity Control
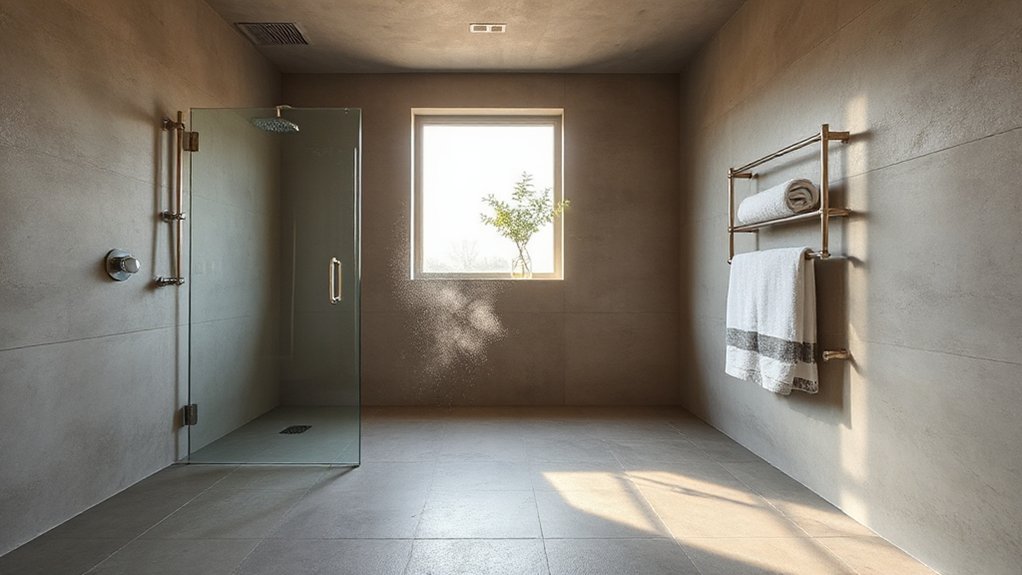
Glass can control spray and keep sightlines clean, but it also changes how long moisture hangs in the room. You’ll need ventilation that matches the enclosure’s volume and drying load, not just code minimums.
Prioritize continuous Air circulation: it evens out temperature, prevents cold-surface condensation, and reduces mold risk behind tile and grout.
- Size the exhaust fan for the room and duct losses; short, smooth runs cut static pressure.
- Place the intake path so makeup air sweeps the wet zone, not the door gap alone.
- Use humidity sensors to trigger boost mode and timed overrun after showering.
- Verify performance: target quick mirror clearing, stable RH, and no lingering damp corners.
Quiet-Luxury Wet Room Fixtures: Valves, Metals, Showers
Because a wet room puts every surface—and every fitting—on daily display, you can’t treat fixtures as decorative afterthoughts. Specify thermostatic valves with tight temperature deadband and serviceable cartridges, so control feels effortless and maintenance stays simple. Pair them with volume controls to tune rain heads, hand showers, and body sprays independently without pressure swings.
Choose metals for both durability and tone: brushed stainless, PVD-coated brass, or unlacquered bronze if you accept patina. Keep profiles minimal and align escutcheons with tile joints for calm geometry.
For showers, prioritize low-noise heads, even spray distribution, and flow-limited options that still feel full—true eco friendly fixtures. Integrate floor heating with smart zoning so the room dries faster and comfort rises without cranking ventilation.
Wet Room Mistakes That Cause Leaks and Regret
Even if your tile work looks flawless, a wet room can still fail when you treat waterproofing, slope, and penetrations as “standard bathroom” details. Leaks usually start where systems change—at drains, thresholds, corners, and fasteners—then hide behind luxury materials until repairs get invasive.
Avoid regret by tightening four decisions:
- Specify a continuous membrane with compatible thinset, and wrap it into the drain’s bonding flange.
- Build true slope everywhere (including benches) at 1/4″ per foot, and verify it before tile.
- Keep screws out of curbs and lower walls; seal every pipe and valve penetration with collars.
- Combine soundproofing techniques with isolation mats that don’t compromise waterproofing, and use movement joints at perimeters.
Frequently Asked Questions
How Do Wet Rooms Affect Home Insurance and Future Resale Value?
Wet rooms can raise premiums if insurers see higher leak risk; you’ll offset Insurance implications with certified waterproofing and documentation. For resale considerations, you’ll boost appeal when workmanship’s verifiable, but you’ll hurt value if moisture issues appear.
What Permits or Building Code Approvals Are Required for a Wet Room?
You’ll need plumbing, electrical, and building permits—plus inspections—because your shower can’t outrank physics. Meet code for Bathroom ventilation, proper drainage, waterproofing, and approved Water resistant materials; submit drawings and fire-stopping details.
Can a Wet Room Be Added in a Condo With HOA Restrictions?
Yes, you can add a wet room in a condo, but you’ll need HOA approval, verify waterproofing and drainage rules, and confirm structural limits. You can preserve design flexibility and material durability by specifying tested membranes and finishes.
How Long Does a Wet Room Renovation Typically Take From Start to Finish?
You’ll typically need 3–6 weeks start to finish, depending on permits and subcontractor schedules. You’ll spend most time on waterproofing techniques, cure times, inspections, and tile durability checks before final fixtures and punch-list.
What Is the Average Cost Range for a Quiet-Luxury Wet Room Build?
You’ll typically spend $15,000–$50,000+ for a quiet-luxury wet room, depending on waterproofing, tile, and labor. Add luxury features and current design trends—heated floors, linear drains, stone—to push budgets higher.
Conclusion
You’re not building a “shower without a tray”; you’re engineering a controlled water zone. When you separate dry and wet areas, tank every changeover, and set slope to the drain, the room behaves. A builder once told you his call-backs dropped by 70% after he stopped “eyeballing” falls and started templating them—like tuning an instrument, the notes finally hold. Choose quiet valves, durable metals, clear sightlines, and ventilation, and you’ll get calm that lasts.