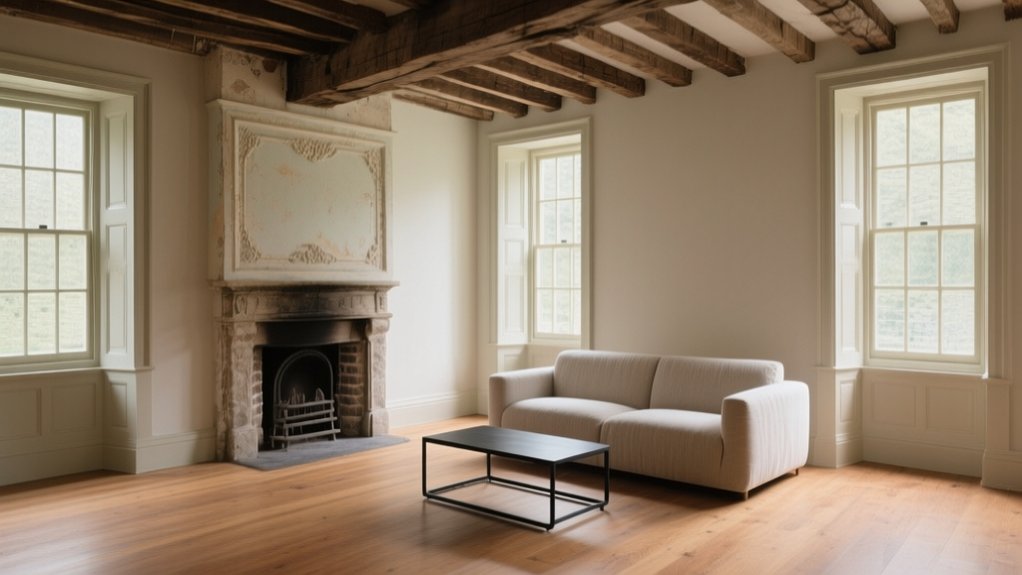

Start by documenting what you’ve got—masonry, trusses, pressed-metal ceilings, stair balusters, leaded glass—and flag constraints like load paths, moisture movement, and settlement cracks. Choose one high-significance detail as your design anchor, then restore before you replace, matching species, profiles, and tool marks when you must. Plan sightlines and furniture to frame hearths, sash, and cornices, and run HVAC and wiring through discreet chases. Keep upgrades reversible, breathable, and quietly lit—there’s more ahead.
List the Heritage Features You’re Keeping
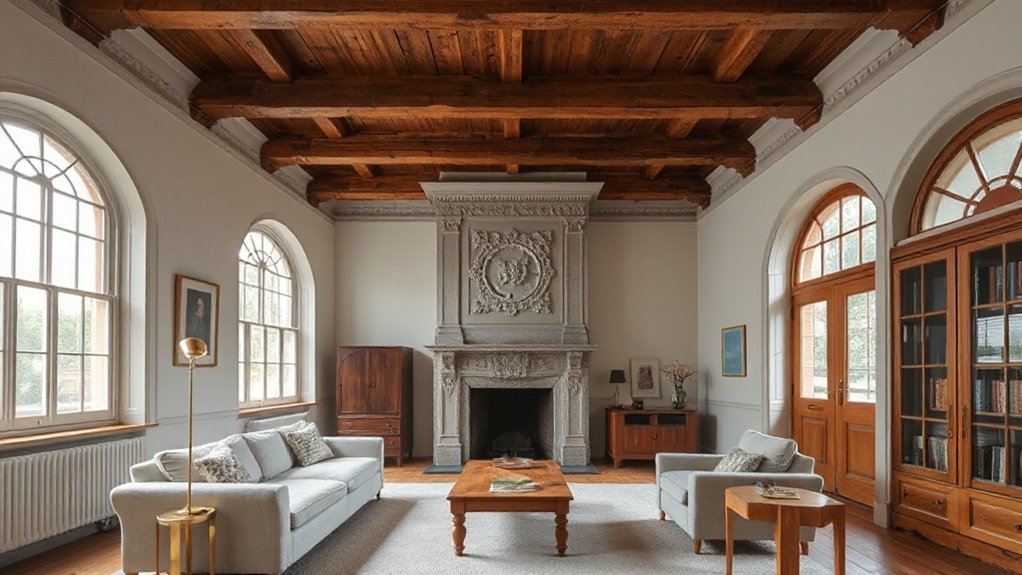
Before you sketch a single new line, document the heritage features you’re keeping—because they’ll guide every design choice that follows.
Walk the building and list elements with proven Cultural significance: original masonry, timber trusses, pressed-metal ceilings, stair balusters, cornices, leaded glass, hearths, and worn thresholds that show historic use.
Note what’s intact, what’s altered, and what’s missing, then photograph, measure, and tag each item by location.
Record material species, mortar profiles, paint layers, and tool marks so repairs match the original craft.
Flag constraints early—load paths, moisture movement, settlement cracks—so Adaptive reuse doesn’t erase authenticity.
Confirm which features must remain visible, which can be protected in place, and which require careful salvage.
Choose the One Detail That Leads the Design
Where should the new work begin? You start by choosing one original detail to lead every decision: a carved stair newel, a pressed-tin ceiling panel, a bay window’s mullion pattern. Pick the feature with the greatest Historical significance and the clearest Cultural context in the building’s story, then let it set the rules.
You echo its proportions in new millwork, repeat its rhythm in lighting placement, and pull its undertones into your palette. You match sightlines so the detail anchors key views on entry and through major rooms.
You balance contrast carefully: modern insertions stay quiet in profile and finish, allowing the heritage element to read first. When you commit to one leader, the whole space gains coherence.
Decide What to Restore vs. Replace First
Once you’ve chosen the detail that leads, you need to sort the building’s fabric into what you’ll conserve and what you’ll renew. Start with Historical documentation: drawings, permits, photos, and paint analysis help you confirm what’s original, what’s altered, and what’s missing.
Then assess condition in person, noting moisture paths, movement cracks, insect damage, and failed joints.
Prioritise restoration where craftsmanship or patina carries meaning and repair remains feasible: consolidate timber, repoint lime mortar, splice stone, reglaze sash. Replace only when Material durability is exhausted or safety and performance can’t be met through repair.
When you do replace, match species, profiles, tooling marks, and finish, and date-stamp concealed areas. Document every decision so future custodians can read the building honestly.
Plan Sightlines and Layout Around Original Features
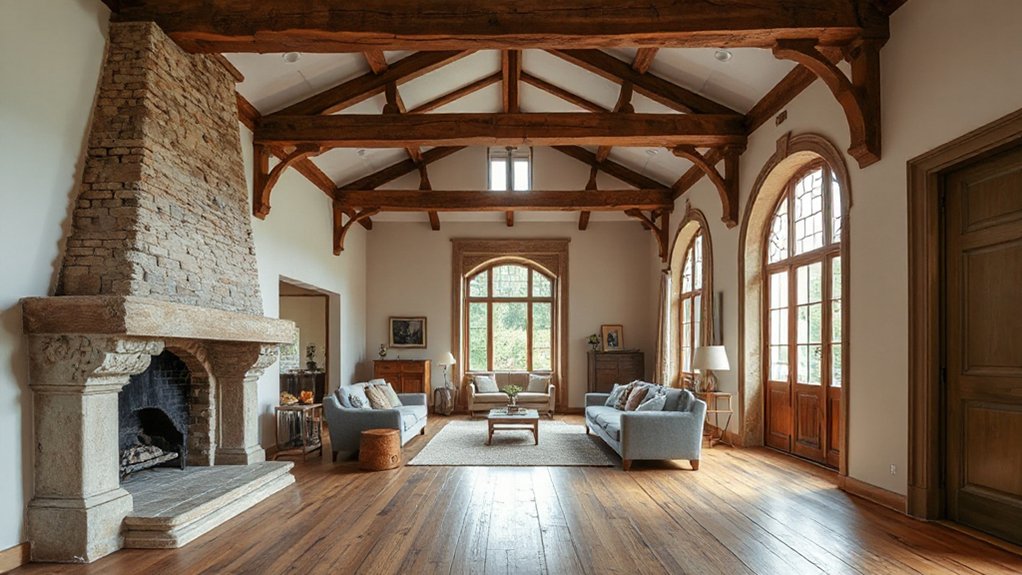
How do you let a building’s original moments—the stair that lands just so, the plaster arch, the run of sash along a street façade—set the plan instead of getting swallowed by it? Start by mapping primary sightlines from entries, landings, and threshold points, then keep those axes clear.
Place circulation where it frames, not clips, key features, and align openings so the old geometry reads continuously. Adjust room proportions to respect existing window rhythm and chimney positions, and keep built-ins low where they’d block cornices or transoms.
When you relocate partitions, follow the Historical context: read wear patterns, patched floors, and joist spans to infer original routes. Protect Cultural significance by giving heritage elements breathing space—set back furniture, avoid door swings into details, and choreograph light to reveal depth.
Turn Heritage Details Into a Style Direction
After you’ve protected the main sightlines and given original features room to read, let those same details steer the style decisions. Treat a carved mantel, pressed ceiling, or leaded transom as your design brief: note its geometry, motif, and rhythm, then echo that language in lighting profiles, hardware silhouettes, and furniture lines.
Build a palette of references from the building itself. Ask what era the joinery suggests, what the proportions reveal about craft standards, and what patterns repeat from room to room. This anchors your choices in Historical context rather than trend.
Then consider Cultural significance: a civic emblem, immigrant handiwork, or local stone may call for restraint, dignity, or celebration. When you choose new elements, aim for a quiet dialogue, not competition.
Match New Materials to Existing Finishes
When you introduce new materials, you’ll get the most respectful result by matching existing finishes with precision, not approximation. Harmonize color and sheen so fresh surfaces sit quietly beside aged ones, preserving the building’s intended light and shadow.
Echo texture and grain—whether in timber, stone, or plaster—so every addition reads as a considered continuation rather than a visual interruption.
Harmonize Color And Sheen
Although you may introduce new materials for performance or availability, you’ll preserve a building’s heritage character only if their color and sheen align with the existing finishes. Begin with close observation in natural light: note undertones, warmth, and how adjacent surfaces shift through the day.
For precise color coordination, pull samples from inconspicuous areas, then test larger mockups beside original trim, plaster, and metalwork.
Next, control reflectivity. Historic interiors often rely on subtle luster, so match gloss levels across old and new work to maintain sheen consistency. Specify satin, eggshell, or flat where appropriate, and confirm with on-site sample boards after priming.
Keep progressions deliberate: when you must differentiate new interventions, do it by value shifts, not glare. Document approvals for future stewardship.
Echo Texture And Grain
Because texture carries as much historical information as color, you’ll protect a building’s character by matching the tactile profile and grain of any new material to the existing finishes. Run your hand along old oak, worn limestone, or lime plaster, then specify additions that repeat that quiet evidence of use. When you echo authentic textures, gradations disappear and the room reads as one continuous story of timeless craftsmanship.
- Compare sheen and micro-roughness under raking light, not showroom lighting.
- Match grain direction and scale: tight, quarter-sawn, or open cathedral patterns.
- Replicate tool marks: sawn, planed, bush-hammered, or hand-troweled surfaces.
- Test samples on site, letting dust, humidity, and patina reveal true feel.
You’ll honor the original without resorting to imitation.
Choose Paint Colors That Respect Original Details
Even if you’re enthusiastic to refresh a room, let the building’s original trim profiles, plaster textures, and wood species lead your color choices. Start by observing undertones in aged pine, oak, or mahogany, then pull a paint chip that echoes those notes instead of fighting them.
Study any surviving layers at casings or behind radiators to understand the Historical context of earlier palettes and finishes.
Choose sheens deliberately: matte softens uneven plaster, while satin can overstate crisp moldings. Keep contrast proportional—deep shades can dignify tall baseboards, but may overwhelm delicate beadwork.
When you honor these relationships, you protect the Cultural significance embedded in craftsmanship and local materials. Test samples in shifting daylight, and read them against original metalwork and stone for accurate harmony.
Add Modern Comfort Without Erasing Character
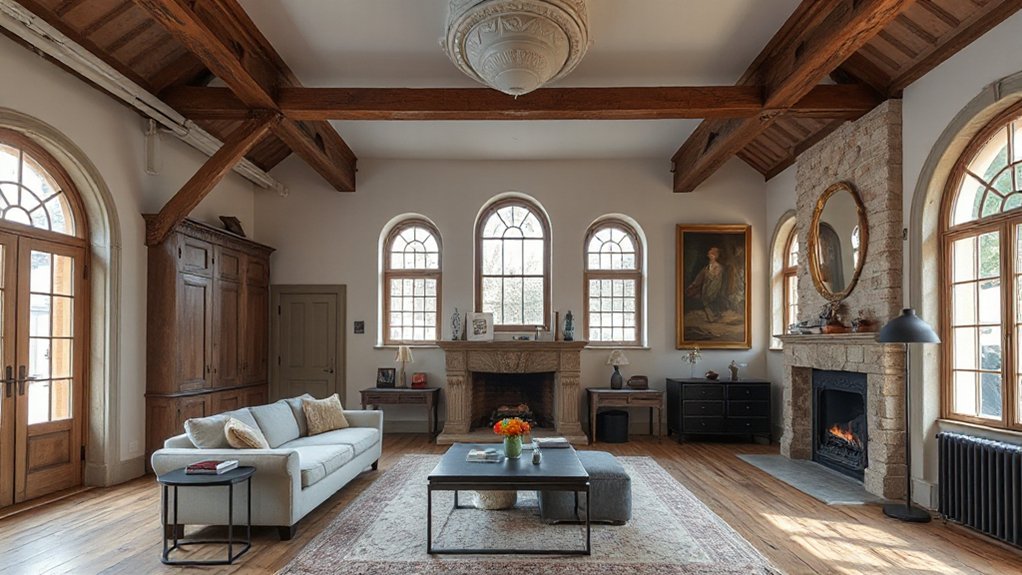
When you introduce modern comfort to a heritage interior, you should let new systems serve the original fabric rather than compete with it. Start by reading the room’s Historical context: how it breathed, warmed, and wore over time. Then apply preservation ethics so upgrades stay reversible, quiet, and visually deferential to joinery, plaster, and trim.
- Route HVAC and wiring through existing chases, closets, or secondary walls to avoid carving primary masonry.
- Choose slimline radiators or concealed floor grilles where they won’t interrupt cornices or wainscoting.
- Improve comfort with draft-proofing, shutters, and discreet secondary glazing instead of replacing historic sash.
- Use breathable insulation and vapor-aware membranes so you don’t trap moisture in old assemblies.
You’ll gain performance while keeping patina and proportions intact.
Light Heritage Features With the Right Fixtures
Although modern lighting can sharpen a room’s function, you should treat it as a curator’s tool that reveals cornices, moldings, and aged timber without washing them out.
Start by reading the Historical context of each surface: lime plaster wants gentle grazing, while carved joinery benefits from narrow beams that trace profiles. Choose warm, high-CRI sources so patina stays honest and paint tones don’t skew.
Use wall washers sparingly; instead, set adjustable picture lights or discreet track heads to aim across relief, not straight at it.
Layer low-level ambient light with accents, then dim everything to protect period finishes and keep shadow depth.
Favor wired routes that respect Preservation techniques—reuse existing conduit, avoid chasing masonry, and conceal drivers where they won’t disturb sightlines.
Choose Furniture That Suits Room Proportions
Because historic rooms were composed to a deliberate scale—ceiling height, window rhythm, hearth position—you’ll get the best results by choosing furniture that follows those proportions rather than fighting them.
Start by reading the architecture like a plan: let cornices, skirting, and bay depths set your dimensions. When room proportions feel tall and narrow, choose higher-backed seating and slimmer cases; when they’re low and broad, keep profiles grounded and horizontal.
Treat furniture placement as a way to preserve sightlines to mantels, sash windows, and paneling, not to conceal them.
Use these checks before you buy:
- Match sofa length to the window bay span.
- Keep armchairs below sill height.
- Align tables with hearth centerlines.
- Leave clear circulation at door reveals.
Avoid These Heritage Design Mistakes
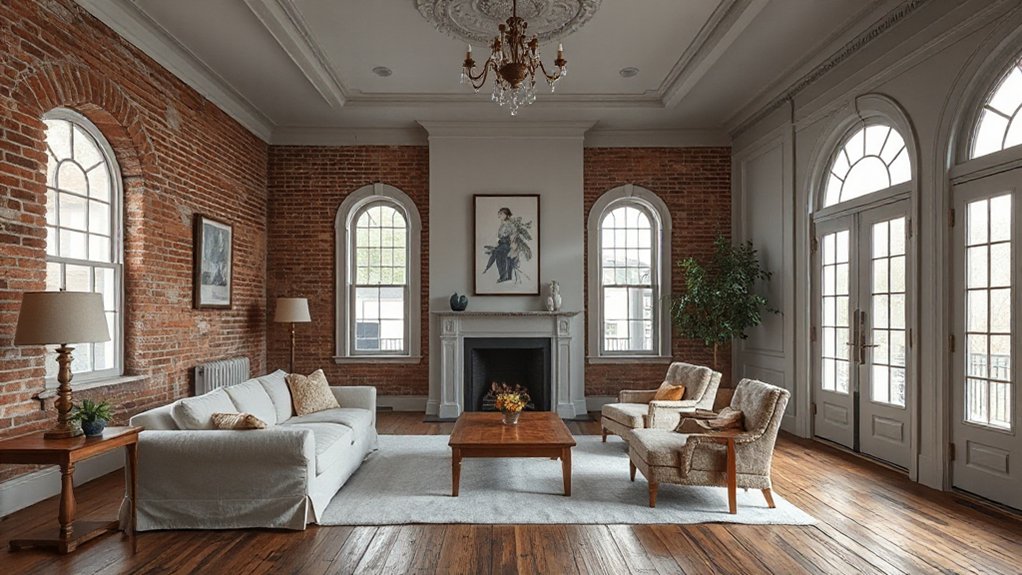
Even if you’ve chosen pieces that fit the room’s scale, a few common missteps can still flatten the character that makes historic interiors worth preserving. Don’t paint over original millwork or strip patina from old floors; you’ll erase the timeworn cues that guide the room.
Avoid sealing fireplaces, bricking up transoms, or burying ceiling roses under downlights—these features anchor the architecture.
You’ll also undermine Heritage preservation if you chase a single “period look” and ignore later layers; instead, edit with intent. For Modern integration, don’t force stark contrasts that fight mouldings and fenestration. Hide cables, keep fixtures warm in tone, and align new joinery with existing reveals.
Finally, skip oversized art that blocks wainscot lines or window trims.
Frequently Asked Questions
How Do I Get Permits for Renovating a Heritage-Listed Building?
You’ll apply through your local planning authority, submit measured drawings, a conservation statement, and contractor credentials, and consult Historic preservation officers early. You must meet Building regulations, obtain listed-building consent, and schedule inspections before work begins.
What Insurance Covers Restoration Work and Historic Materials?
You’ll need Restoration insurance: builders’ risk for works-in-progress, specialist coverage for historic materials, and liability for contractors. Like guarding a cathedral’s relics, choose policies tailored to Heritage preservation, with agreed-value appraisals and salvage provisions.
How Can I Estimate Heritage Renovation Costs and Contingency Budgets?
Estimate costs by commissioning a conservation-led survey, itemizing trades, and pricing Preservation techniques. You’ll add premiums for Historical significance, specialist sourcing, and approvals. Set contingency at 15–25%, rising to 30% for hidden defects.
Where Do I Source Reclaimed Period-Appropriate Materials and Fixtures?
You’ll source reclaimed period-appropriate materials through architectural salvage yards, heritage demolition auctions, and specialist reclamation dealers; 80% of original fittings can be reused. Prioritise Historical authenticity by verifying provenance, and streamline Material sourcing via conservation networks.
How Do I Find Qualified Heritage Architects, Contractors, or Craftspeople?
Start with local historic preservation offices and heritage societies; they’ll recommend vetted professionals. Check accreditation directories and portfolios that respect architectural significance. Ask for references, site visits, and sample specs, then verify licenses and insurance.
Conclusion
When you design around heritage, you’re not decorating—you’re listening. You’ve named the features you’ll keep, chosen one to lead, and made clear calls on what to restore or replace. Now let sightlines, lighting, and furniture honour the home’s proportions while modern comfort stays quietly in the background. Picture a 1910 terrace: you restore the pressed ceiling and original fireplace, then add discreet underfloor heating—suddenly, it feels like coming home again.