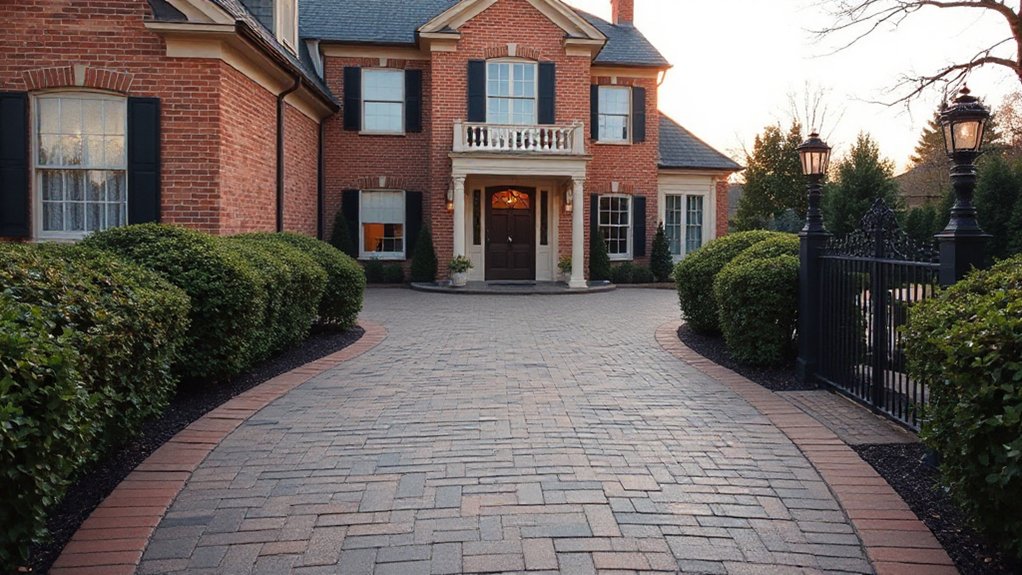

Did you know that a well-designed driveway can boost curb appeal by up to 20%? For traditional homes, you’ll want a balanced, symmetrical approach using timeless materials like brick, natural stone, or stamped concrete. Think clear axes, proportioned edging, and a formal path that guides the eye to focal points such as urns or gates. Seasonally adjustable plantings and soft lighting finish the scene, while careful maintenance keeps the look cohesive—but there are choices in edging, materials, and layout that deserve a closer look.
Key Takeaways
- Use symmetrical layouts with a central axis, matching paving, borders, and edging to reinforce a timeless, formal look.
- Choose classic materials like brick pavers, natural stone, or stamped concrete that endure wear and echo traditional palettes.
- Integrate landscaping and lighting to soften edges, guide sightlines, and create an inviting, cohesive approach.
- Emphasize a central focal point (doorway, urns, or formal gate) and repeat materials to sustain visual harmony.
- Plan for maintenance and drainage with a detailed budget, phased milestones, and seasonal care to preserve durability.
How Traditional Driveways Shape Curb Appeal
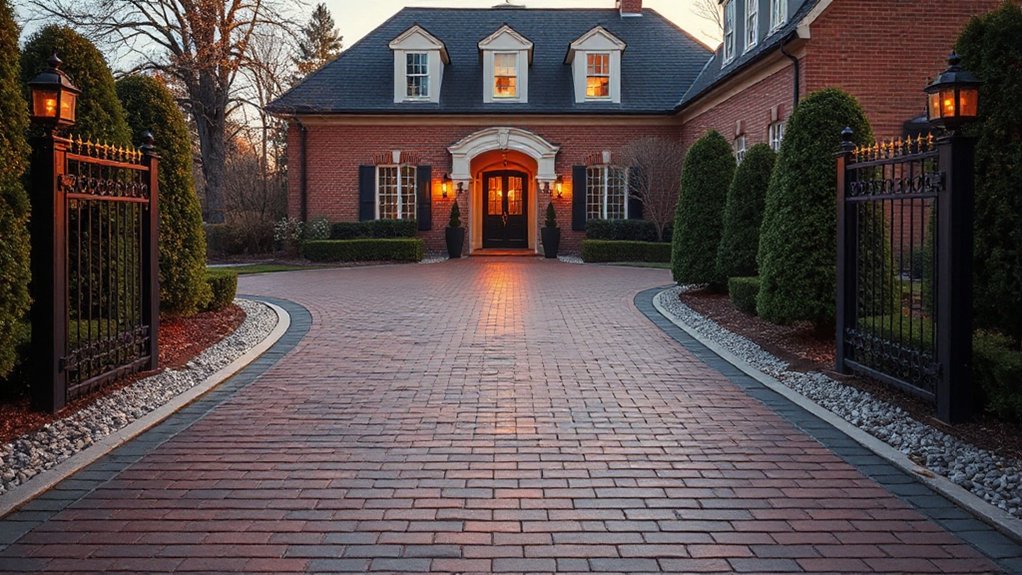
A traditional driveway sets the tone for curb appeal by framing the home with clean lines and timeless materials. You’ll notice how its form guides the eye to architectural details, while proportions support a balanced approach to landscaping and entry sequence.
To maximize impact, choose a surface that complements the house—paver patterns or smooth concrete with restrained edge detailing—and keep grading gentle for accessibility.
Landscaping accents should echo the home’s scale, using low shrubs and clipped hedges to maintain a crisp silhouette.
Lighting enhancements provide safety and drama; install consistent pathway lights and a focal lantern near the door to extend evening curb presence.
Maintain clean borders, prune regularly, and guarantee hardscape joints stay tight for a polished, lasting impression.
Design Criteria for Traditional Driveway Styles
To define traditional driveway styles, establish clear design criteria upfront: choose materials and patterns that echo the home’s architecture, set precise proportions with the lot and entry sequence, and guarantee practical performance for drainage, maintenance, and access.
- Align landscape integration with the driveway line, using grading, plantings, and screening that complement the house while preserving sightlines and drainage effectiveness.
- Plan driveway lighting that enhances safety and curb appeal without glare, selecting low-voltage, warm-toned fixtures and strategically spaced fixtures for depth.
- Define a proportional framework that respects setback rules, entry widening, and apron progression, ensuring repairs are straightforward and patterns are cohesive across surfaces.
Classic Materials That Stand the Test of Time
You’ll want materials that endure, look authentic, and stay low-maintenance over decades. Consider timeless options that resist wear while reducing upkeep, from durable pavers to sturdy concrete blends.
This discussion starts with what makes these choices practical, long-lasting, and easy to care for in traditional driveway designs.
Timeless Material Options
Wood, brick, and stone have proven their worth in traditional homes, offering lasting beauty and structural integrity that endure seasonal changes and daily wear. Timeless options prioritize proven durability, ease of sourcing, and compatibility with established landscapes. You’ll find that careful selection aligns with classic aesthetics while supporting long-term performance, even as traffic patterns evolve.
- Brick pavers: uniform color, strong load distribution, easy to replace in sections.
- Natural stone: granite or limestone delivers elegance with texture and excellent longevity.
- Concrete with historical stamping: low maintenance when finished to resemble aged stone or brick.
When planning, consider garden lighting and driveway landscaping integration to guide foot and wheel traffic, highlight materials, and protect edges from erosion.
Balance color, pattern, and texture for a cohesive traditional curb appeal.
Durable, Low-Maintenance Choices
When you choose durable, low-maintenance materials for a traditional driveway, you’re prioritizing longevity, ease of care, and consistent curb appeal. Start with materials that resist cracking and staining, like seasoned concrete, brick pavers, or permeable asphalt.
Then pair these with precise edging to reduce weed growth and movement over time. Opt for uniform color and texture to support timeless rack-and-bed aesthetics, avoiding high-contrast patterns that date quickly.
Prioritize installation details that minimize maintenance, such as proper slope for drainage, compacted subgrade, and sealed joints. Consider landscape integration to keep garden beds cohesive with the drive, using low, tidy edging and drought-tolerant plantings.
Plan lighting enhancements along edges and entry points to boost safety and overnight appeal without glare. Regular cleaning and periodic resealing sustain performance and appearance.
Edging Options: Gravel, Cobble, or Paver
Edging defines the boundary between driveway and landscape, and choosing Gravel, Cobble, or Paver determines both look and upkeep. You’ll weigh texture, drainage, and maintenance against your home’s traditional character, then pick an option that supports garden integration and lighting enhancements.
- Gravel edging keeps a soft transition, hides minor irregularities, and accommodates subtle lighting accents along the border.
- Cobble creates a durable, historic feel, with tight joints that lend a formal rhythm and better weed control without heavy maintenance.
- Paver edging offers precise lines, easy repair, and a ready canvas for plantings or lighting fixtures that highlight architectural details.
For practicality, ensure edging aligns with drive slope and install a shallow curb to protect garden beds.
Brick-Edged Paths for Period Styling: Step-by-Step
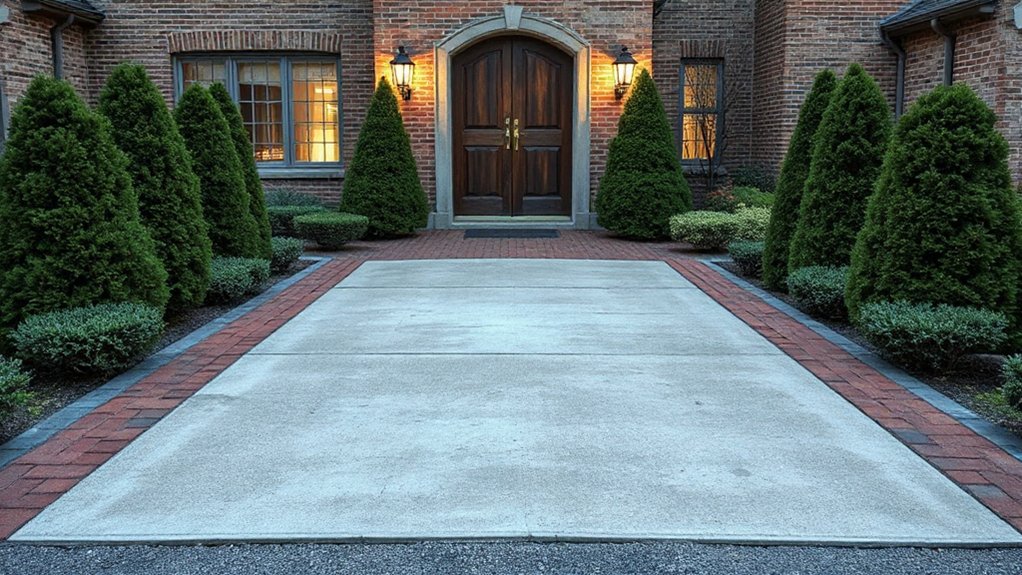
Brick-edged paths add period-accurate charm without sacrificing durability. You’ll lay a clean, stable substrate, then set brick strips in a tight, staggered bond for authentic character.
Dig a consistent trench, compact the base, and use a 4:1 sand-to-bedding mix to prevent movement. Tap bricks gently with a rubber mallet, ensuring level courses and a slight crown to shed water.
Edge restraint matters: drive pins or metal edging hold the brickwork in place as you proceed.
For joints, sweep in kiln-dried sand, then compact to full depth to prevent washout.
Plan garden lighting and landscape lighting along the edges to highlight texture and safety.
Seal once cured, recheck alignment, and maintain with periodic cleaning to preserve period styling.
Symmetrical Layouts for Heritage Homes
You’ll start by aligning symmetrical driveway elements to mirror the house’s façade, ensuring paths, borders, and plantings are evenly balanced.
Consider a heritage street approach that guides vehicles toward a central entry, with mirrored setbacks and proportions on both sides.
Keep a clear central focal point—like a stone apron or a formal entrance gate—so the composition reads as intentional and cohesive.
Symmetrical Driveway Elements
- Plan mirrored drives and service lanes that converge at a central axis, maintaining equal widths and angles on each side.
- Use matching paving materials, borders, and edging to reinforce symmetry while incorporating garden integration and practical drainage.
- Integrate lighting enhancements with paired fixtures along each verge, ensuring even illumination and subtle highlights of landscape focal points.
This approach delivers order, durability, and a timeless sense of arrival, without sacrificing functional efficiency.
Heritage Street Approach
When approaching a Heritage Street, symmetry isn’t just a visual choice—it’s a functional strategy that grounds the curb appeal and guides traffic with predictable precision. You’ll design the Heritage street with mirrored drive lanes, balanced planting, and identical edging on both sides to reinforce order.
Focus on predictable sightlines from curb to entrance, guaranteeing that vehicles follow a central axis without abrupt turns. For landscaping, plantings should be evenly spaced and sized to maintain balance as the street ages; avoid oversized focal specimens that disrupt the rhythm.
Use durable, classic materials for borders and pavers that reflect traditional character. In this approach, landscaping is intentional: prune ceilings of greenery to preserve line, and ensure drainage works with the grade.
Approach landscaping with restraint to preserve symmetry.
Central Focal Proportions
In a heritage-facing layout, central focal proportions anchor the driveway with deliberate symmetry that reads as timeless balance. You’ll design around a clear axis, aligning entry points, plantings, and paving to reinforce the house’s historic cadence.
Proportions should favor a focal point—often a central plane, urns, or a formal gate—so the approach reads as orderly and calm. Maintain even distances from edges to preserve harmony, and choose materials that echo traditional palettes.
Consider landscape integration to soften edges without breaking form, and use lighting enhancements to emphasize the central axis after dark.
- Establish a central plane aligned with the main doorway and prevailing sightlines.
- Use repeat materials and plant groupings to reinforce symmetry and balance.
- Integrate subtle lighting along the axis to highlight proportions and landscape features.
Seasonal Maintenance for Traditional Driveways
In warm months, clean debris, trim nearby roots, and ensure proper drainage to prevent pooling after rain. For winter, use gentle de-icing methods and avoid sharp implements that scar surfaces; apply lightweight sealant as recommended, not every year, to extend life.
Periodic resealing or resurfacing should line up with manufacturer guidance and local climate. Consider practical upgrades like seasonal planting around the edges to manage moisture, and install discreet driveway lighting to improve visibility and safety at dusk.
Consistency, documentation, and proactive scheduling keep your traditional driveway performing at its best.
Budget and Timeline for a Traditional Driveway Project
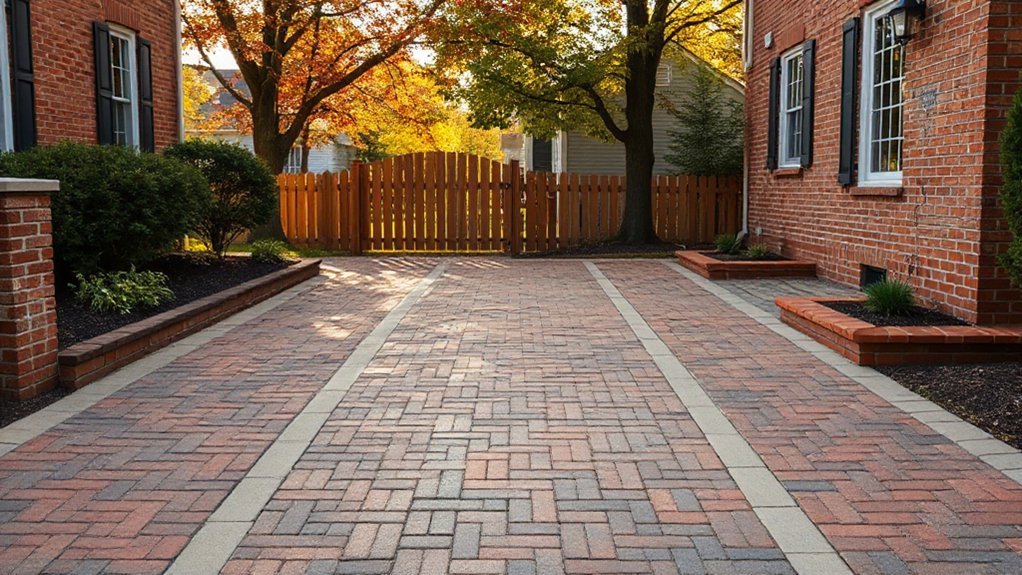
A well-planned budget and realistic timeline keep a traditional driveway project on track and prevent surprises. You’ll want a firm estimate that itemizes materials, labor, permits, and contingency, with a clear payment schedule.
Match your plan to landscaping aesthetics and lighting solutions to avoid retrofits later, and build in seasonal downtime for weather delays. Track milestones from design approval to final inspection, so you know when decisions are due and approvals must be granted.
- Create a detailed budget checklist, including permitting, base materials, edge treatments, and drainage, plus a 10–15% contingency.
- Set a phased timeline with start/completion dates, supplier lead times, and weather buffers to minimize gaps.
- Schedule landscaping and lighting installs to align with paving, ensuring cohesive integration and long-term maintenance clarity.
Frequently Asked Questions
How Long Does a Traditional Driveway Renovation Typically Take?
A traditional driveway renovation typically takes about 1 to 2 weeks, depending on size, materials, and weather. You’ll plan site prep, base work, and final finishing steps patiently.
You’ll coordinate landscaping integration to minimize disruption and guarantee proper drainage, and you’ll select lighting options that enhance safety and curb appeal.
Expect permits, delivery windows, and occasional delays. You’ll stay on track by batching tasks, reviewing progress frequently, and communicating with your contractor for timely decisions and inspections.
What Maintenance Tasks Are Essential After Installation?
Are you ready to keep your new driveway in peak condition? After installation, you should seal every 2–3 years as needed, clean debris monthly, and perform annual inspections for cracks or settling.
Weed pathways, guarantee proper drainage, and reseed any washed-out edges. Focus on Landscape integration and Lighting options to prevent erosion and enhance safety.
Keep joints intact, remove stains promptly, and schedule professional resurfacing as your surface ages.
Consistent maintenance preserves curb appeal and longevity.
Can Materials Match Existing Brick or Stonework Precisely?
Yes, you can match materials for precise compatibility, but expect slight variation in tone and texture.
Prioritize material compatibility by testing samples side by side under daylight and weather conditions.
Consider color-matching or grout joints to bridge differences.
For aesthetic harmony, select bricks or stones with similar undertones and vessel textures, and use consistent mortar and sealers.
You’ll achieve a cohesive look by documenting specs, tolerances, and maintenance needs for long-term durability.
Which Design Saves the Most Water and Reduces Runoff?
You should choose permeable pavement, as it saves the most water and minimizes runoff. Pair it with rainwater harvesting to capture and reuse what briefly drains away.
Use a grid or modular permeable pavers with an underdrain system and proper sub-base to maximize infiltration. Mind the site slope, soil compatibility, and maintenance.
Regularly vacuum or power wash joints to sustain porosity, ensuring effective water management and long-term performance.
Are There Permit or HOA Considerations for Traditional Driveways?
Yes, there are permit requirements and HOA restrictions you’ll need to check before installing a traditional driveway. You should contact your local building department for permits, setback and drainage rules, and any stormwater documentation.
Also review your HOA covenants for approved materials, colors, setbacks, and maintenance standards. Plan for inspections and possible mitigation steps.
Start early to avoid delays, and document all communications so you stay compliant and avoid fines or project halts.
Conclusion
A traditional driveway project pays off in quiet, lasting charm. By choosing timeless materials, precise edging, and a symmetrical layout, you’ll create curb appeal that ages gracefully with your home. Stick to classic brick, stone, or stamped concrete, and add soft, seasonal plantings for year‑round polish. Plan with a clear budget and timeline, and maintain regularly to prevent wear from eroding charm. With steady progress, you’ll have a welcoming approach that’s always in step with tradition, and you’ll sleep easy. Keep your eye on the prize.