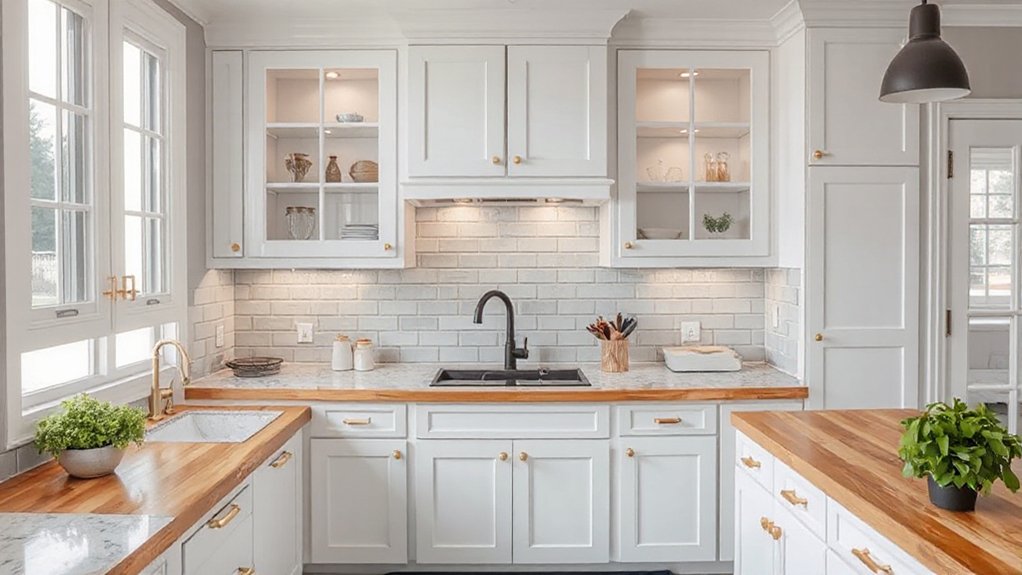

You can refresh your kitchen without ripping out cabinets by treating them like a new feature: evaluate condition, clean, and prep, then choose paint or stain that suits your space, add durable countertops and a fresh backsplash, and swap hardware for an instant lift. Layer lighting, optimize storage with pull-outs, and seal every surface for longevity. A polished result hinges on how neatly you execute each step—and you’ll see the payoff when you start the project.
Key Takeaways
- Refresh cabinet doors with paint or stain, then reassemble with new hardware for a transformed look without replacing boxes.
- Update surfaces with durable countertops and cohesive edge profiles to improve durability and appearance.
- Improve finishes with protective sealants and eco-friendly coatings, plus regular maintenance using soft microfiber cloths.
- Enhance lighting with layered, dimmable LEDs and add under-cabinet lighting for better functionality.
- Optimize storage using pull-out shelves, labeled bins, adjustable interiors, and movable organizers for better usability.
Define Your Cabinet Refresh Goals Without Replacing Cabinets
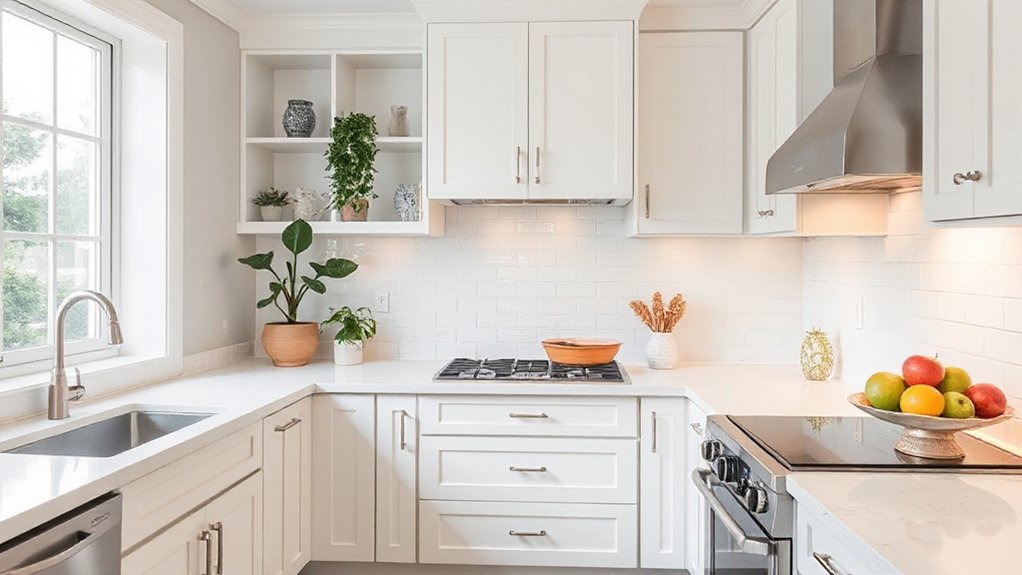
You don’t need to replace your cabinets to refresh your kitchen—start by defining clear goals. First, decide the look you want: a brighter space, richer tone, or a more cohesive feel.
Next, map practical constraints, like budget, timeline, and major nuisances you want solved. Tie goals to measurable outcomes, such as a specific cabinet color shift, better light reflection, or uniform hardware styles across doors and drawers.
Consider your workflow: do you need easier access, fewer fingerprints, or more open visual space? List must-have finishes, then nice-to-haves. Prioritize compatibility with existing countertops and flooring.
Finally, document decisions so you can evaluate options quickly. Clear goals keep your project focused and reveal where cosmetic changes can have the most impact on style and function.
Prep and Plan: How to Assess Your Cabinets and Budget
To start, take a clear, bottom-up look at your cabinets: note their condition, construction, and any quirks that impact function. Assess doors, frames, and shelves for warping, gaps, hardware wear, and alignment.
Sketch a quick map of which units share piers, where plumbing or outlets constrain options, and which surfaces can support updates.
Budget realistically by itemizing materials, labor, and a contingency.
Prioritize fixes that improve daily use: door alignment, hinge stiffness, and shelf support.
Plan a timeline that minimizes disruption, batching tasks like cleaning, hardware selection, and minor fixes.
For cabinet cleaning, set a simple routine that preserves finishes during updates.
When choosing hardware, consider weight, opening action, and finish consistency to guarantee cohesive results.
Refresh Doors: Paint, Stain, and Finishes That Look Like New
You’ll start by choosing a finish that pairs with your cabinet style, then verify we can achieve it with your door material.
Paint can brighten and unify, while a warm stain adds depth and character, so pick the path that delivers the look you want.
After selecting, prep thoroughly—clean, sand, and prime—so the paint or stain goes on smooth and lasts.
Freshen With Paint
If you’re aiming for a fresh, like-new look without gutting the kitchen, painting can do the trick—on doors, trim, or cabinets—while keeping the layout intact.
Begin with a thorough cleaning and light sanding to remove gloss. Prime properly for adhesion, especially on laminate or previously painted surfaces.
Choose a durable enamel or cabinet-friendly finish in a satin or semi-gloss; color should harmonize with your countertop and lighting design.
Use a high-quality brush for edges and a microfiber roller for smooth panels. Apply thin, even coats, letting each dry fully before the next.
Reassemble with fresh cabinet hardware for updated detail, then test hinges and alignment.
Seal edges at openings to prevent chipping. Finish with a gentle wipe-down, and enjoy the cohesive, refreshed space.
Warmth Through Stain Finishes
Stains bring warmth and character to cabinet doors, offering depth that paint alone can’t achieve. You’ll notice how grain pattern and subtle color shifts add instant richness, especially when selecting a stain that mirrors the wood’s natural tone.
Begin with a clean, well-sanded surface, then apply a pre-stain conditioner to even out absorption. Choose a penetrating oil or water-based stain based on your cabinet substrate, and test on a sample panel first.
Wipe with a lint-free cloth for even saturation, and finish with an Eco friendly finishes topcoat to protect without yellowing.
For Vintage charm, opt for milder tones that enhance grain rather than mask it. Keep progressions smooth, and reapply lightly after daily use to preserve depth and clarity.
Update Cabinet Hardware for an Instant Mood Shift
Switch out cabinet hardware to change the room’s feel in minutes. Choose finishes and shapes that echo your style, from warm brass to cool matte black.
Match drawer pulls to cabinet doors for a cohesive look. This small swap creates a noticeable mood shift without a full remodel.
Update Cabinet Hardware
Updating your cabinet hardware is a fast, impactful way to change the room’s mood without a full remodel. You’ll choose pieces that align with your cabinet material and guarantee hardware compatibility, then install with steady, measured steps.
- Inspect cabinet material and existing holes to decide whether to reuse or drill new ones.
- Match finishes and textures to create a cohesive look that supports your color palette.
- Test handle pull depth so fingers glide smoothly and doors sit flush.
- Plan a consistent spacing rhythm across all drawers for a unified, polished effect.
Instant Mood Shift
Choosing new cabinet hardware is the quickest way to shift the room’s vibe, and it’s easier than a full remodel. You’ll feel the change as soon as you swap pulls and knobs.
Start by selecting a finish that complements your countertop tones and sink fixtures. For visual cohesion, choose a single metal or matte option across all cabinets, including the tall pantry doors.
Pay attention to scale: smaller doors need smaller hardware, larger doors need bolder pulls. Install at standard heights to maintain ergonomics and comfort in daily use.
Consider decorative accessories like label holders, coordinating hinges, or accent screws to unify the look without clutter.
This tweak improves kitchen ergonomics by reducing reach strain and streamlining openings, delivering an instant mood shift with minimal disruption.
Lighting Matters: Brighten and Add Ambience in Your Kitchen
Good lighting can transform a kitchen, making tasks easier and the space feel bigger and more inviting. Start by layering light sources to eliminate shadows on countertops and work zones.
You’ll want a mix of ambient, task, and accent lighting to create depth without glare, and choose color temperatures that balance warmth with clarity for food prep. Focus on under-cabinet LEDs to illuminate counters, ceiling fixtures for general brightness, and dimmable options to adjust mood during meals.
Practical, reliable lighting improves kitchen ergonomics and highlights appliances upgrades you’ve made.
1) Use track or recessed lighting to minimize shadows in work zones.
2) Install dimmable LEDs for adjustable ambience and energy efficiency.
3) Add under-cabinet strips for precise task lighting.
4) Choose color temperatures around 3000–3500K for warmth with clarity.
Smart Storage for a Reworked Layout: Practical Organization
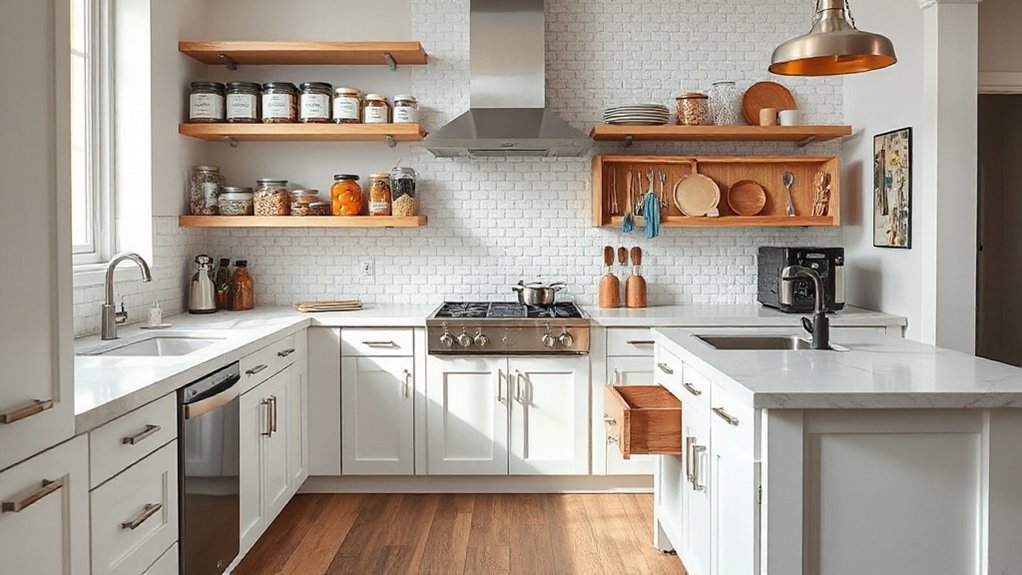
Smart storage makes a reworked layout work. You’ll map zones where items live and keep every tool within reach without chaos. Start with tall, pull-out pantry shelves to maximize vertical space and clearly labeled bins for dry goods. Use drawer dividers for utensils, measuring cups, and small appliances you actually use weekly.
Inside cabinets, install adjustable shelves and slim organizers to cradle lids, sheets, and baking pans. Consider a lightweight, movable cart for on-the-fly prep or coffee station, so you free counter space without losing function. Install under-shelf hooks for mugs and oven mitts, plus a magnetic strip for knives.
Prioritize space optimization by grouping by task, reducing cross-traffic, and consistently returning items to their home. Creative storage becomes second nature through deliberate placement.
Color and Texture: Fronts, Open Shelving, and Accents
When you refresh the kitchen, color and texture come together through cabinet fronts, open shelving, and thoughtful accents that read as a single, cohesive material story. You’ll coordinate finishes and tones so they read as one palette, not a patchwork.
Prioritize cabinet aesthetics by selecting a base tone, then layer contrasting textures with open shelves and metal hardware for texture variation. Use color coordination to balance light and dark elements, keeping the room feeling unified and bright.
1) Pair matte lower cabinets with glossy upper fronts to create depth without visual chaos.
2) Mix open shelving in matching wood tone or a subtle contrast to reinforce cohesion.
3) Introduce metal accents in cabinet pulls, brackets, and lighting to add texture.
4) Choose accents in a repeated hue to reinforce the color story.
Surfaces That Last: Countertops, Backsplashes, and Edge Details
You’ll weigh countertop material choices that stand up to daily use, spills, and heat, prioritizing durability, maintenance, and price point.
Then you’ll explore edge detail upgrades that sharpen the look and reduce chipping, from eased to beveled profiles, with clean junctions to backsplashes.
Start with practical comparisons of materials and edges so your refreshed kitchen reads cohesive and lasts.
Countertop Material Choices
Choosing the right countertop material sets the tone for your refreshed kitchen, balancing durability, maintenance, and style. You’ll want options that resist staining and heat while fitting your budget and aesthetic.
- Practical, budget-friendly options like laminate mimic stone at a fraction of the cost, with low maintenance and easy replacements when trends shift.
- Solid-surface blends offer seamless edges and simple repairs, ideal for a cohesive look without visible seams.
- Quartz combines durability with low maintenance, resisting scratches and stains while offering consistent coloration.
- Butcher-block adds warmth and contrast; seal regularly to prevent moisture damage and keep it looking fresh.
Countertop material options prioritize durability and ease, supporting budget friendly upgrades.
Edge Detail Upgrades
Edge details can transform a refreshed kitchen, tying together countertops and backsplashes with clean, durable shifts. You’ll want edge detailing that complements the surface material and cabinet trim for a cohesive look. Choose simple profiles, like a eased or micro-bevel edge, to reduce maintenance while preserving character.
If your countertop has a matte finish, pair it with a subtle rounded edge to avoid sharp visual breaks. For stone or quartz, a subtle ogee or pencil edge can add refinement without heavy work.
Remember cabinet trim matters; align edge profiles with trim depth to maintain flow across surfaces. Install tight seams and consistent caulk lines to prevent discoloration. Finish edges with a high-quality sealant to resist staining and moisture.
Durability on a Budget: Maintenance and Protective Finishes
Durability on a budget hinges on smart maintenance and simple protective finishes that ward off wear without breaking the bank. You’ll extend cabinet life by pairing routine care with affordable coatings that resist scuffs and moisture, while honoring historical preservation sensibilities.
Choose eco friendly finishes when possible; they can perform well and reduce exposure to harsh solvents.
- Seal high-traffic edges with clear, durable polyurethane to prevent water intrusion and chipping.
- Reapply a light wax or penetrative oil here and there to revitalize wood grain without heavy resurfacing.
- Use soft microfiber cloths for daily dust and grime to minimize scratches.
- Test finishes on an inconspicuous area first to confirm compatibility with existing stains and trim.
This approach blends practicality, heritage respect, and budget-conscious protection.
When to Hire a Pro: What a Refresh Typically Includes and Costs
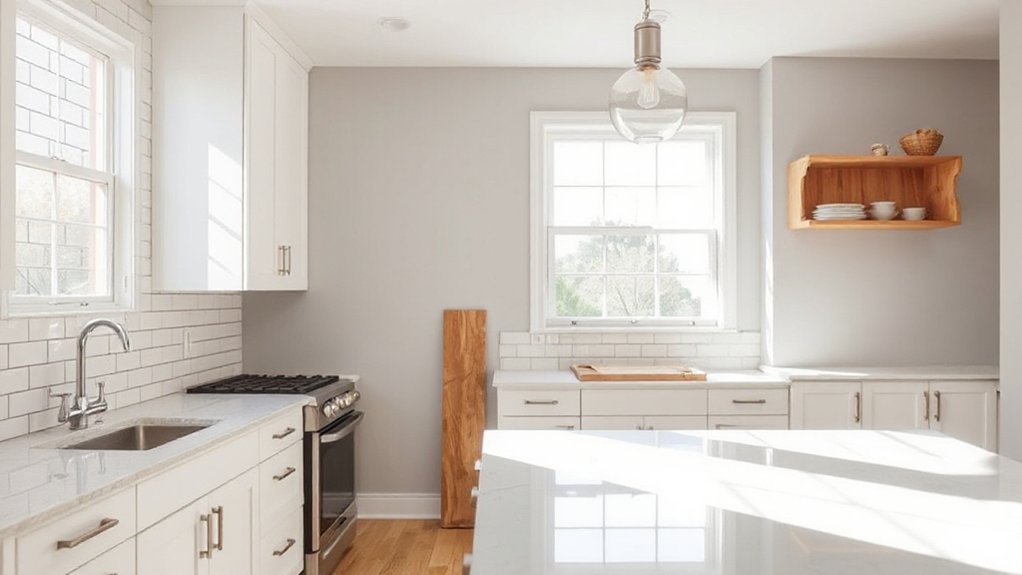
A professional refresh typically runs when you want a near-new look with proven results, not just a DIY weekend project. You’ll hire a pro when your cabinets need uniform color, edge detail, or hardware updates that look cohesive across the room.
A typical refresh includes cabinet staining or painting, surface sanding, hardware replacement, and sealing with durable topcoats. Expect a preliminary color and finish test, prep work that protects countertops, and careful masking for clean lines.
Labor costs vary by square footage, finish choice, and timeline, but you should budget for materials, multiple coats, and potential patching. Consider cabinet material considerations and eco-friendly finishes to match your budget.
Ask for a written scope, warranty, and a clear schedule to avoid surprises.
Frequently Asked Questions
Can You Refresh Cabinets Without Removing Doors or Hardware?
Yes, you can refresh cabinets without removing doors or hardware. Start with thorough cabinet cleaning to brighten surfaces.
Next, brighten with a stain, paint, or Finishing wax, focusing on even coats and edges.
Consider updating hardware by replacing pulls or knobs for a fresh feel, while keeping doors in place.
If needed, add cohesive trim or soft-close hinges.
Finish with a light seal.
This approach preserves structure while delivering visible, practical results.
How Long Does a Typical Cabinet Refresh Take?
A typical cabinet refresh takes about 3 to 5 days, depending on prep and drying conditions. You’ll spend time removing existing hardware, sanding, and priming, then painting in even, smooth coats.
Plan for a full day of cure between steps. Use quality cabinet hardware and guarantee proper ventilation.
Paint durability improves with careful surface prep and a topcoat. Tape edges, work in sections, and let doors cure fully before reassembly for a cohesive, durable finish.
What Is the Cost Range for a Full Refresh?
Think of it like fixing up a classic painting: the cost ranges from $1,000 to $8,000 for a full refresh. You’ll likely spend on cabinet cleaning, paint or veneer, and hardware upgrades.
If you DIY some steps, stay closer to the lower end; hiring pros drives toward the high end. Plan for materials, plus a bit of contingency.
You’ll end up with cohesive aesthetics and smoother operation, with durable, updated hardware.
Will Paint or Stain Affect Cabinet Resale Value?
Yes—paint generally helps resale value, while stain can, too, depending on cabinet material and finish.
If you have solid wood, a quality stain can enhance depth. Paint types (especially durable enamel or latex) can modernize while protecting surfaces.
For higher resale, you’ll want a cohesive look with your cabinet material, keeping grain visible where appropriate.
Consider neutral colors, even sheen, and avoid trendy shades that may date quickly.
How Durable Is a DIY Cabinet Refresh Compared to Pro Work?
You’ll find a DIY cabinet refresh is pretty durable for light to moderate use, but it won’t match pro-grade longevity. You’ll get solid results with proper prep and coats, yet hardware quality and paint durability hinge on surface prep, primer, and finishing.
Imagery of brushed brass glints and satin paint ripple like water helps you gauge wear. cabinet hardware matters; choose sturdy pulls.
With careful technique, you’ll enjoy resilient, refreshed cabinets that stand up to daily wear.
Conclusion
Refresh your kitchen by planning, prepping, and protecting; refresh your doors with paint or stain, refresh hardware for instant impact, refresh lighting for mood and task, refresh surfaces with durable countertops and backsplashes, refresh textures with open shelving and accent pieces, refresh maintenance with protective finishes, refresh budgets with clear scope and honest timelines, refresh decisions with professional help when needed, refresh results with cohesive style and practical choices. You’ll transform thoughtfully, affordably, and with lasting satisfaction.