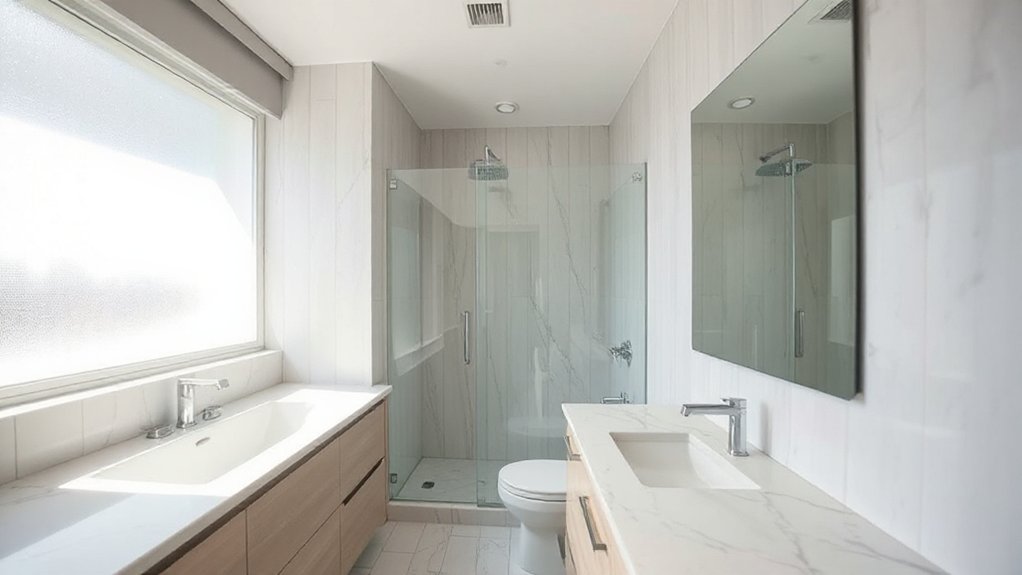

To make a small bathroom feel more spacious, you’ll want perception over size: lean on bright, reflective surfaces, tight lines, and controlled light layers that bounce around the room. Think glossy tiles, pale cabinetry, and well-placed mirrors to multiply space while keeping clutter to a minimum. Choose streamlined fixtures and smart storage to maintain calm. Get ready to adjust lighting and layout in ways that reveal more air and movement—and see how small tweaks compound.
Key Takeaways
- Use light, airy colors, reflective surfaces, and consistent finishes to create visual openness and reduce perceived weight.
- Position mirrors and glass elements strategically to bounce light and extend sightlines.
- Eliminate clutter with recessed storage, slim fixtures, and hidden hardware to maintain clean sightlines.
- Improve lighting with layered ambient, task, and accent lighting; adjust with dimmers for mood and space perception.
- Plan layouts that align sightlines, use vanishing edges, and strategically size door openings to enhance room scale.
Define Spacious: What “Larger Feel” Means in a Tiny Bath
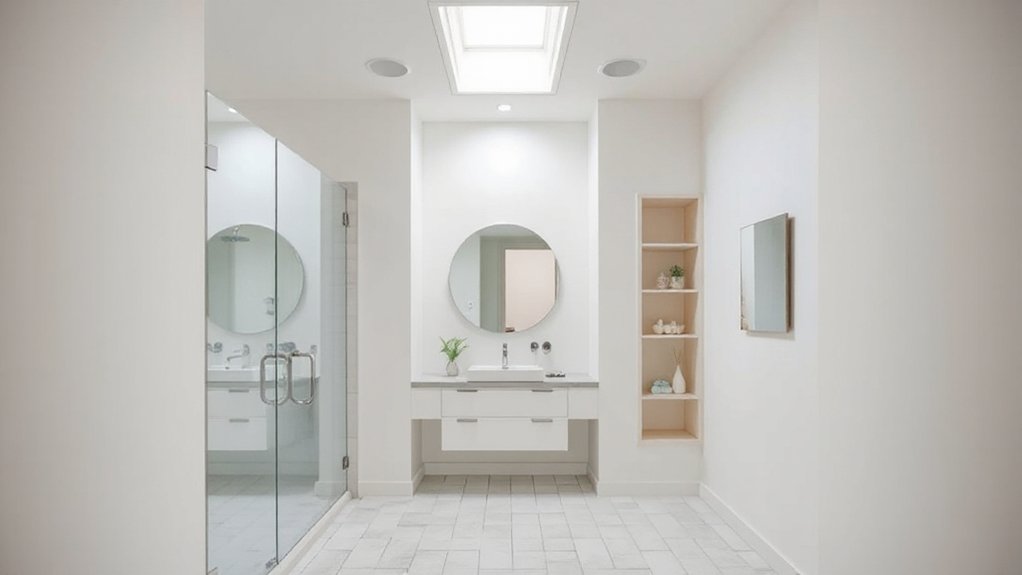
A “larger” feel in a tiny bath isn’t about actual square footage; it’s about perception and flow. You define spacious by how you guide the eye, the reach of your lines, and the efficiency you build into daily use.
Your goal is a calm, continuous rhythm: vanishing edges, consistent finishes, and purposeful zoning. Prioritize bathroom ventilation so air moves freely, reducing humidity that crowds space visually.
Choose water saving fixtures that perform with minimal bulk, leaving sightlines open. Emphasize built-in storage that tacks onto walls rather than intrudes on floor space, and select mirrors or reflective surfaces that extend the room’s depth.
Plan for a cohesive color and material cadence, ensuring every element reinforces order, clarity, and a sense of uncluttered openness.
Light and Color: Bright Palettes That Open Small Bathrooms
Light and color can make a small bathroom feel expansive by guiding the eye and brightening every corner. You’ll choose bright, airy palettes that reflect natural lighting and reduce visual weight, creating a calm, open mood.
Apply color psychology by pairing cool neutrals with warm accents to balance energy without overwhelming space. Prioritize surfaces that bounce light—glossy tiles, pale cabinetry, and a light countertop—to extend sightlines.
Use consistent hues across walls, ceiling, and fixtures to minimize breaks. Then add a strategic pop of color in accessories for focal points.
Natural lighting should be amplified with sheer window treatments and mirrors placed to maximize daylight. The result is a cohesive, perceptibly larger bath.
- Use cool neutrals and warm accents for balance
- Maximize reflective surfaces to bounce light
- Place color in purposeful focal accessories
Mirrors and Glass: Reflections That Multiply Space
Mirrors and glass transform a small bathroom by multiplying light and sightlines; positioned thoughtfully, they make boundaries fade and space feel bigger. You use mirrors to reflect both natural and artificial light, creating an illusion of depth that expands without shifting fixtures.
Opt for a full-length or recessed mirror to minimize frame clutter, and consider a corner pane to bend views around tight corners. Glass partitions or a clear shower door keep the line of sight uninterrupted, enhancing continuity.
Choose bathroom ventilation-aware placement to prevent fog and maintain clarity; confirm venting and exhaust paths are unobstructed. Align mirror and glass edges with plumbing layouts to reduce visual breaks.
The result is a precise, cohesive space that reads larger and calmer.
Space-Saving Fixtures: the Must-Haves for Tiny Baths
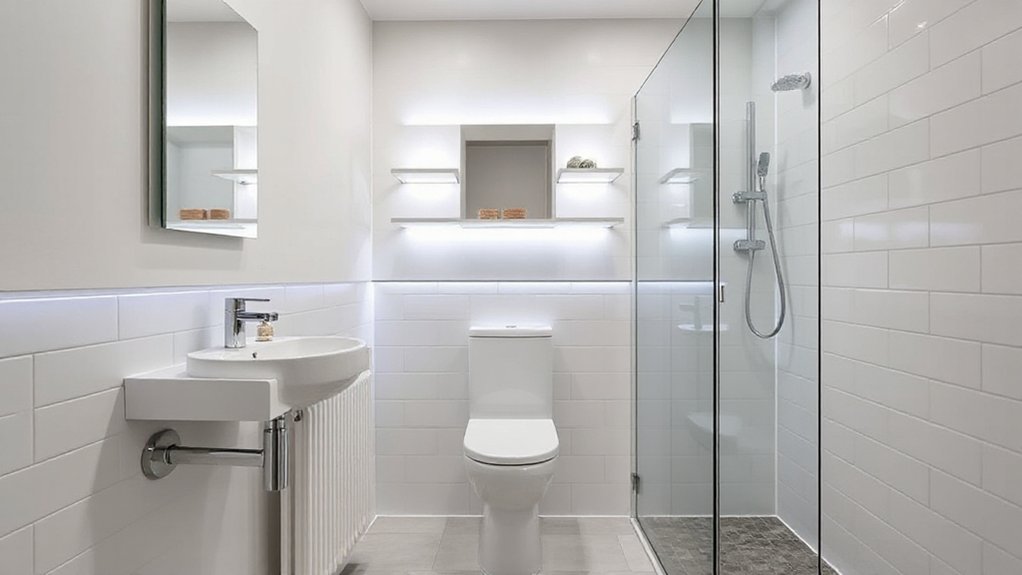
For a tiny bath, prioritize compact fixtures that maximize floor space without sacrificing function. Think wall-mounted storage solutions and other pared-down essentials that keep sight lines clear and surfaces uncluttered.
This approach sets the stage for a strategy that blends efficiency with clean, intentional design.
Compact Fixtures Essentials
Smart, space-saving fixtures turn a tiny bath into an efficient, comfortable zone. You’ll choose compact, dual-flush toilets and wall-hung basins that free floor space, pairing function with form. Embrace clean lines, soft edges, and subtle finishes that evoke a luxury spa while staying practical for daily use.
The goal is restraint: fixtures that feel deliberate, not crowded, enhancing flow and visual calm.
- Wall-hung toilet and basin pair for open sightlines
- Corner or slim-profile shower with clear glass
- Recessed soap dishes and towel racks to keep surfaces uncluttered
These essentials deliver efficiency with style, creating a refined atmosphere that nods to vintage charm without sacrificing modern convenience.
Wall-Mounted Storage Solutions
Wall-mounted storage transforms a tiny bath by keeping essentials within reach while preserving floor space. You’ll gain surface area without bulk, so choose slim, sturdy shelves and minimalist cabinets that float above the vanity.
Prioritize zones: a small mirrored cabinet for daily meds, a narrow towel rack with hooks, and a recessed shelf for clean aesthetics. Opt for modular units you can rearrange as needs shift, and pair them with open grids to reduce visual weight.
Use transparent or glass-front fronts to reflect light and maintain openness. Install ventilated, anti-bacterial options to support ventilation solutions while avoiding clutter.
Select creative decor pieces that complement the fixtures, keeping color consistent and cohesive to reinforce a spacious feel.
Hidden and Vertical Storage: Calm, Clutter-Free Design
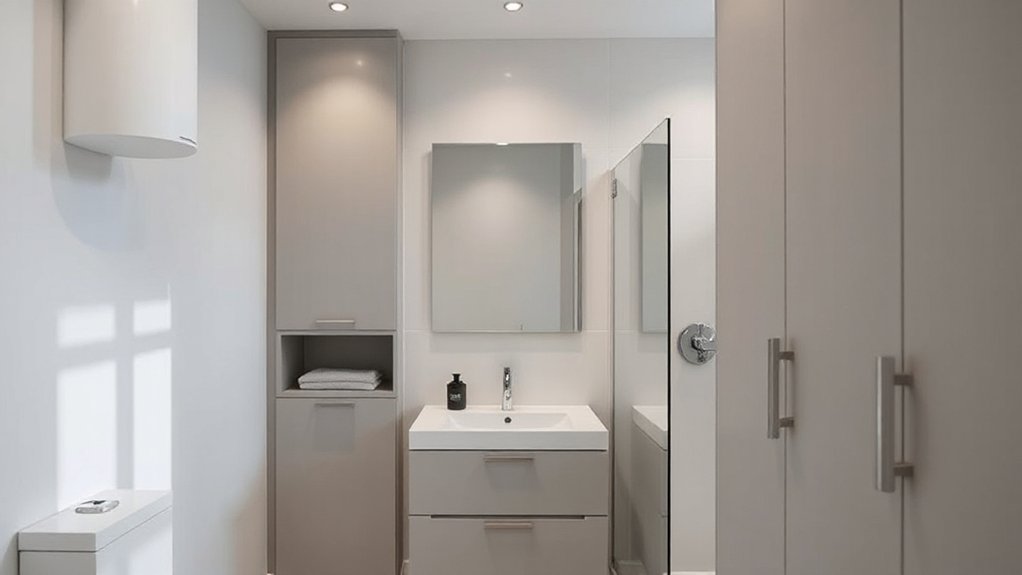
Consider hidden storage ideas that tuck away daily clutter without sacrificing style. Use vertical shelf tactics to maximize wall space and keep essentials at a glance, not at the bottom of a cabinet.
With clutter-free organization, your small bathroom reads as calm, deliberate, and visually expansive.
Hidden Storage Ideas
Hidden storage isn’t an afterthought—it’s the backbone of a calm, clutter-free bathroom. You’ll create space by choosing hidden solutions that preserve lines, not disrupt them, focusing on both function and form.
Use slim, recessed niches, under-sink drawers, and medicine cabinets with mirrored fronts to maintain an open feel while delivering daily practicality. By integrating concealed organizers, you reduce visible clutter and preserve aesthetic balance, letting your fixtures and finishes speak for themselves.
Innovative storage should feel intentional, not gimmicky, so keep it cohesive with your palette and materials.
- Install recessed niches behind the shower or vanity for soaps and backups
- Opt for push-to-open drawers and mirrored medicine cabinets
- Pair vertical, hidden organizers with a single, streamlined color scheme
Vertical Shelf Tactics
Prioritize airtight containers for cosmetics and toiletries to reduce surface clutter, while decorative baskets add texture without visual noise. Install floating shelves near the vanity mirror to reflect light and amplify space, but avoid overloading them with heavy items.
Plan shelves behind shower curtains or glass panels to maintain clean sightlines and prevent water exposure. Consider bathroom ventilation and mold prevention by ensuring shelves don’t trap humidity; choose moisture-resistant finishes and ventilated storage corners where you keep towels and essentials.
Clutter-Free Organization
- Use a recessed shower niche with a slim shelf to minimize bulky blocks.
- Install a tall, narrow cabinet or over-toilet unit for vertical storage.
- Choose modular, stackable containers that breathe and tuck under sinks.
This approach preserves open counters, enhances light, and supports durable finishes through proper ventilation and moisture control.
Tile and Texture: Creating Visual Flow, Not Chop
Tile and texture should flow together, guiding the eye across the space rather than breaking it up. To achieve cohesion, choose a single grout color and repeat tile shapes in subtle variations. You’ll create visual continuity by aligning patterns vertically and horizontally, avoiding choppy progressions at corners and fixtures.
Favor decorative mosaics as accents within a restrained palette, so texture adds depth without competing with light. Incorporate textured tiles on the shower wall or vanity backsplash to catch light softly, while still reading as a single plane from afar.
Keep scale proportional: large-format tiles in the main field, smaller textures in alcoves or niches. The goal is calm rhythm, not fragmentation, yielding a bathroom that feels connected, airy, and intentionally designed.
Doors and Access: How Opening Choices Change Size Perception
Opening doors strategically can visually expand or shrink a room; the way you position and size door openings shapes how the space is read. When you choose pocket or sliding doors, you remove swing arcs, freeing floor area and creating a lighter line of sight.
Narrow jambs and seamless frames reduce visual clutter, enhancing openness. Prioritize door aesthetics that echo the bathroom’s palette and hardware finishes for cohesive perception.
Consider access control that minimizes interruptions; discreet latching and soft-close hardware keep motion quiet and the space calm. Balance function and form to preserve space while fostering flow.
- Use pocket or sliding doors to maximize floor visibility
- Select cohesive door aesthetics and hardware finishes
- Implement subtle access control for calm, uninterrupted movement
Layered Lighting: How to Light to Feel Larger
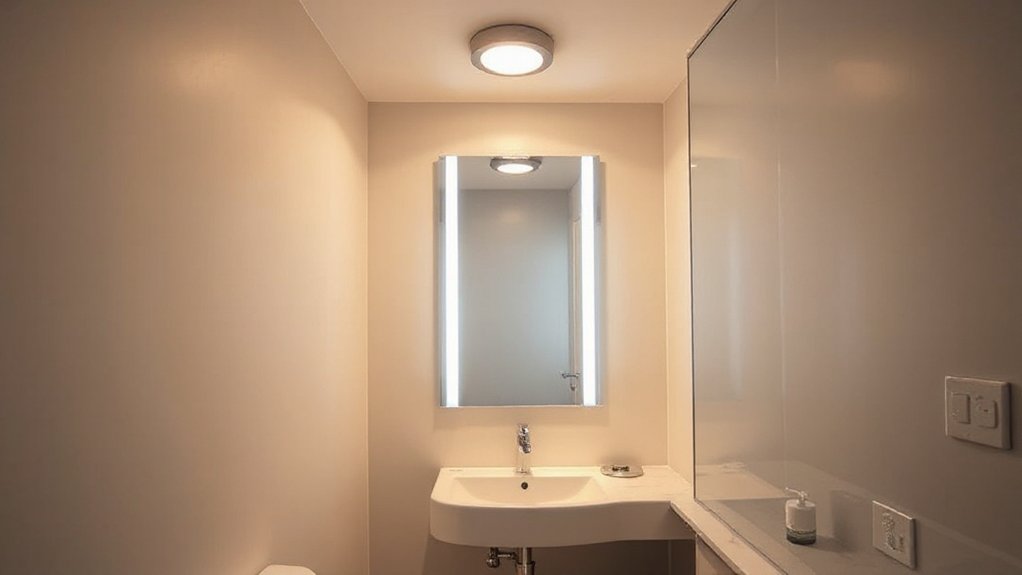
Layered lighting orchestrates perception by combining ambient, task, and accent layers to erase boundaries and sculpt space. You intentionally calibrate brightness across zones to minimize shadow chatter and create a cohesive glow.
Start with a soft ambient wash that broadens the ceiling plane, then add task lighting at mirrors and vanities where precision matters. Choose a higher color temperature for visual clarity, then introduce warm accents to soften edges and draw attention away from tight corners.
Use dimmers to modulate intensity, ensuring you can raise ambiance for daily routines and lower it for relaxing moments. Maintain balanced ratios so no single light dominates.
This layered illumination informs the room’s scale, making it feel larger without altering dimensions. Lighting ambiance becomes your strategic, aesthetic tool.
Real-World Makeovers: Quick, Measurable Spaciousness Upgrades
Real-world makeovers deliver quick, measurable gains by prioritizing visible changes that boost perceived space. You’ll see impact fast when you address layout, finishes, and airflow in tandem, ensuring each upgrade compounds the sense of openness.
Focus on two proven levers: Bathroom ventilation and Plumbing upgrades, executed with minimal disruption to daily routines.
- Improve airflow with a compact vent fan and sash height clearance to reduce humidity and mirror fogging.
- Choose streamlined fixtures and hidden piping to slim silhouettes and visually extend the footprint.
- Sequence upgrades to control moisture and demand, aligning costs with noticeable, lasting spaciousness.
Frequently Asked Questions
Can Color Temperature Affect Perceived Space in a Small Bath?
Yes, color temperature can affect perceived space in a small bath. You’ll notice cooler temperatures (bright whites) create a sense of airiness, while warmer temps cozy the room.
Optimize lighting effects with a mix of ambient and task light at around 2700–3500K for balance. Use color psychology insights to pair cool whites with light neutrals and sleek accents.
You’ll feel more open, precise, and intentional when you curate temperature and placement deliberately.
Do Floor Patterns Influence Roomy Perception in Tiny Bathrooms?
Yes, floor patterns can influence roomy perception in tiny bathrooms. Choose wide, light-colored planks or a large-format tile to minimize breaks and create flow. Align grout with the direction of the room to elongate space.
Avoid busy, small patterns that cage the eye. Pair with wall textures and lighting strategies that emphasize openness. Keep patterns subtle, complementing reflections from bright fixtures, and you’ll feel more expansive while preserving a refined, aesthetic edge.
How High Should Mirrors Be Placed for Maximum Light Reflection?
Place mirrors so their centers are about eye level or slightly higher, maximizing light reflection from every source.
For a small bathroom, position tall, unobstructed mirror panels to capture ceiling lights and natural windows. Then angle any wall-mounted vanity mirror to reflect bright zones.
This mirror placement boosts perceived space and reflection maximization, creating a continuous light loop.
Keep gaps minimal and edges clean for an airy, cohesive aesthetic.
Can Doors Swing Out to Feel Larger, and Is It Practical?
Door placement can make a small bathroom feel larger, and doors can swing out to give you more floor space—practical if you have a tight layout. You’ll want to evaluate swing door options that clear fixtures and use wall space efficiently.
Start with a short, sturdy hinge and a door that swings outward only when feasible to avoid cabinet interference. This approach keeps traffic flowing while preserving a roomy feel.
What’s the Best Clutter-Cutting Routine for Small Bathrooms?
You should establish a daily clutter-cutting routine that keeps surfaces clear and functional. Start with a quick five-minute reset each morning: return items to labeled storage, wipe and dry counters, and suspend toiletries in designated zones.
Implement storage solutions like slim cabinets and wall shelves, and keep only essentials in reach.
Pair with lighting enhancements—bright, cool LEDs near mirrors.
Rotate seasonal products, and document a quarterly purge to maintain an airy, organized bathroom.
Conclusion
Yes, you can “fix” a tiny bath by chasing space that isn’t really there. Irony, meet practicality: you’ll make it feel bigger by using brightness, mirrors, and clean lines, not a magic wand. So you’ll gloss over clutter, layer lighting, and tuck away storage, all to trick perception into expanding. The result isn’t more square footage; it’s more breathing room, more calm, and a bathroom that looks thoughtfully designed—because, ironically, that’s precisely what makes it feel spacious.